Make a Hard Cover for a Single-Section Book

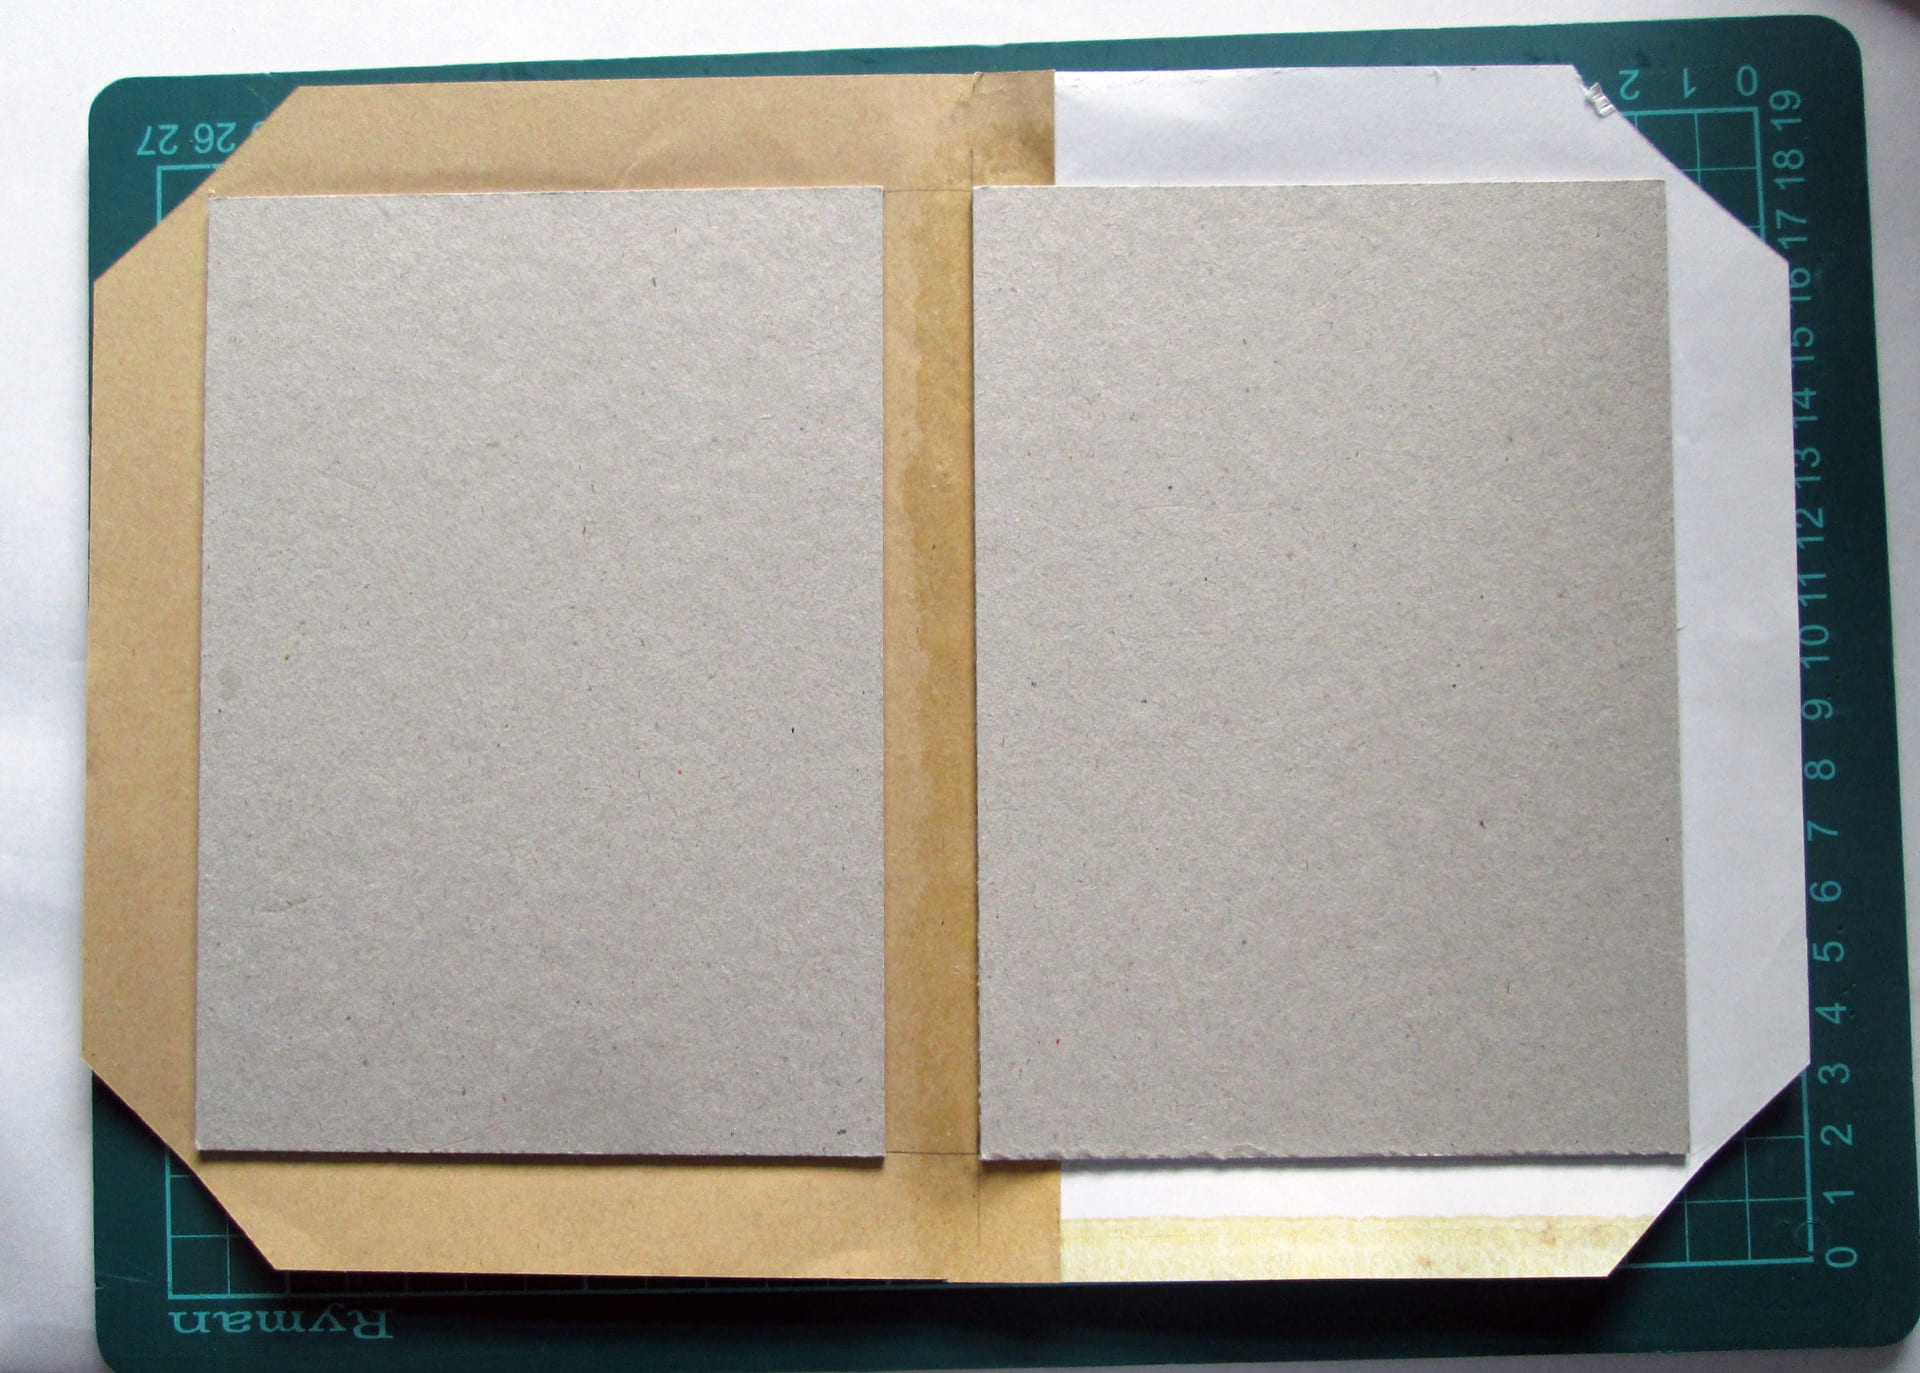
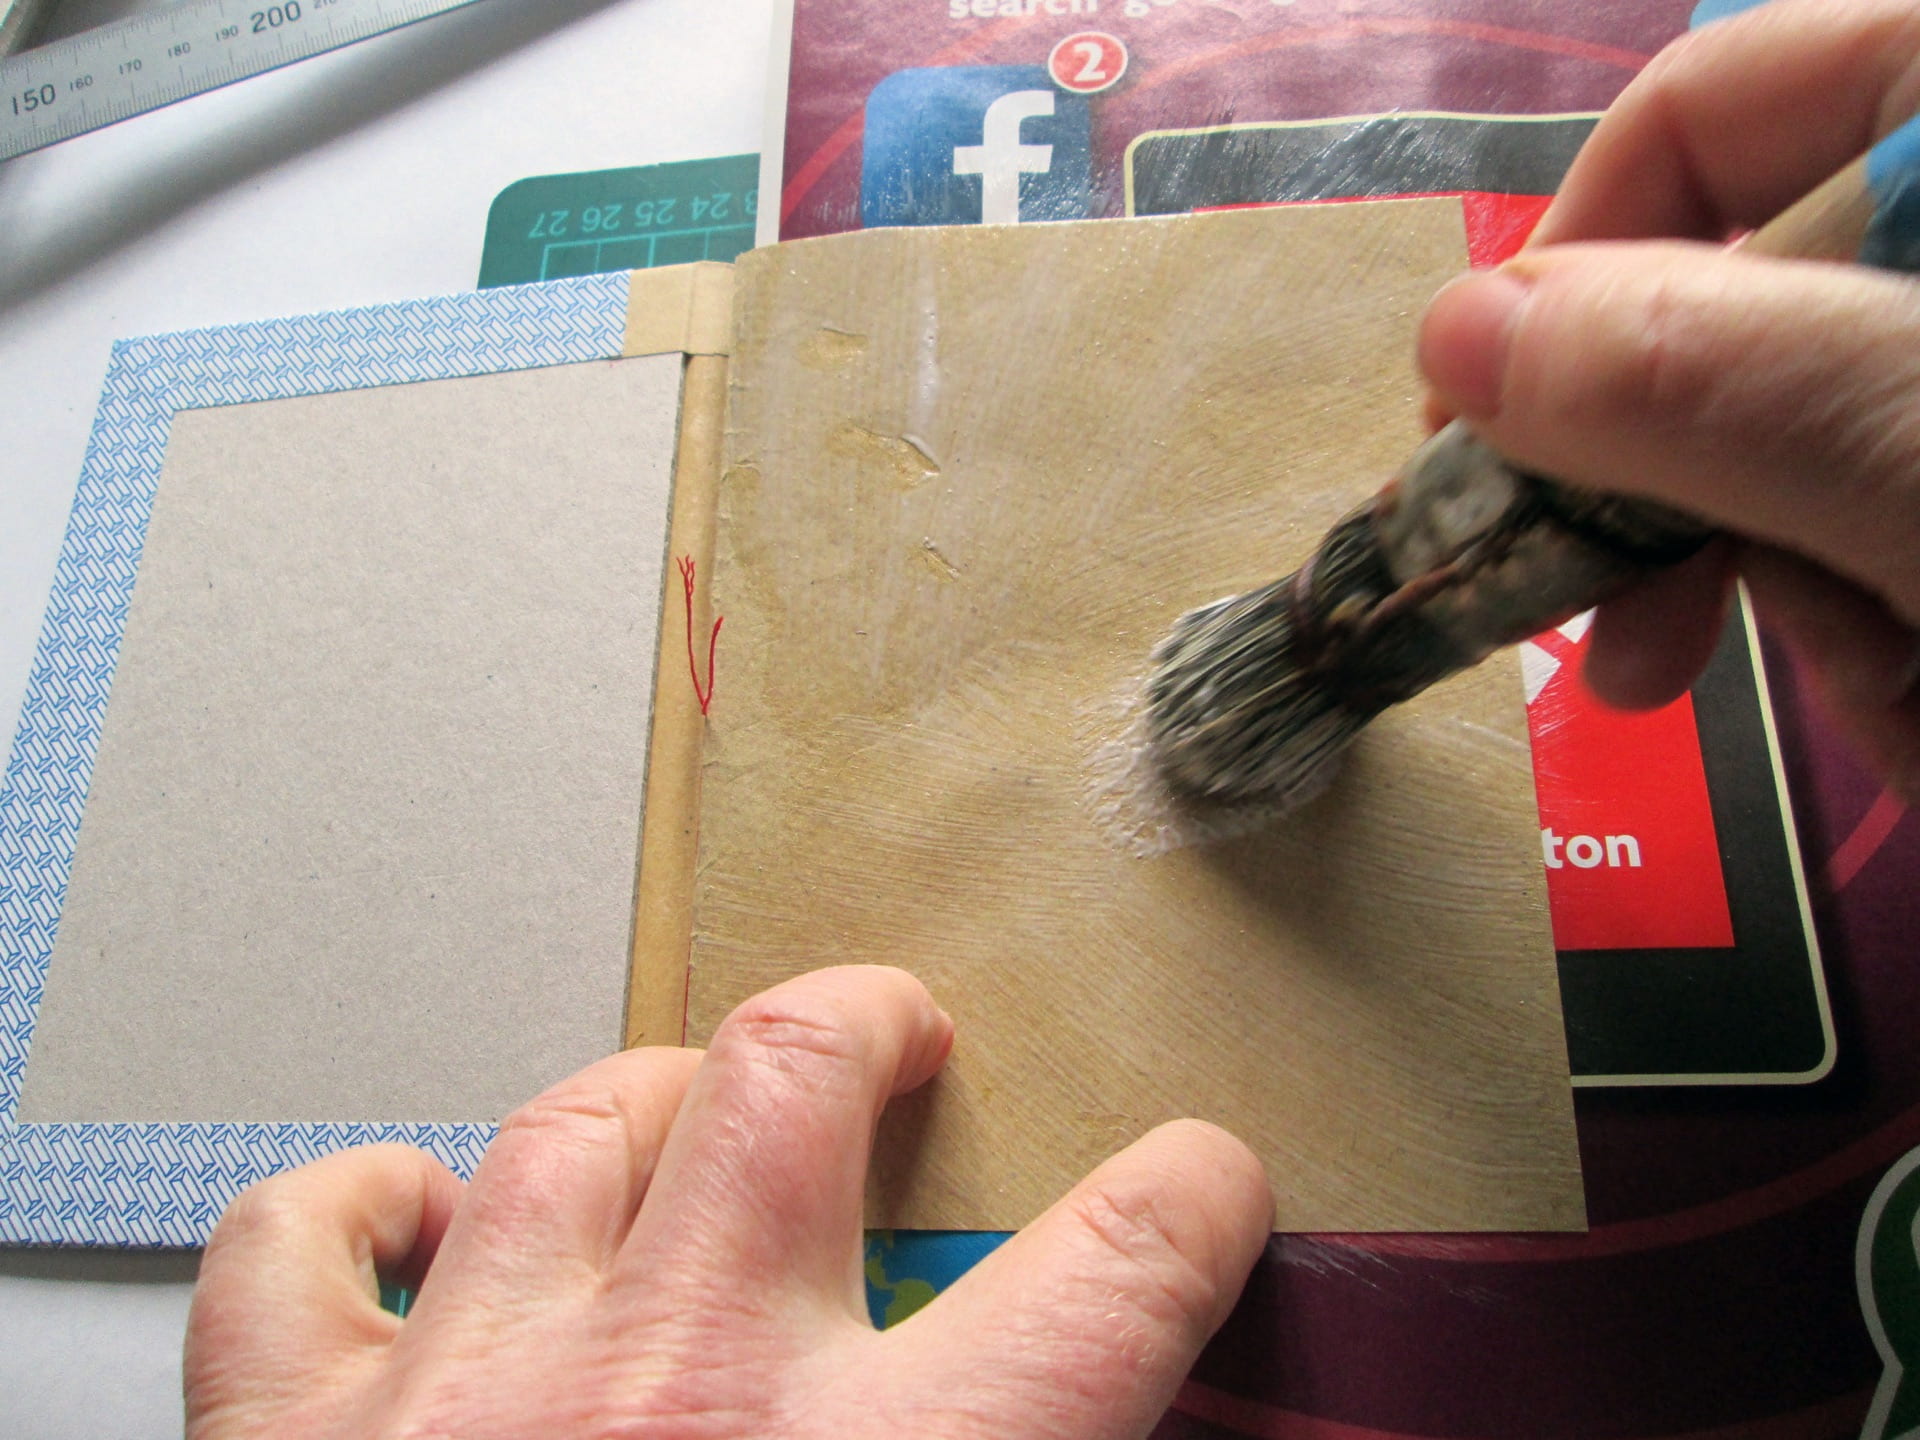
Technical Tip: remember to keep the grain direction of all materials running head to tail or parallel to the spine.
The first thing to remember is to add in an extra sheet or two before you sew the pages together because the first and last pages are stuck to the inside of the cover boards. So think about what you want to see when you open the book.

Single-section sewing

You may be able to tidy up the edges of a thin section with a knife and ruler. Always stand up to do this so that you can put maximum weight on to the hand holding the ruler in place.
Measure up and cut two boards the same size as each other. The boards should be 6mm taller than the pages and 2mm narrower.

More info on cutting boards by hand.

Choose your covering material. I am using envelope paper which is fairly strong. Something about 150gsm makes a good cover paper.

Or make your own bookcloth.

Stick the two boards down with a gap of 15mm between the boards at the spine. If your book is very thick (ie lots of pages) you could try adding in a couple more millimetres here.
I changed my mind and joined a different sheet of paper to the back. The two papers slightly overlap at the join by 1mm.
Trim the edges of the covering material to about 2cm all round and then use your corner cutter to trim away a triangle from each corner.

Make your own corner cutter.

Glue the borders and fold them neatly over the edges of the cover boards. Remember to tuck in the extra paper at the corners as you go.
Once you have made the cover, fold it in half to make a crease at the spine. Drop the pages into the crease and check that they fit inside the cover.
With scrap paper underneath, paste out the endpaper. Then remove the scrap paper.
Close the cover down on to the pages whilst pushing them in to the spine crease on the cover. It can be a bit tricky this bit but just keep practising.
If you don’t have a book press you will have to smooth out the endpaper by hand. Stick the second endpaper in the same way.
Finally, leave the book to dry under a board and weight.


Print Friendly, PDF & Email