The Japanese hard cover is made with hinged boards. In this demo I will make two separate boards as it is a little easier than joining everything around the spine (but this is definitely possible). I will also show you how to make a recess in the boards for inlaying artwork.
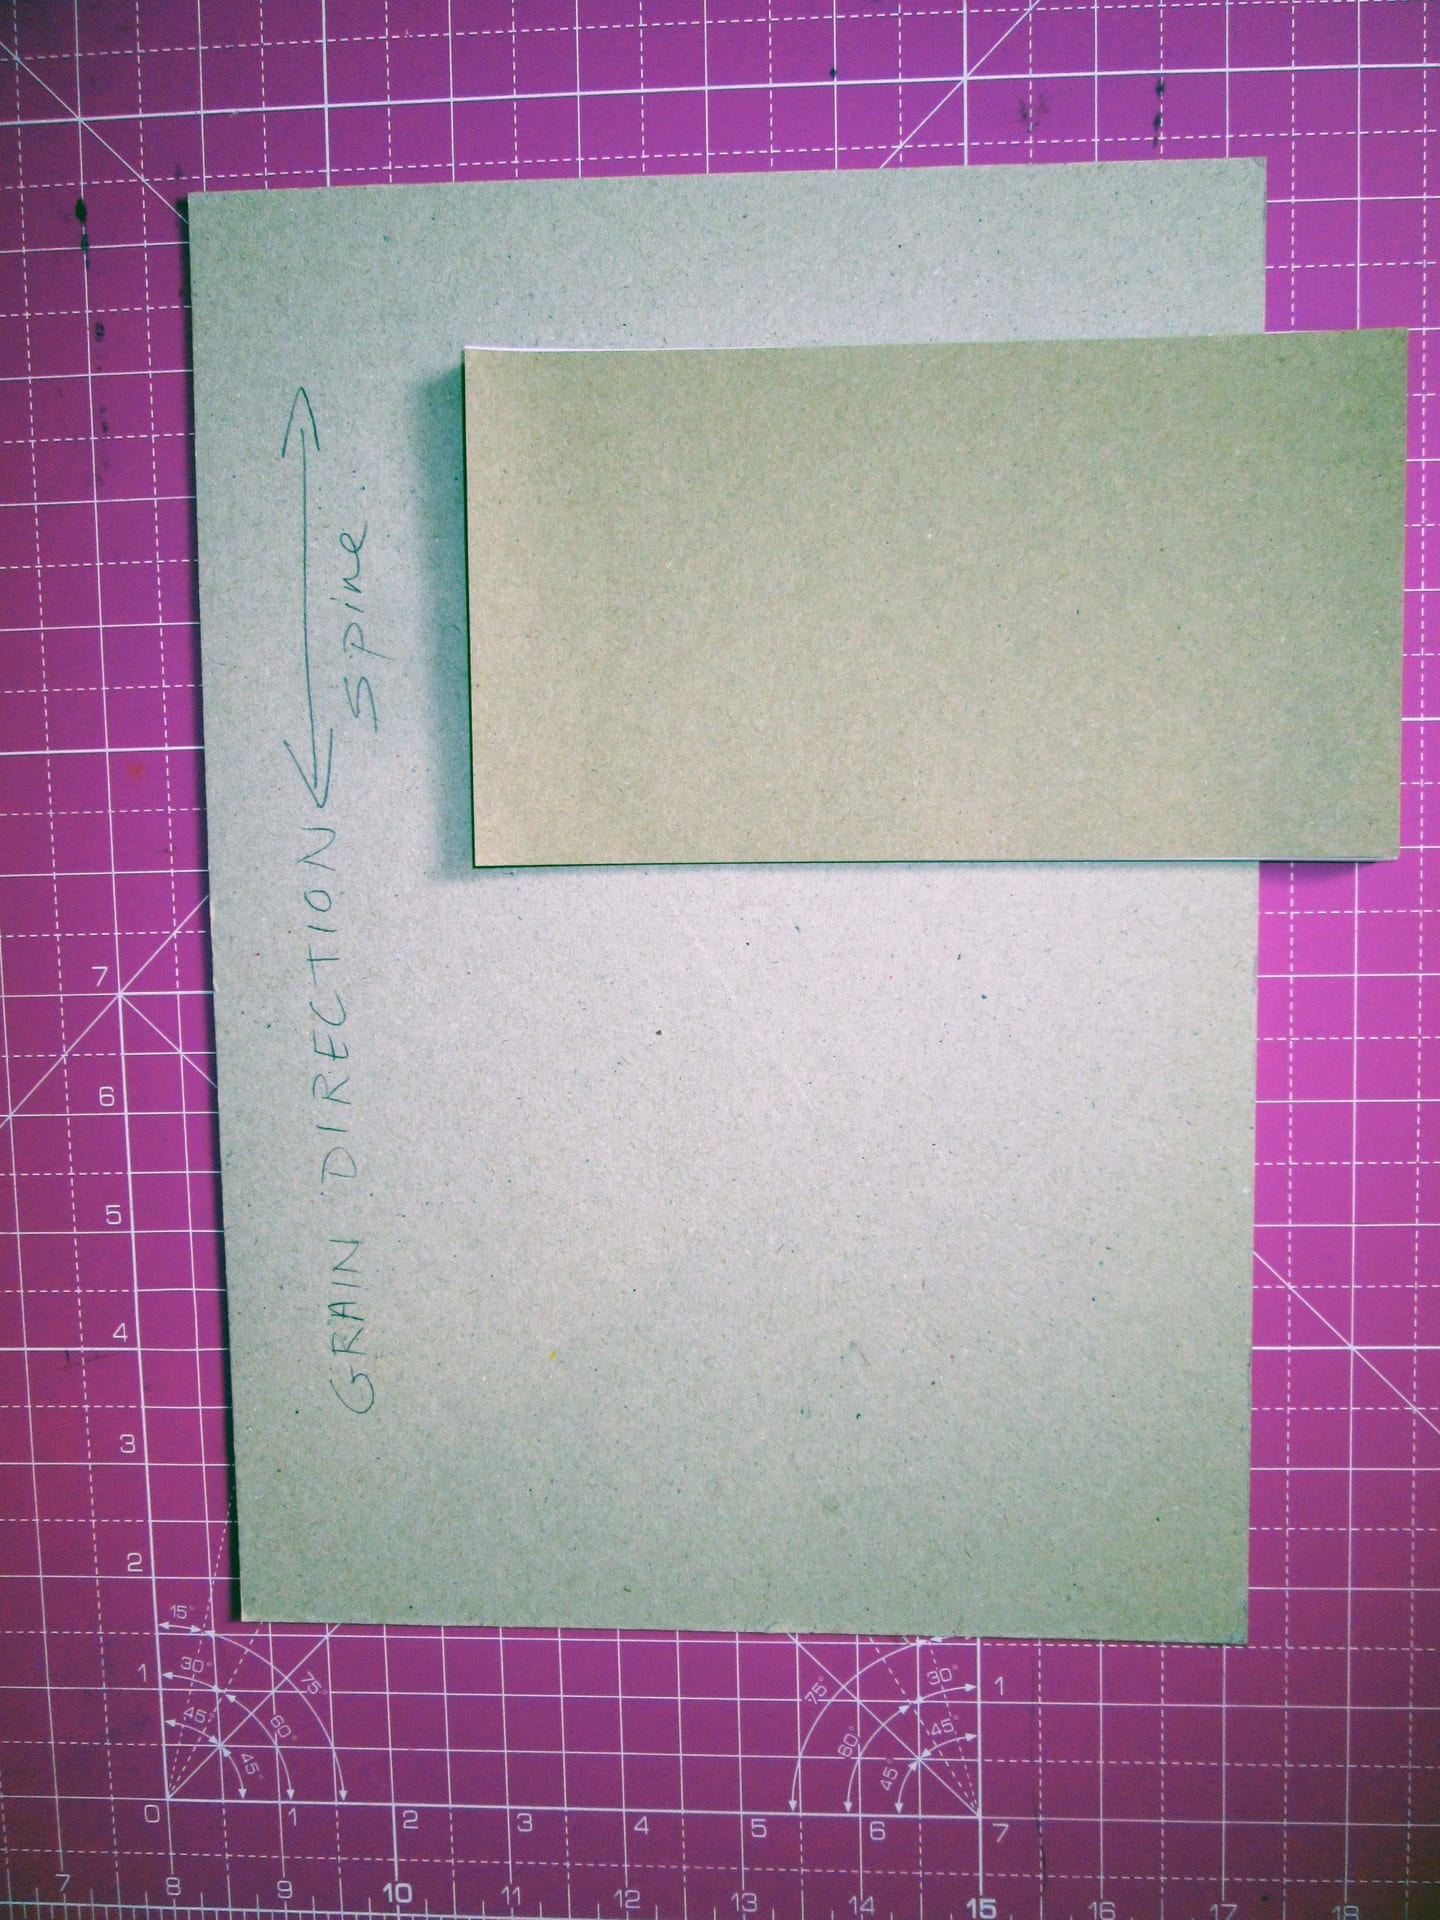
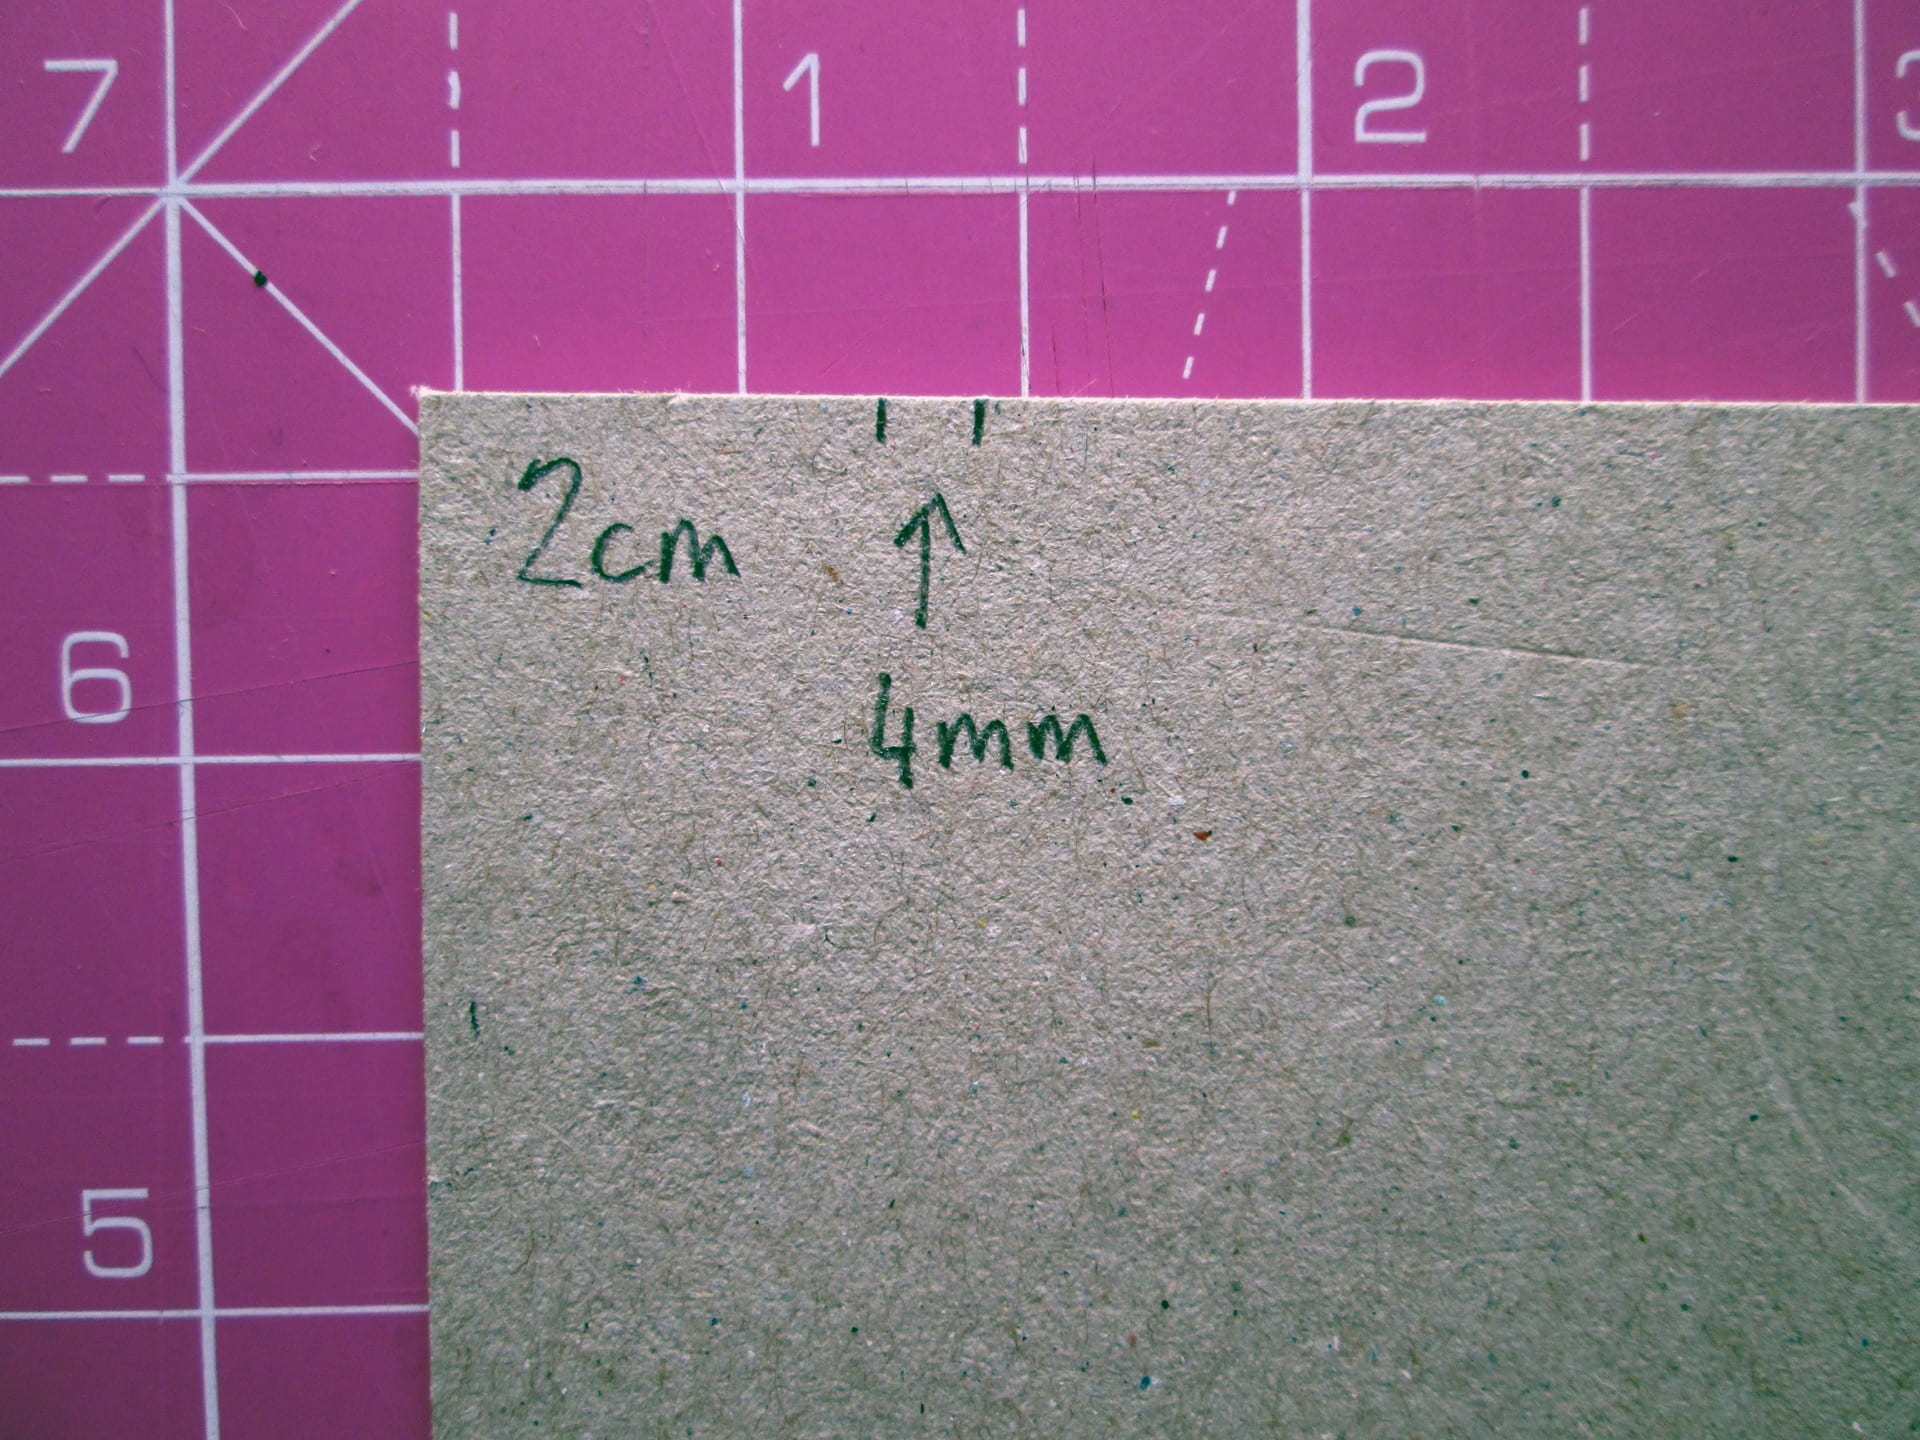
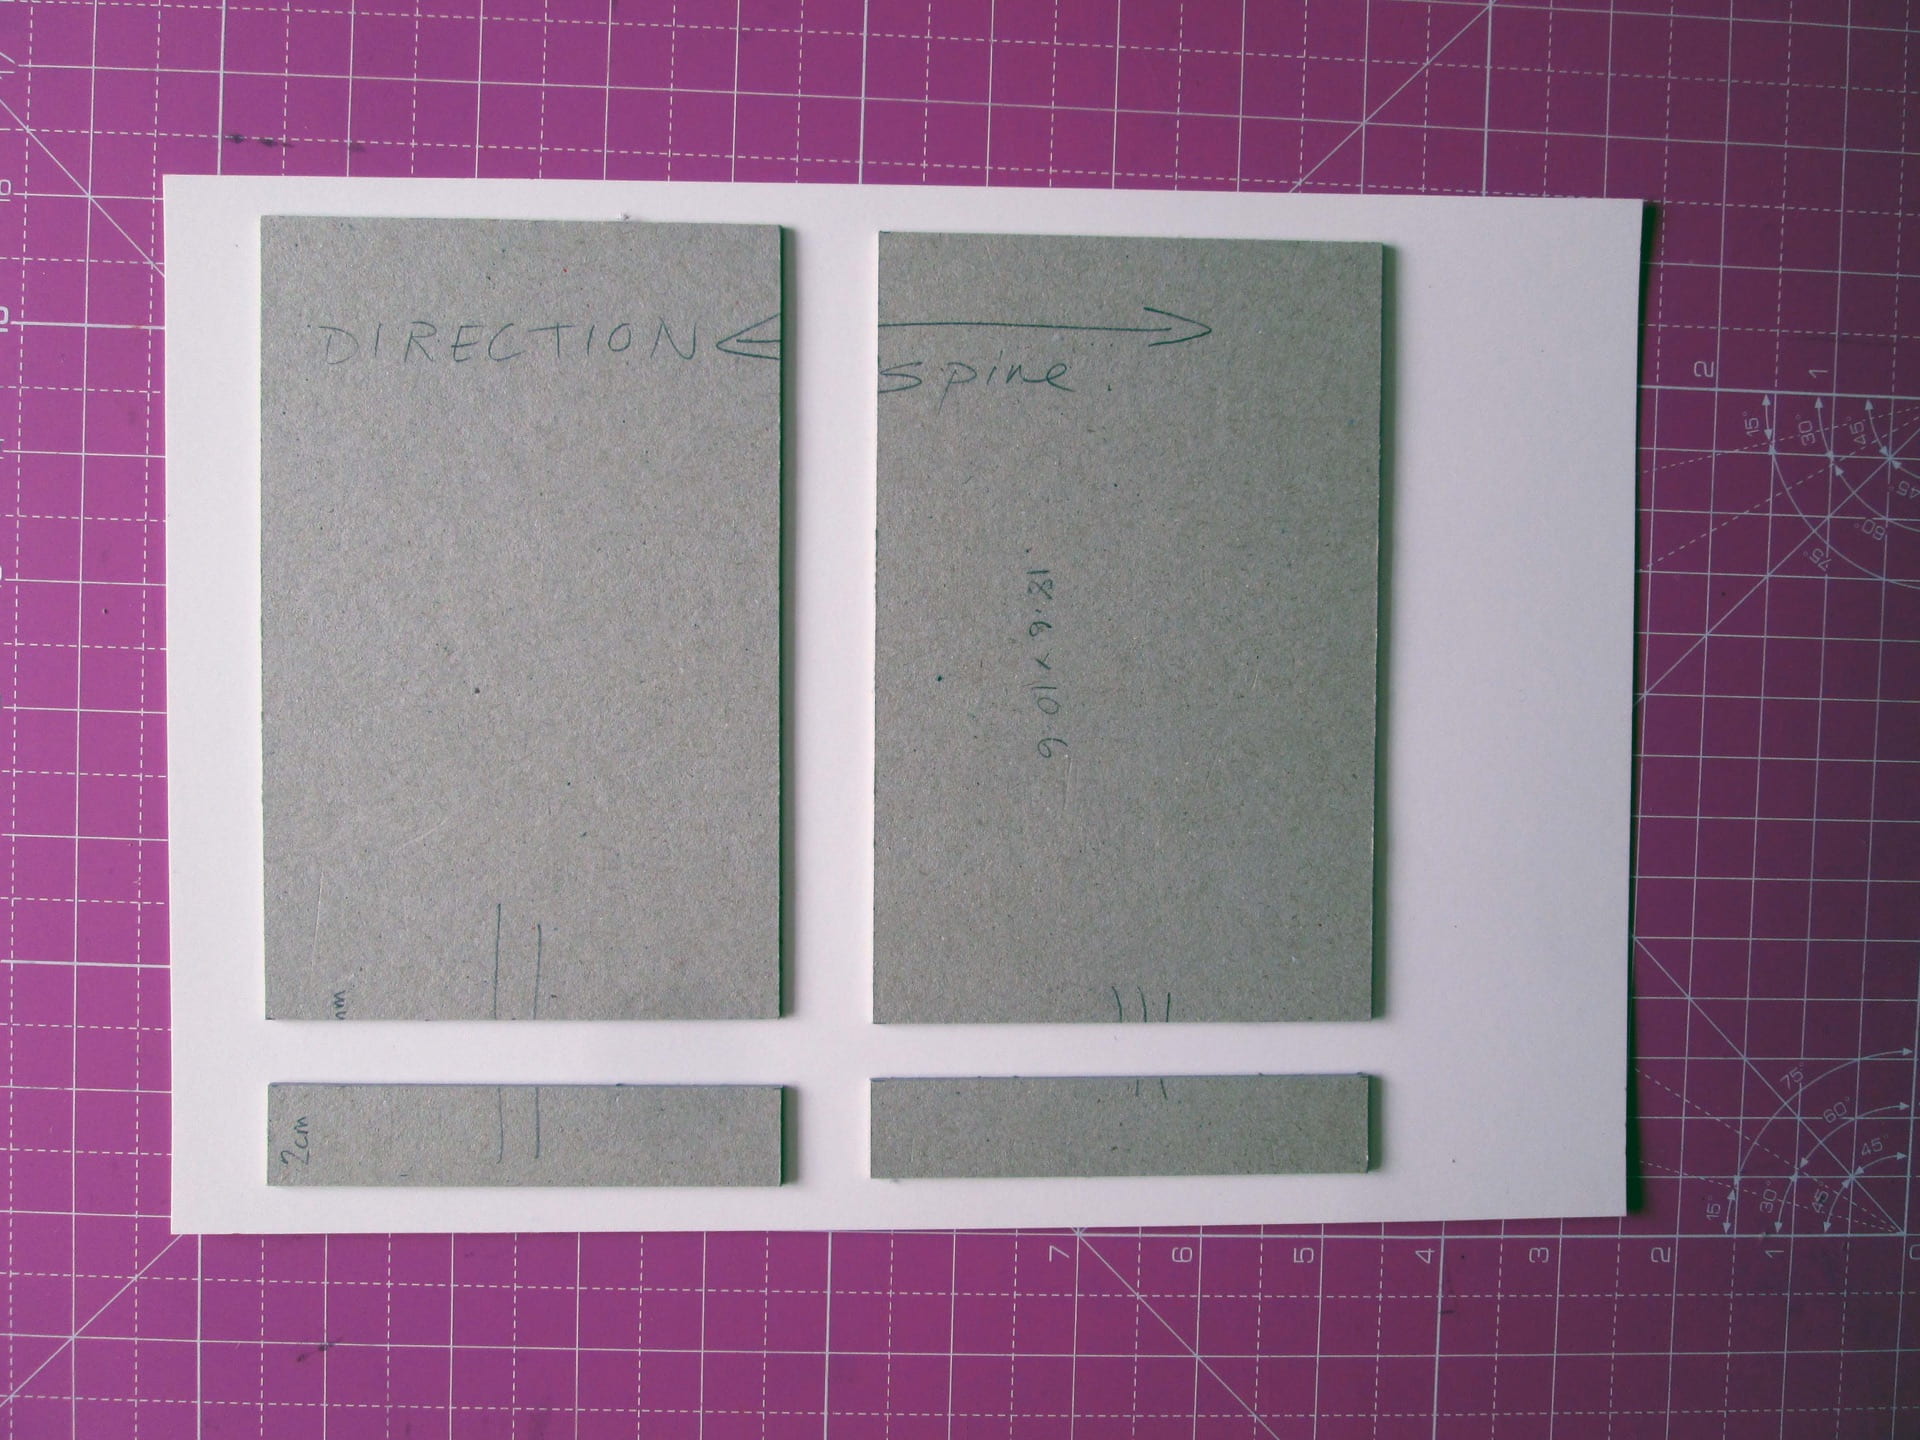
1. Assemble all your pages before you start and find a piece of grey board that is large enough for two covers with the grain direction running the same way as the spine. Cut two boards slightly larger than (or the same size as) the pages – say an extra 1mm on each edge.2. Each board is cut into 3 pieces. The first cut is made about 2cm from the spine edge and then another about 4 or 5 mm along. Do the same with the second board.3. The skinny piece will act as a spacer bar to help realign the boards when they are stuck to the cover material and, to get them in exactly the right place, I have added some pencil marks to help with this.
Miss out the next step if you don’t want to create a recess in the cover.
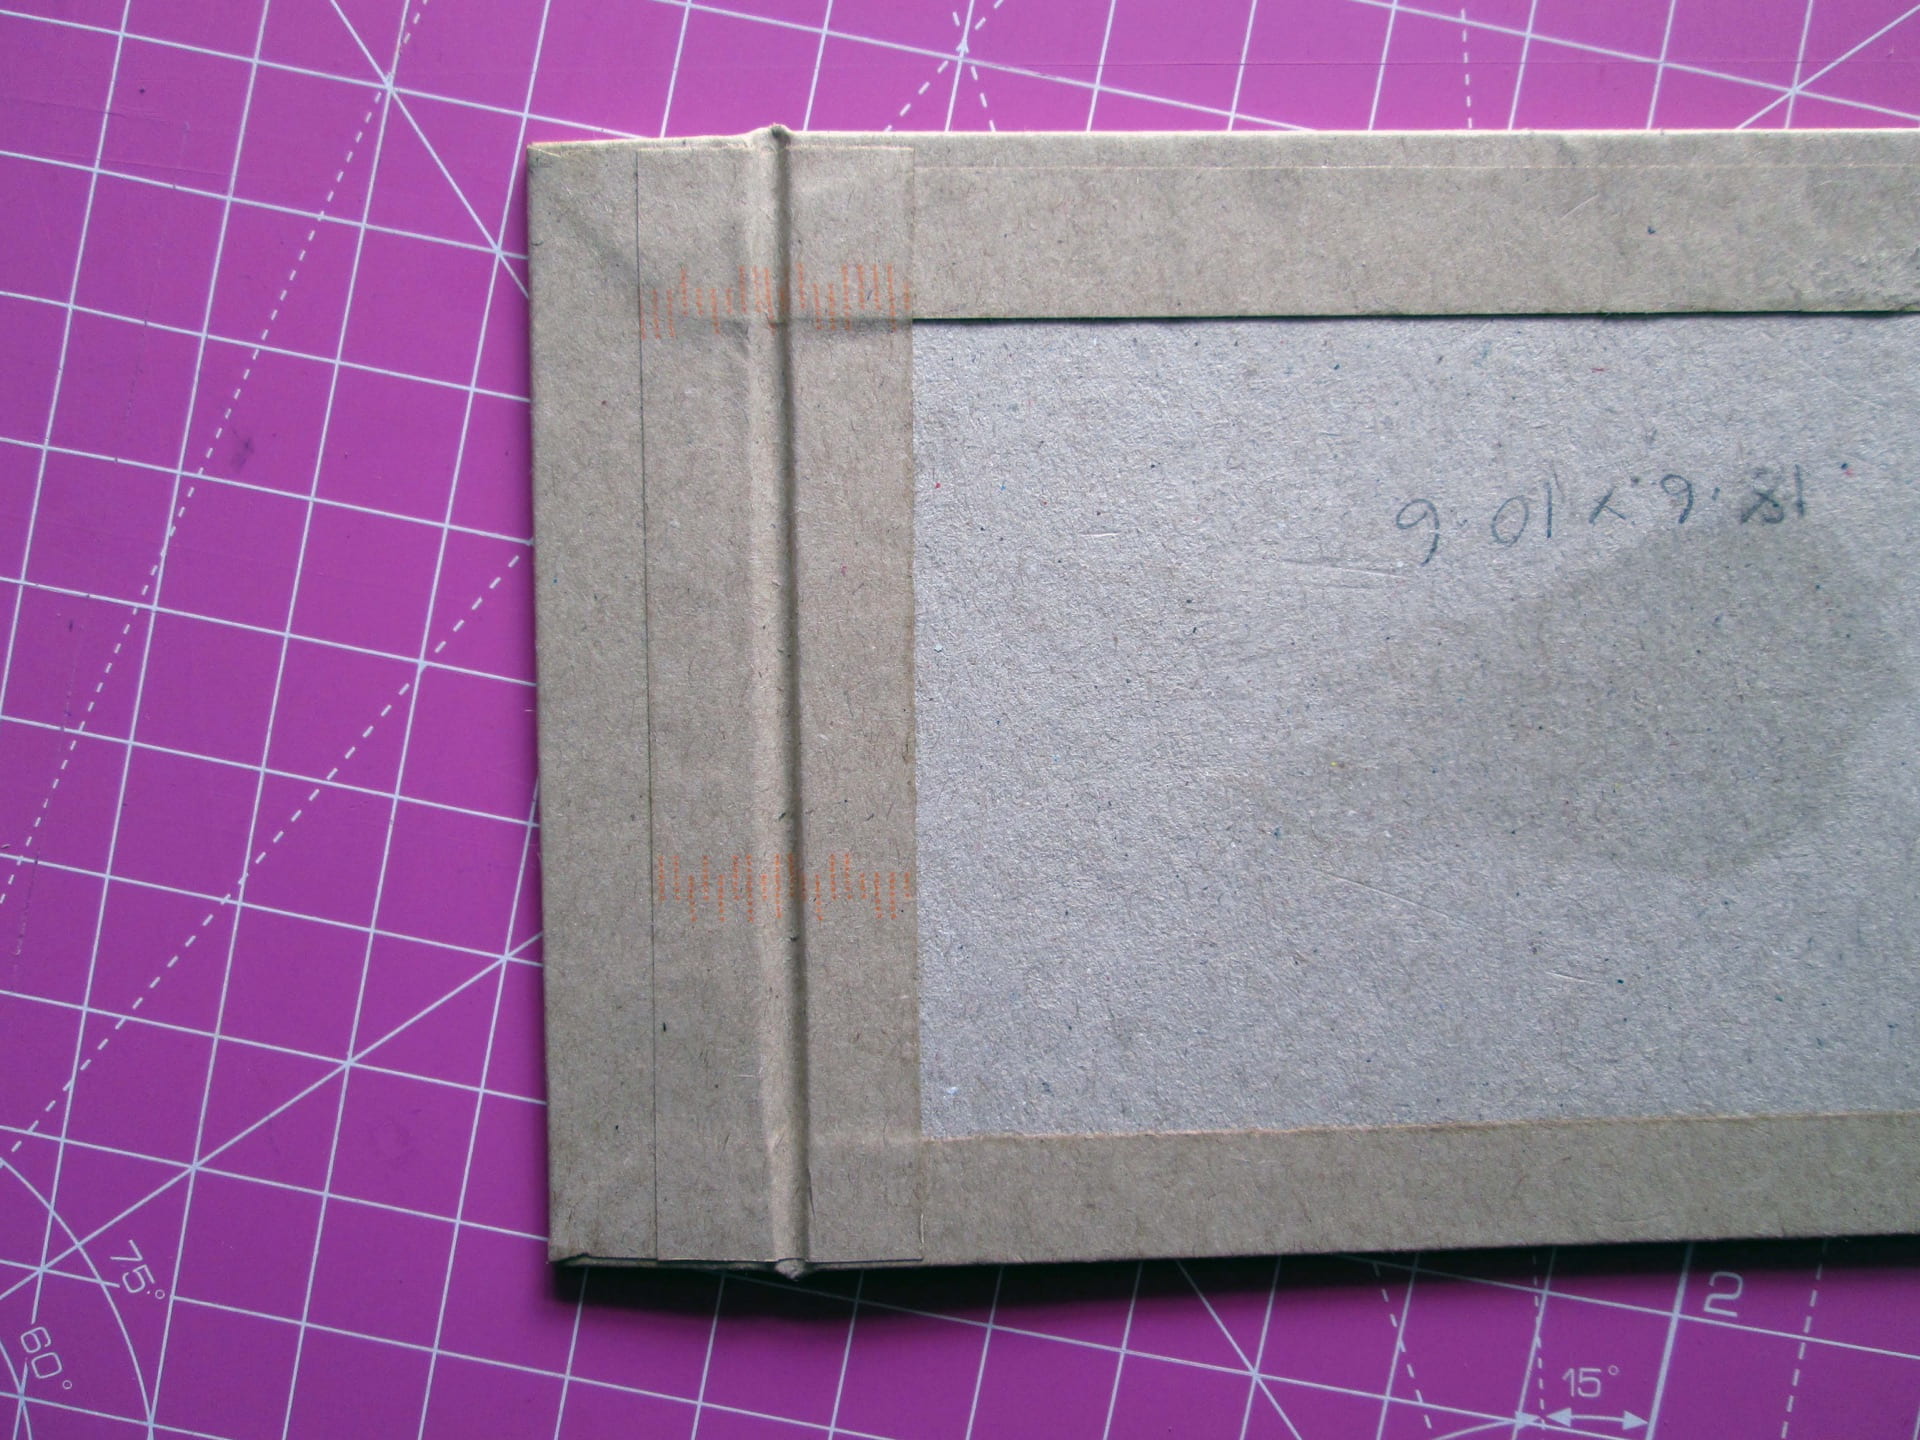
4. Use PVA to stick the boards down to a piece of thin card. Press them down well, especially at the edges.
5. Cut thin card to board edge and cut recess:
6. Use the thin spacer strip when you stick the two pieces of cover board to the covering material. Don’t glue the spacer in – it is just used to get the boards in the right place. Remove it once the two boards are in position.
7. If you have a recess in the cover, stick this piece down first and then press it straight away into the shape as shown in the video:
8. Trim borders all round to about 2cm. Use your corner cutter to trim out four corners.
9. Use PVA to stick down borders and corners in the usual way. Then cut an extra strip of paper or thin fabric to line the hinge on the inside and when you stick this piece down, push it gently into the groove.
10. Finish the board by lining with paper on the inside. Finish the second board in the same way. Leave to dry under weight.11. So now it is time to make the holes so that we can sew the whole thing together. Not so easy without the lovely power drill that we have in the workshop but I used the Zenith hand drill and it worked fine. It might be possible to use a Dremel for this – or the Japanese screw punch.
If you cannot afford to invest in any of these punches or drills trying making holes with a hammer and a nail! Have some scrap board underneath so that you don't make holes in your table top.
12. I have designed the sewing pattern to need just two holes to make this step a little easier.