3d scanning is the process of capturing the size and shape of a real world object or environment. Ways of 3d scanning generally fall into 2 main categories:
- Non-contact – can be split into 2 methods, Passive and Active. Active non-contact scanning uses a form of radiation or light e.g. a laser and records what is bounced back. Passive non-contact relies on multiple images of an object from different angles and software to pick points within the images to create a 3d points cloud that builds up around the object. Both these methods are very portable and can produce results quickly.
- Contact – a probe passes over the surface of a secured object. The advantage of this method is that it can be very precise and achieve a high level of detail. The disadvantages are that it doesn’t record details like the colour of an object and also, as it is in contact there is a risk that the object may be damaged or modified.
We have examples of contact and non-contact scanners and University but as they can’t be accessed I choose to explore passive non-contact scanning as it is possible to get results using only the camera on my phone – this method is called Photogrammetry.
I started with an app called Display.Land and as usual tried to get going without reading any instructions. I knew it was sensible to start with a reasonably basic object so I chose a large cylindrical candle. I also knew that I needed to capture all sides of the object and that it would work best if the background was plain – I tried to be clever here and thought that it might be possible to rotate the candle using the platter of my microwave. It’s well lit, big enough, has a plain background.

What I hadn’t realised was that the app used the phone’s accelerometers to detect movement around the object so unfortunately my amazing microwave scanning booth wasn’t going to work.
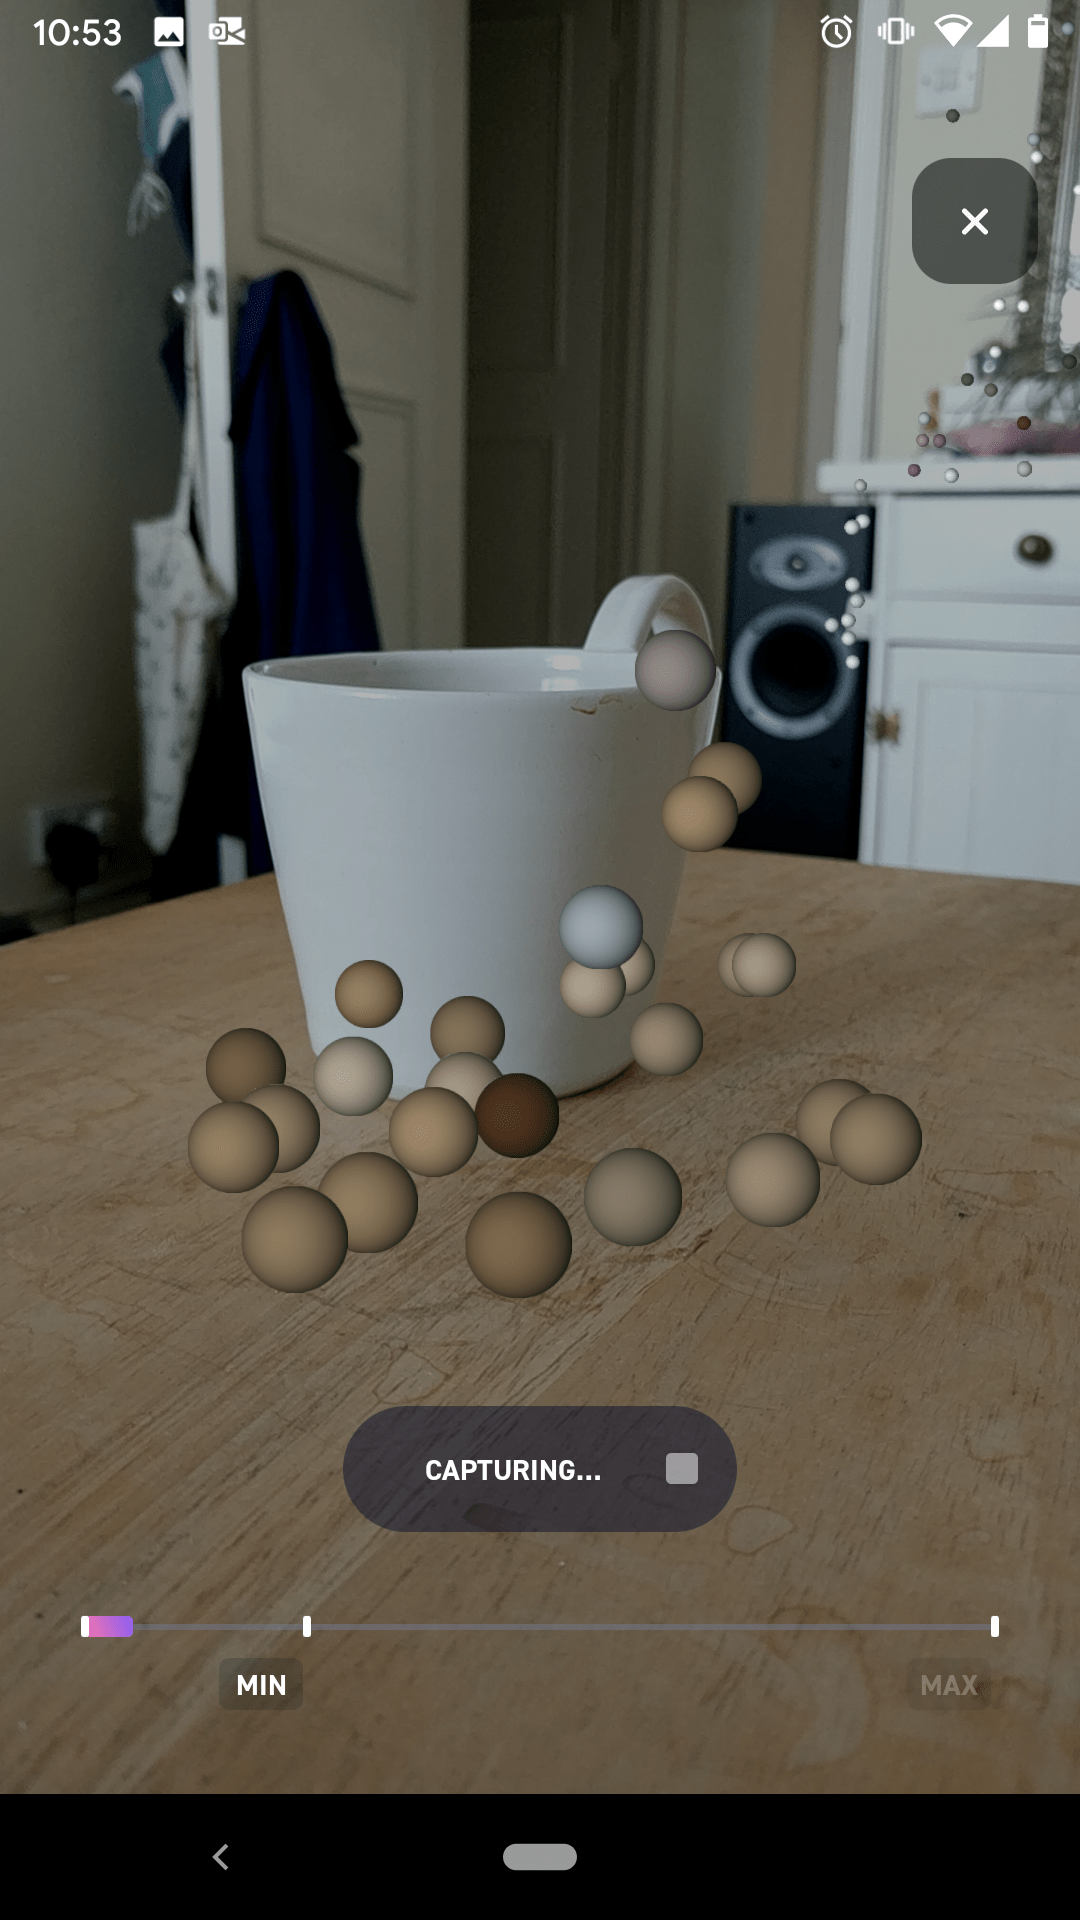
I cleared some space to have another go, this time trying to scan a mug. As I begun capturing and moving around the mug the app automatically starts taking multiple photos and creates a 3d points cloud and as the number of points increase the bar at the bottom fills until there enough for the app to process and create a 3d image.
 |
 |
 |
The app took about 30 minutes to process the data and I used that time to look at some photogrammerty tips. As it turns out a mug is not a very suitable object. This kind of software works best if the objects have a varied or rough shape and texture. Because of this I also made a capture of a house plant – as you can see, there a lot more points of the cloud being created around the plant and more points means more detail.

These are the results of the two scans: Mug scan // Plant scan
As you can see from the images below, the app picks up detail and models a lot of the background so I ended up with a scan of my room.

It is possible to view and move around the scans with in the app so I was able to find the mug. 
Because a mug isn’t a suitable object for this method of scanning the result was very poor and had a lot of holes in it – more than usual.
As a comparison, scan of the plant is much better quality – more points, more detail.
The app and browser versions of Display.Land allow viewing, editing, cropping and even add objects like 3d emojis to a scan. In this video I crop the scan down so that it just includes the plant.
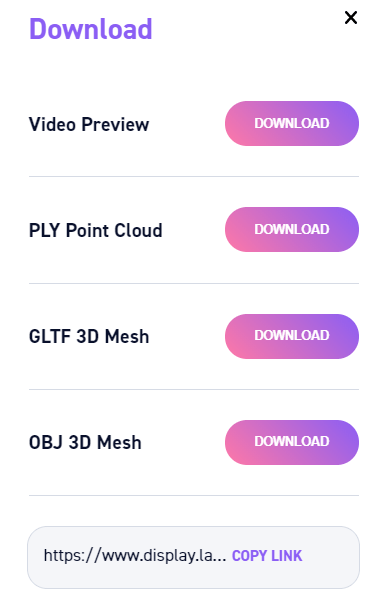
When happy with a scan it can be downloaded in various formats.
It also has a interesting blog post on how to 3d print captures.
