This is a multi-section binding with a hard cover that opens flat – ie. the front cover is not attached to the first page (or endpaper) as is normal with hard cover books.
It has a contemporary feel and is a little easier to make than the normal hard cover book.
Keep the grain direction of all materials running head to tail or parallel to the spine.
Start by folding paper into sections:
Take four sheets of paper, gather them into a tidy pile and fold in half all together. Press the fold by hand and then with a bone folder.
This makes a section of 16 pages. You will need four sections all together so fold another three in the same way.
2. Make a template for the sewing holes:
Fold one more sheet of paper in half and lay your ruler along the fold. Mark up in pencil, on the fold, the position of six holes at the following measurements: 1 cm, 6.5cm, 7.5cm, 13.5cm,14.5cm, 20cm.
3. Make the sewing holes in each section:
Use the cradle and the hole-making tool: open up each section, one at a time, to the centre fold and drop into the cradle. Place the guide on top and push the hole making tool down and through the whole section to make the six holes.Gather the sections together and check that the holes align across the spine of the book.
4. Sew the pages together: you will need 100cm of thread and a needle. Sew with single thread. See video of sewing – French link stitch.
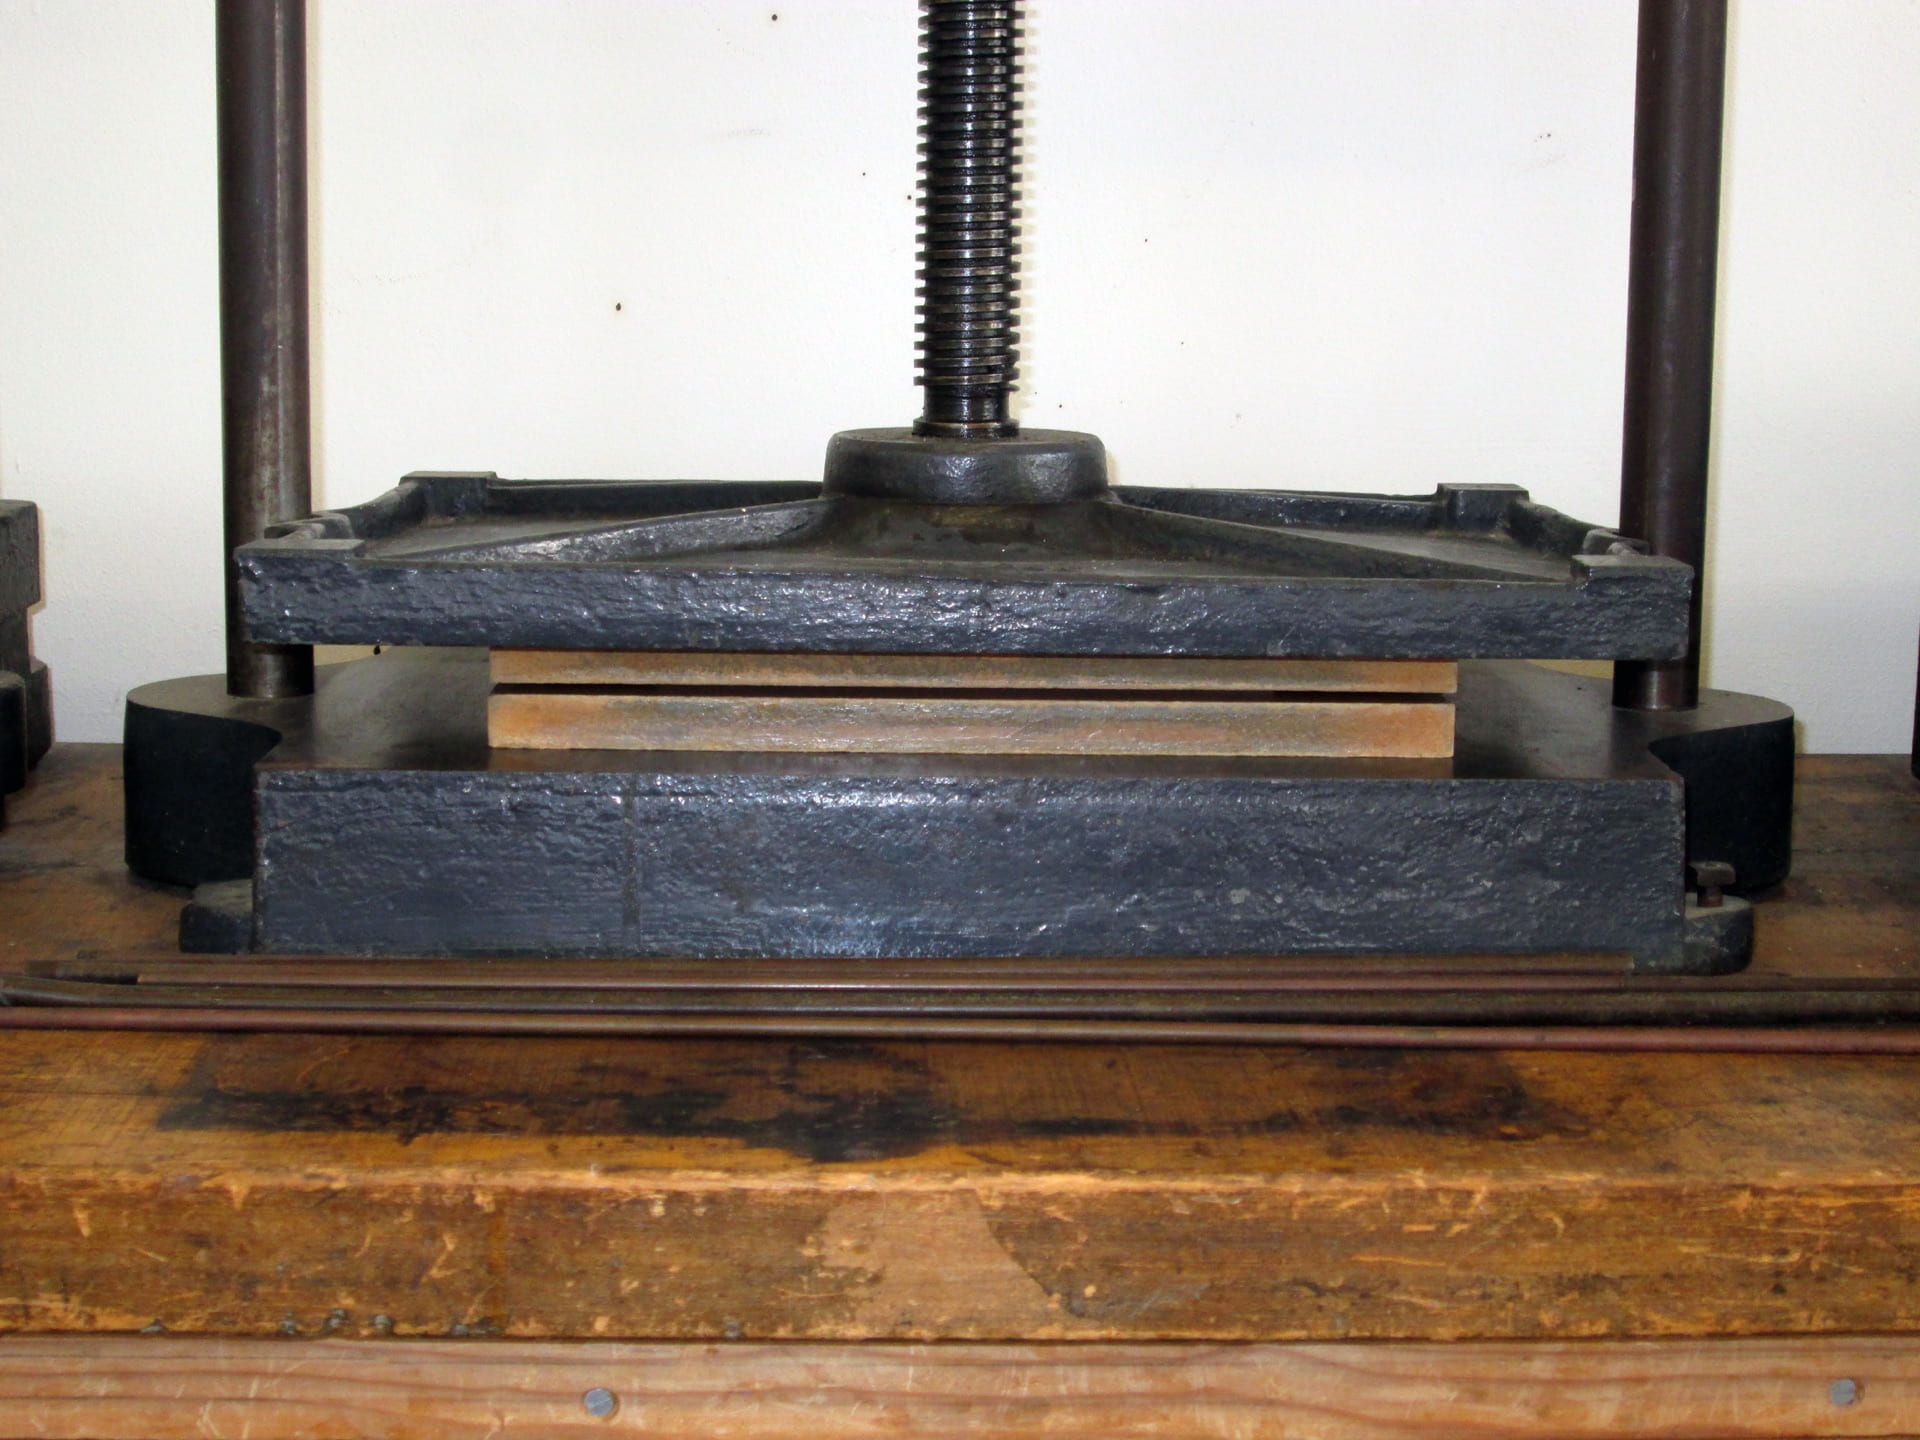
5. Press the pages in the nipping press: Place the pages between two pressing boards and squeeze for a few minutes in a press.
6. Glue the spine: Take the book and boards out of the press and back to your workspace. You will also need PVA glue, a small brush and a heavy weight. These should all be on your workbench. See video:
7. Make soft cover:
1. Whilst the spine glue is drying, measure the width of the pages between the two pressing boards.2. Transfer this measurement to the top (long) edge of the cover card, roughly in the middle of the card.
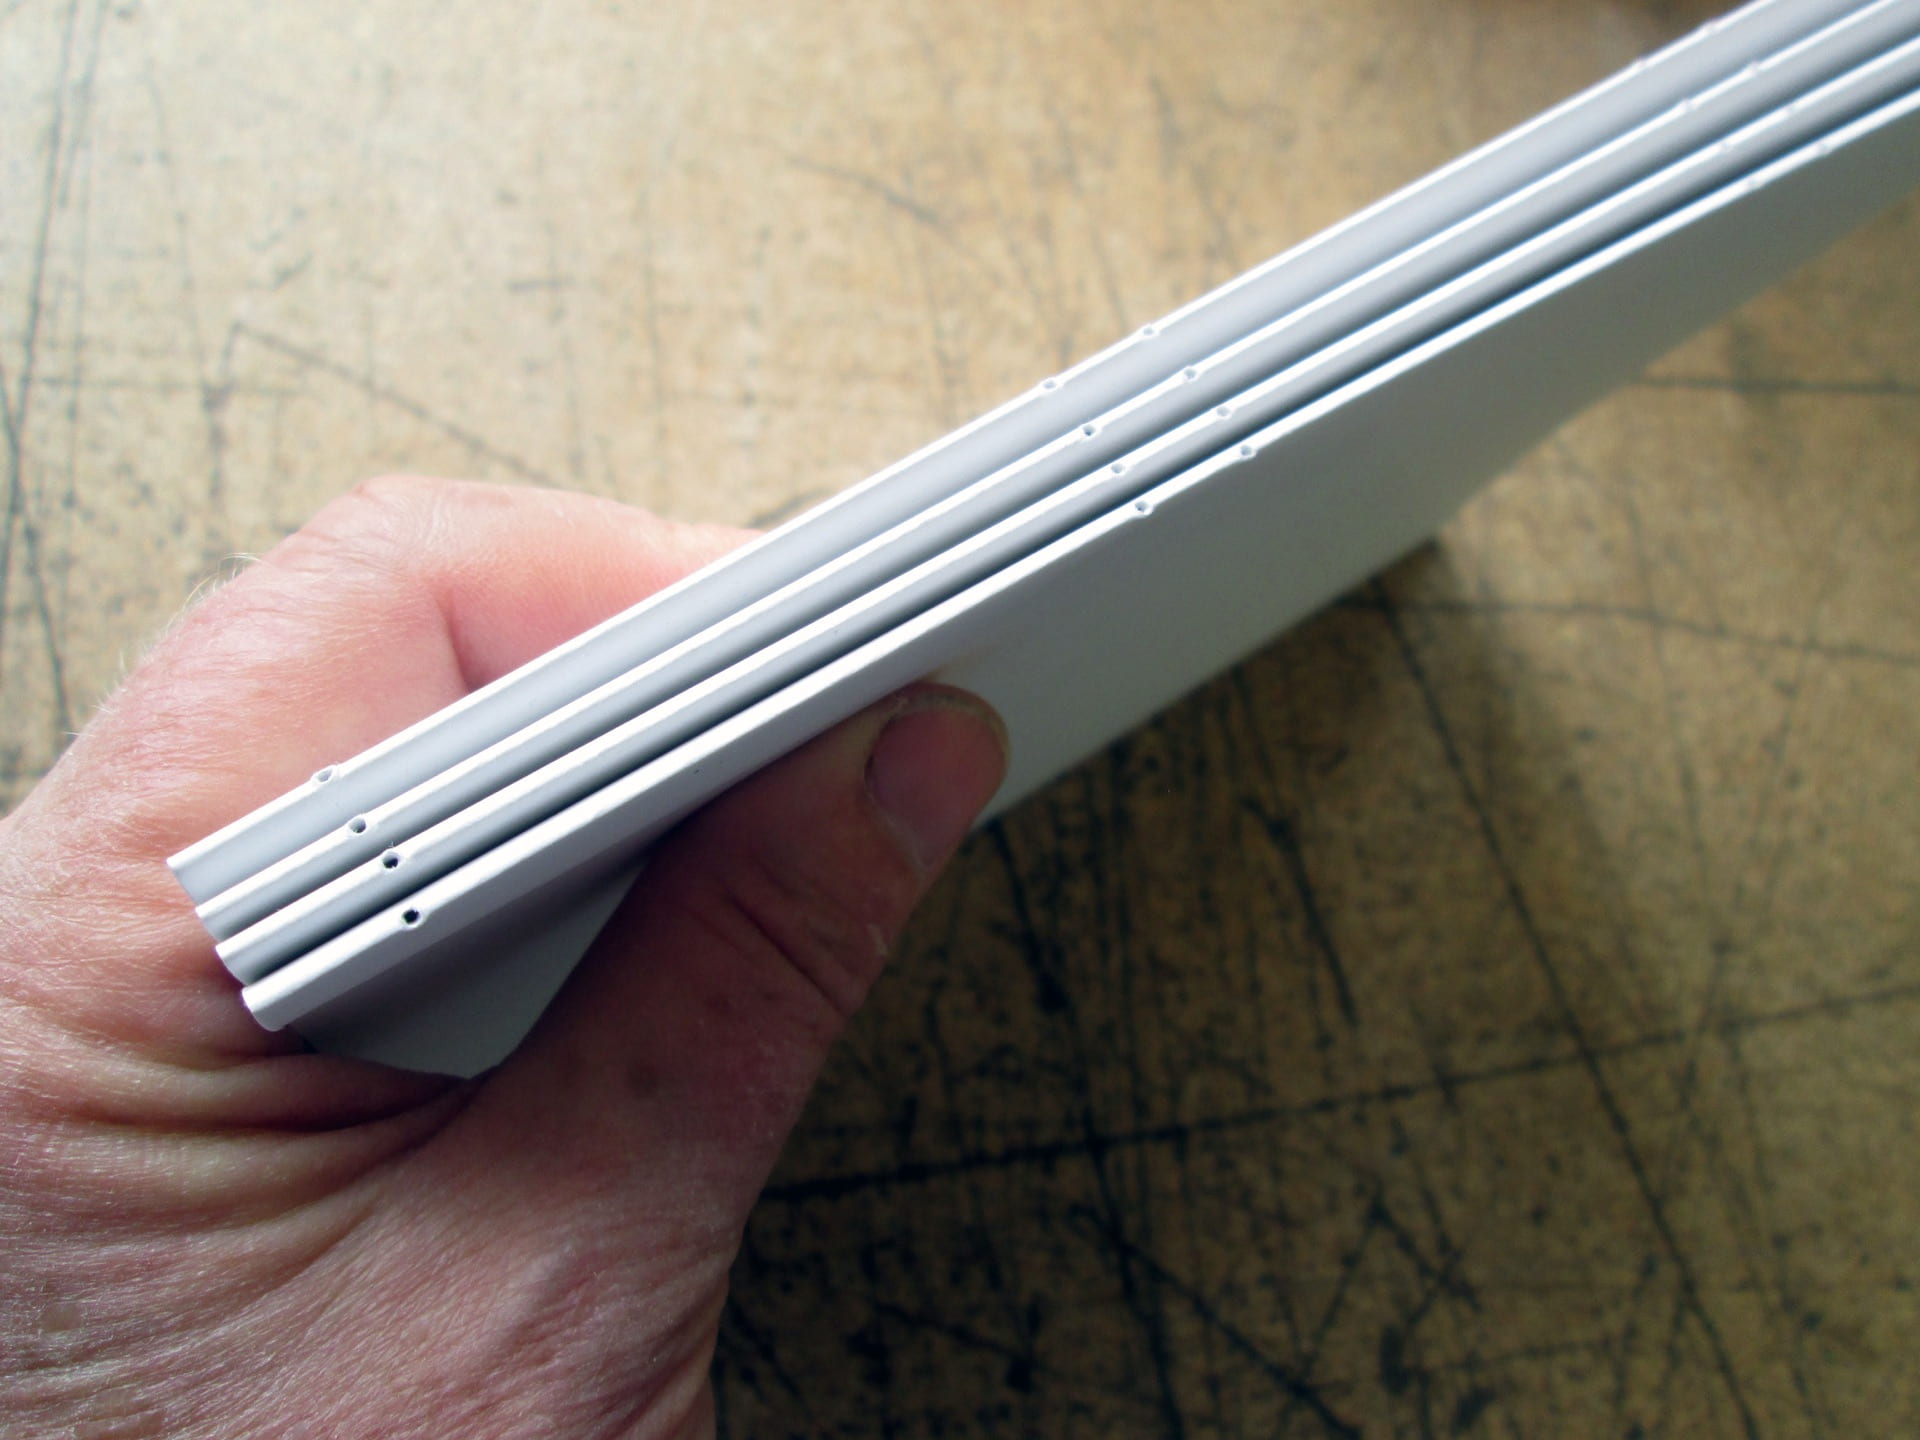
Using the Scoring Board:
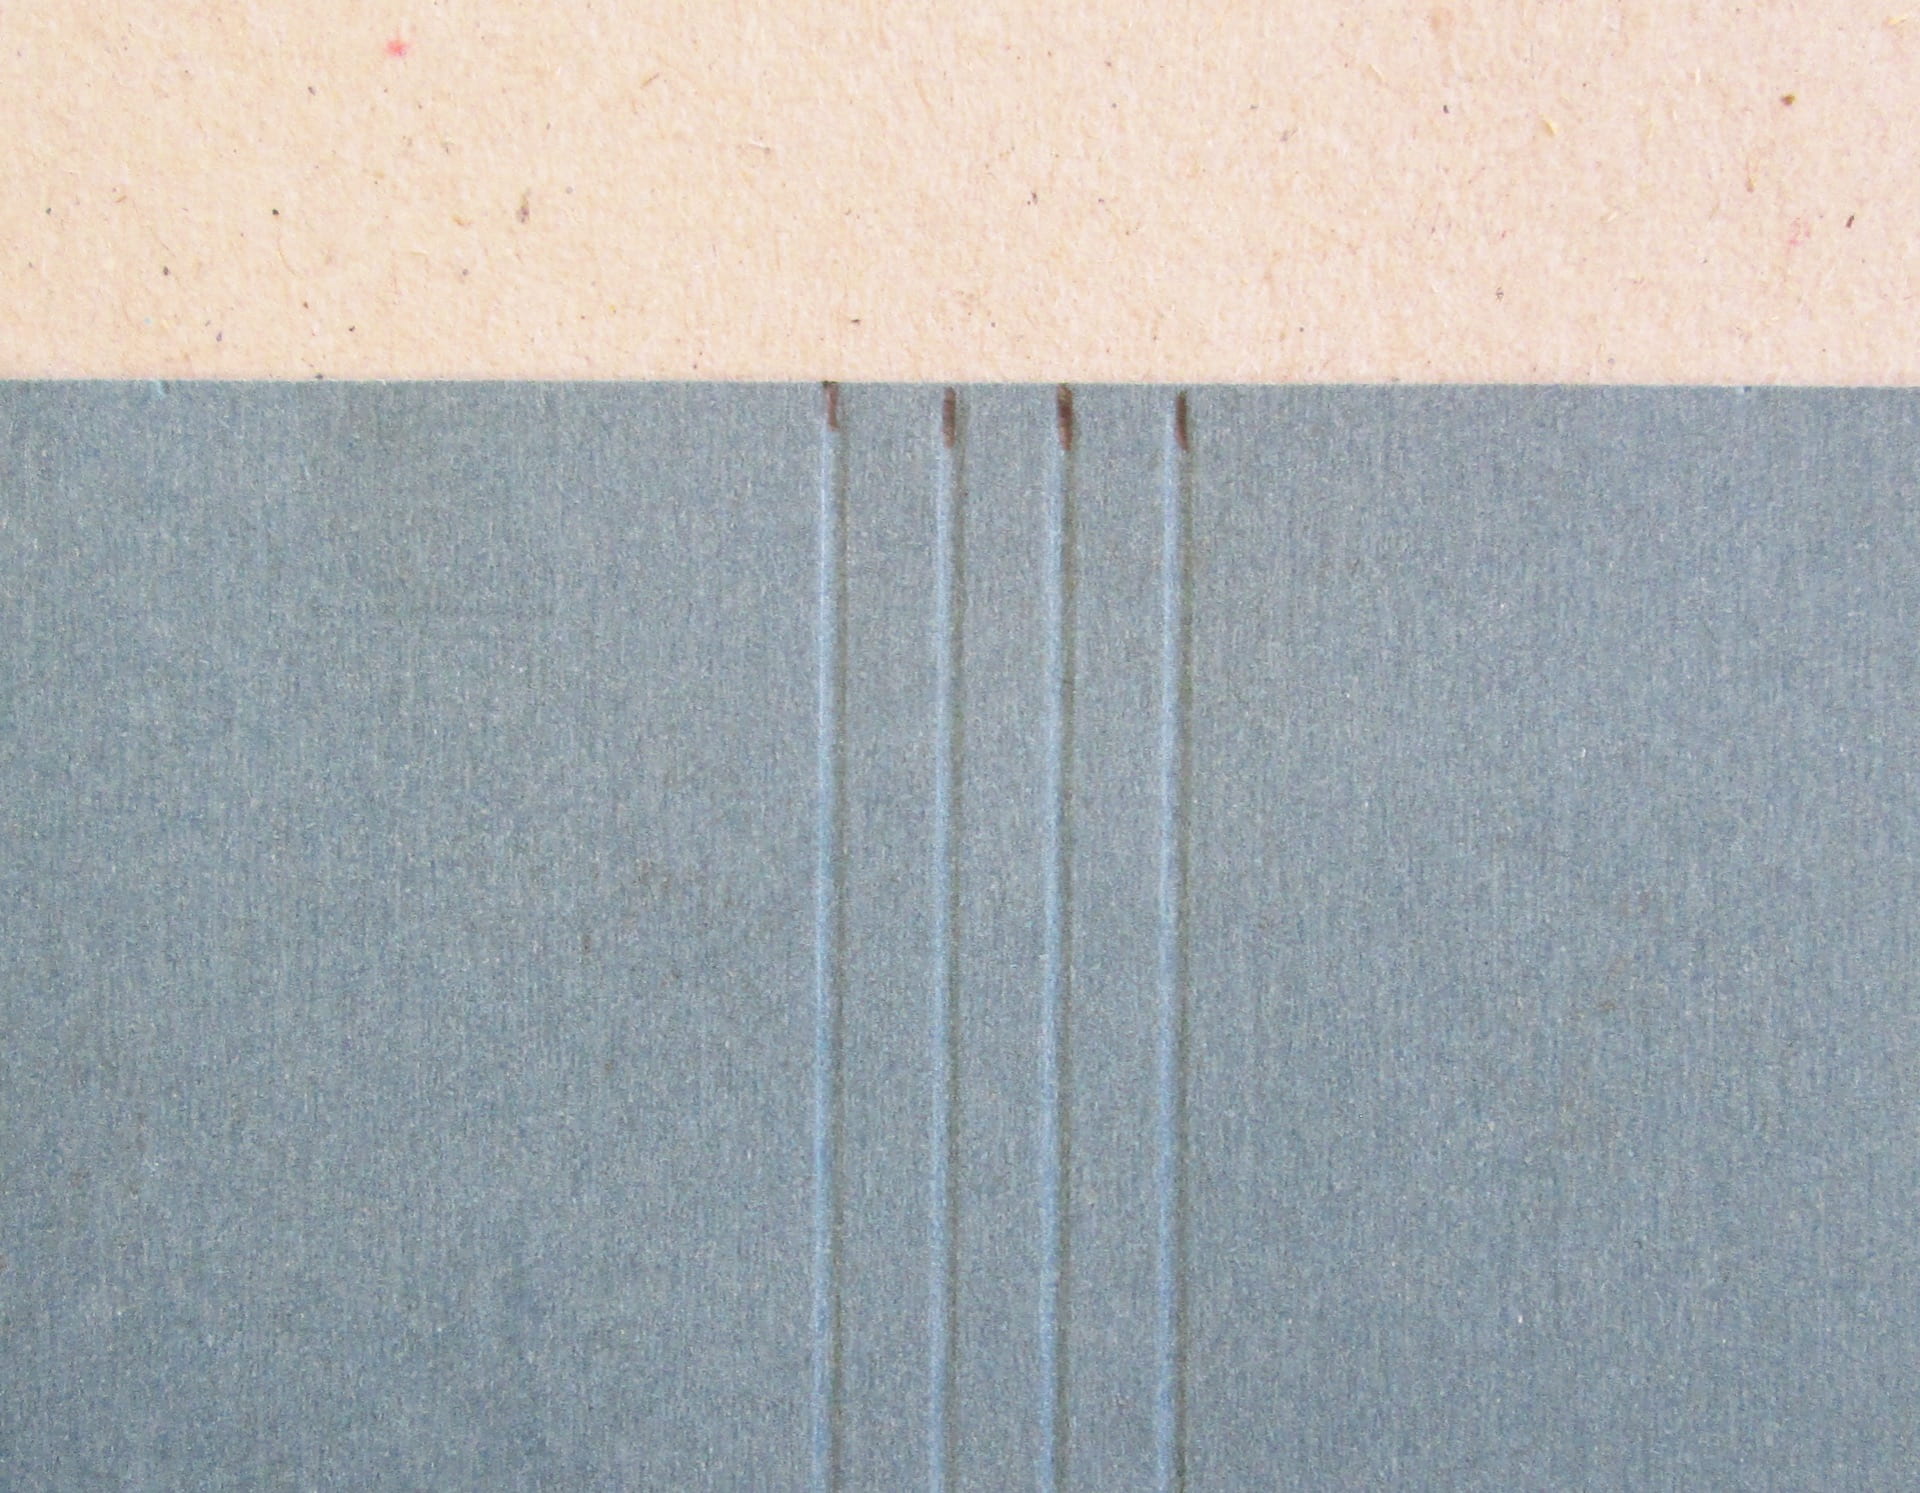
3. Use the scoring board to make two creases on your marks: line up one pencil mark in the middle of a groove then using the bone folder, press and draw it downwards in the groove. Move the card along so that the second pencil mark is in the middle of a groove and repeat.
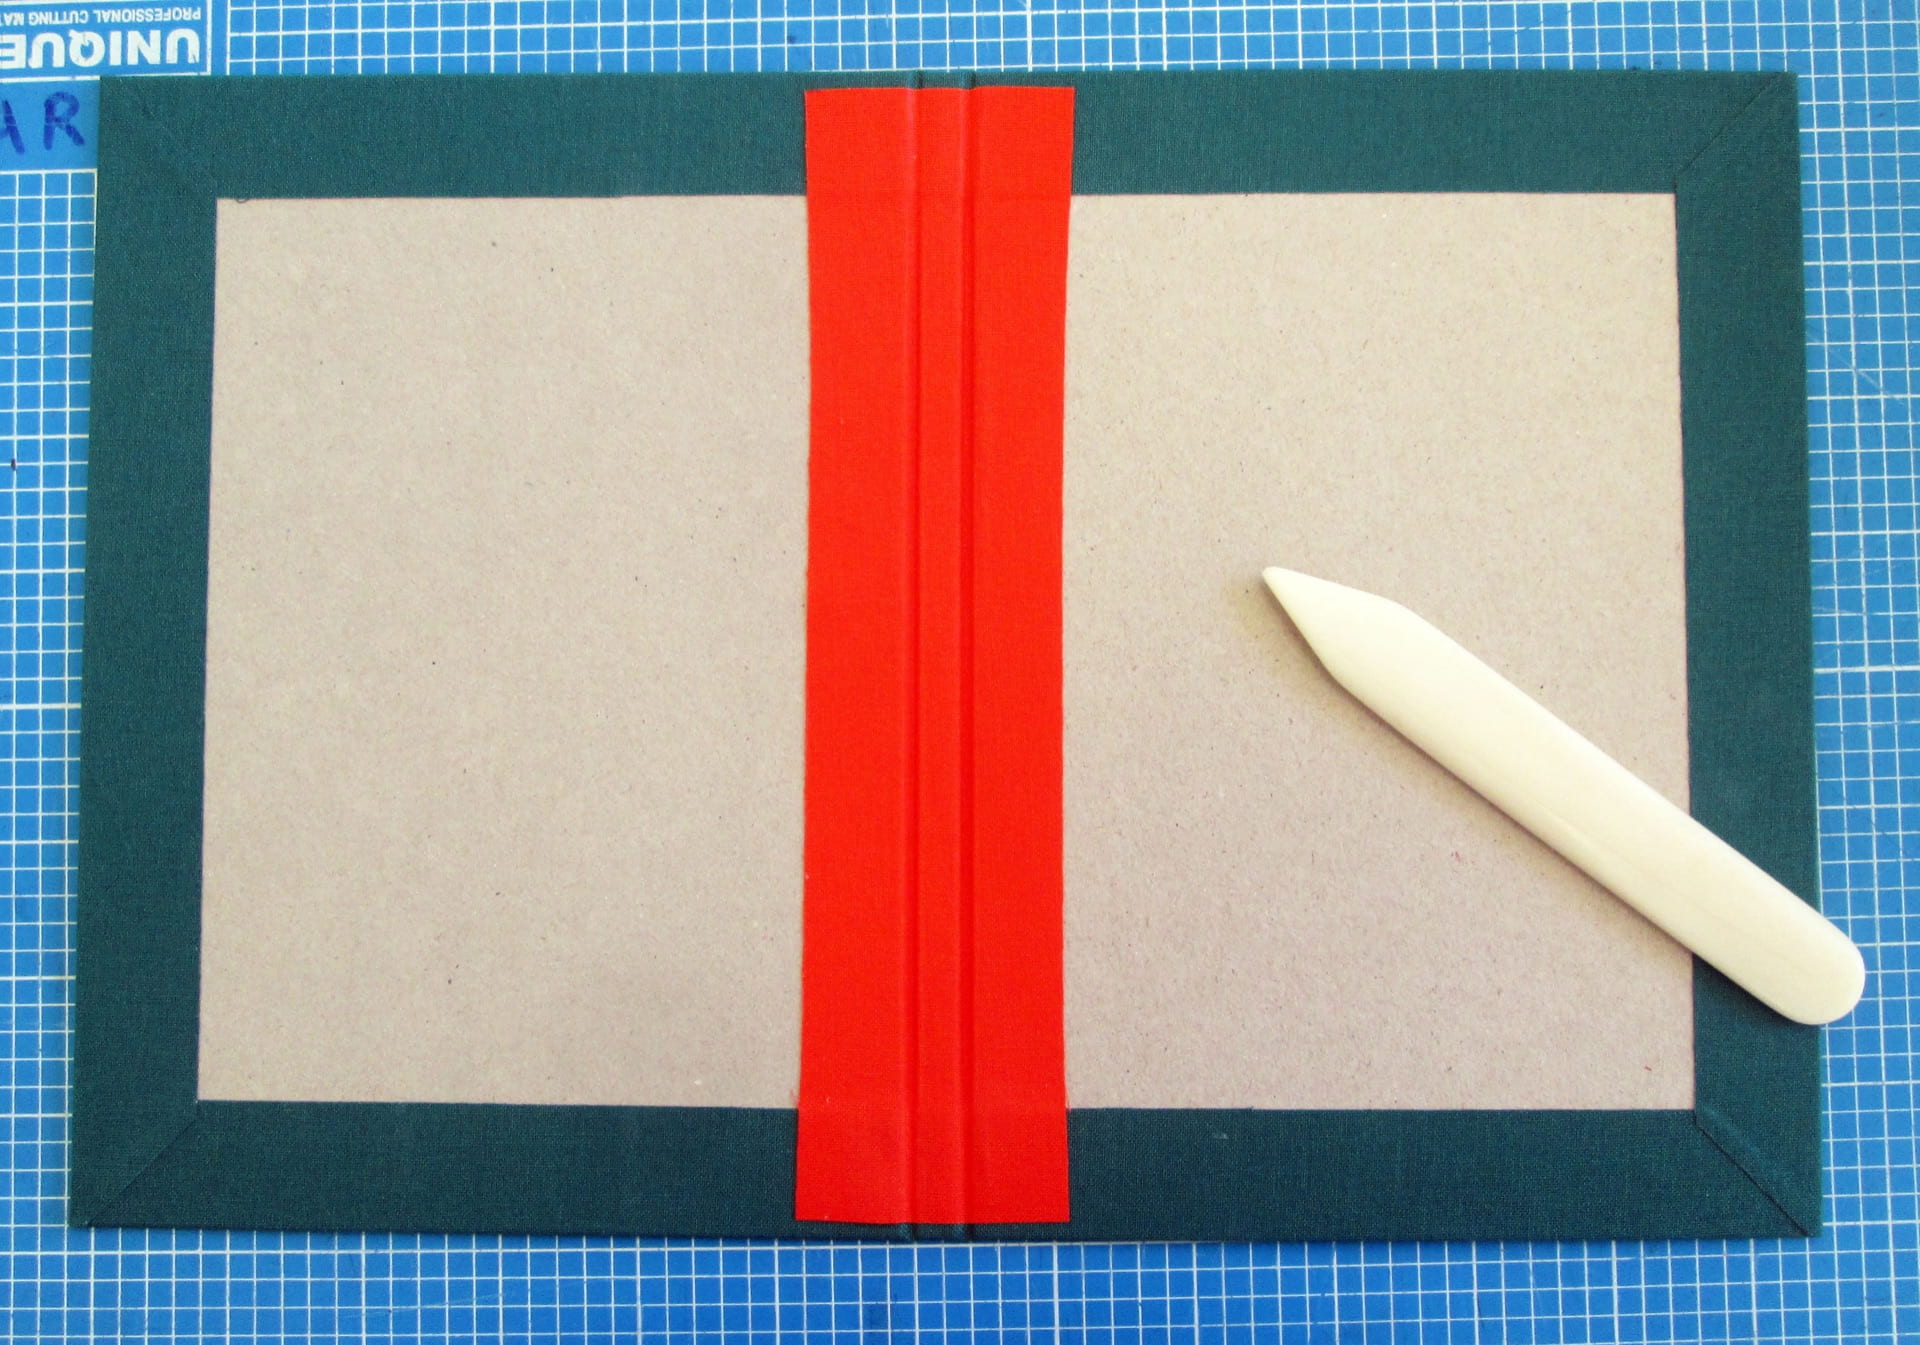
4. Make two more scores about 5mm to the left and right of the first two folds.5. Fold the cover into the shape of the book and check that it fits the pages snugly.
6. Glue the cover to the pages by applying PVA to the inside of the cover card with a small brush, glueing the three vertical spaces created by the scores. Drop the pages into the cover and press by hand.
Next, take your book and grey board to the technician at the guillotine for cutting.
Measurements for boards:

Cut 2 boards for front and back : width = pages +3mm, height = pages + 6mm

Spine piece : same height as front and back boards, width = pages + 2mm
When you stick the boards on to your bookcloth leave a (generous) 3mm gap between the board either side of the spine.
Video: making the hard cover
Line the inside of the cover with a strip of bookcloth to cover the spine and gaps:
The bookcloth strip should first be cut to size: 5cm x height of pages. Then stick it down to cover the spine gaps, pushing the cloth gently into the gaps as you go.
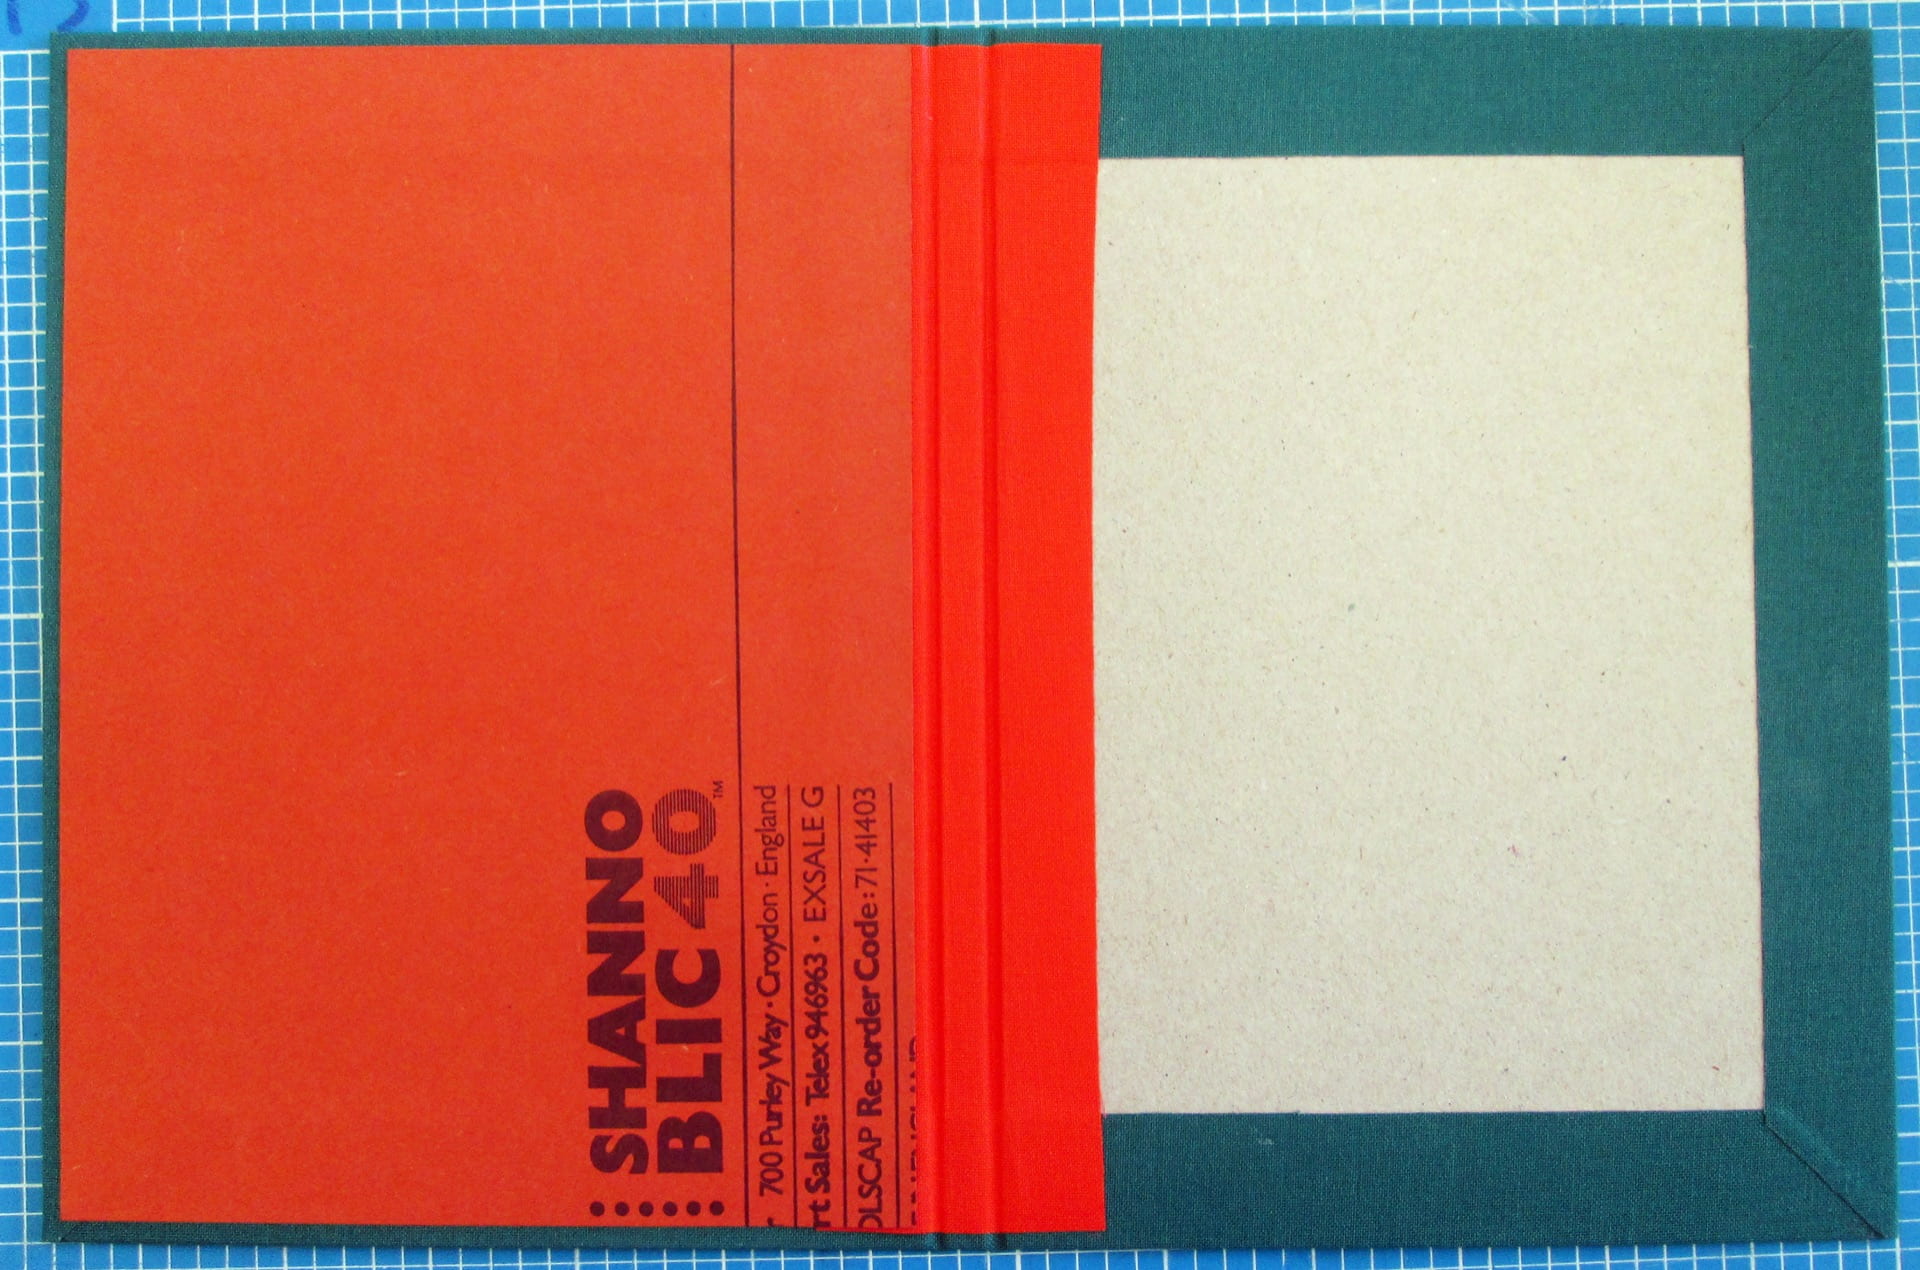
Line the inside of the front cover with paper or thin card: ask the technician for help with the cutting if you want it.
Cut the paper/card to size first: height of pages x width of pages minus 3mm. Stick in place – there will be a 3mm border on each edge. Press well.
Last step: glue up the back cover of the pages and stick in place – see video
When you have finished, please tidy your workspace by putting rubbish into the bin or recycling. Please wash out your glue brush and leave it in the pot in the sink. You can leave the tools on the desk.