
In this induction you will be shown how to make two book structures that can be used for books with lots of pages.
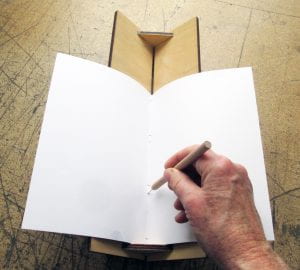
Book 1 is a multi-section binding with a soft cover. Pages are folded into sections and sewn together to make a book that opens well and you can see the whole page.
All tools and materials will be provided.
- Start by folding paper into sections:

This makes a section of 16 pages. You will need four sections all together so fold another three in the same way.
2. Make a template for the sewing holes:

3. Make the sewing holes in each section:

4. Sew the pages together: you will need 100cm 0f thread and a needle. Sew with single thread. See below for video of sewing – French link stitch.
5. Press the pages in the nipping press: Use your two pressing boards to make a sandwich with the pages then place in a press and squeeze tight for a few minutes to squeeze out the air in the pages.

6. Glue the spine: Take the book and boards out of the press and back to your workspace. You will also need PVA glue, a small brush and a heavy weight. See video:
7. Make soft cover:


6. carefully remove the pages from between the pressing boards.
7. Glue the cover to the pages by applying PVA to the inside of the cover card with a small brush, glueing the three vertical spaces created by the scores. Drop the pages onto the cover and press by hand to make a snug join.
Next , take your book to the technician for cutting on the power guillotine.
Book 2 – The Grain Direction Challenge
All paper and card that has been machine made has a grain direction and this is something that bookbinders usually pay a lot of attention to. It can help the pages to open more fully, creases are smoother and it can help to avoid weird warping and cockling of pages.
What is Grain Direction exactly?
Paper is made from fibre. During the machine paper making process, a continuous mat of cellulose fibre mixed with water is raised on to a vibrating conveyor belt. As the water drains away the fibres tend to line up in the direction of travel and this imparts the grain direction into the paper. Paper fibre is resistant to bending so it is harder to bend paper against the grain. When paper is folded with the grain, the fold tends to use the spaces between the fibres so there is less resistance.
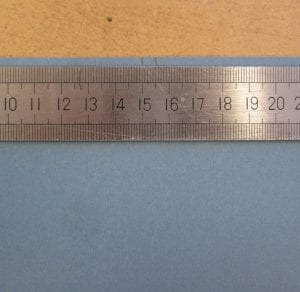
This phenomenom can be demonstrated with any piece of machine made paper or card:

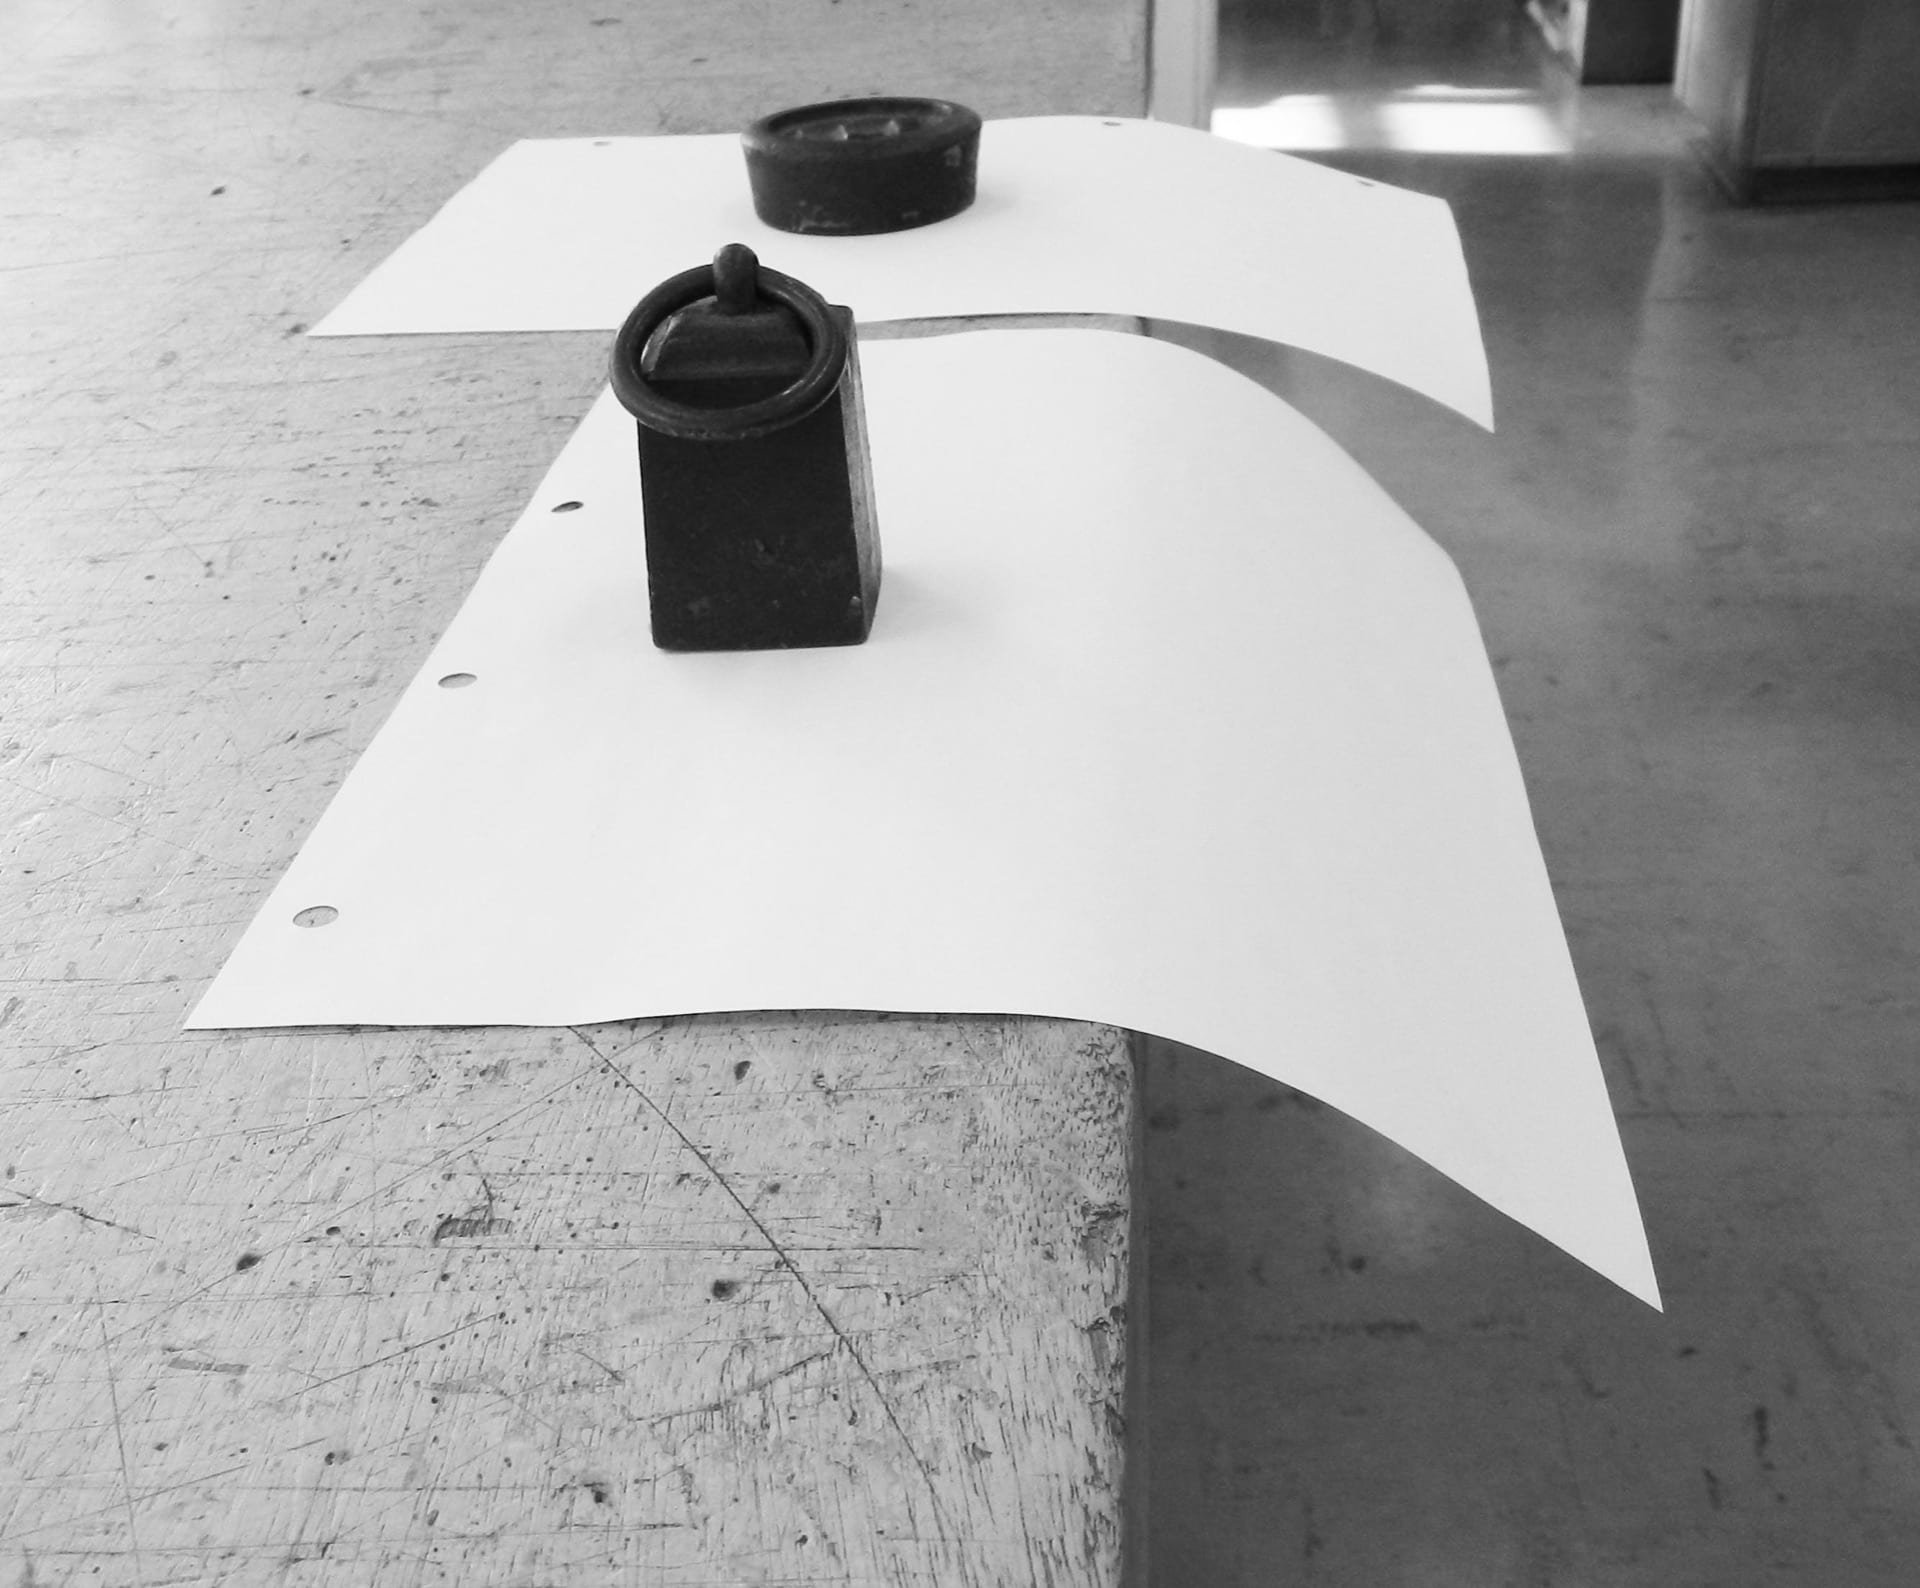
Sometimes, there is no discernible difference so you can try a second test: the hangover.
Paper is sometimes labeled as “long grain” or “short grain”. With long grain paper the grain direction is along the longest length of a rectangular sheet as supplied. With short grain, the grain direction is long the shortest length of the sheet.

Project: Make a Japanese binding with the grain direction of the paper parallel to the binding edge.
On your bench is a pile of single sheets of paper with two covers of thin card, all cut to the same size. Can you find the grain direction of this paper?
Try method one above with the whole pile of paper. If you are still unsure try the hangover test:

With the sheet that drops the lowest give it a crease over the side of the desk as it sits. Is the crease the long or short length of the paper? If it is the long length, than you will bind the long edge and if it is the shorter length then you will bind the short edge.
The Japanese binding is used to bind single sheets together. This binding method depends on the flexibility of the paper for the book to open well. So if we use the natural properties of the grain direction of the paper, we can improve the flexibility of the page and how well the book opens.
Interesting tip: A flip book does not want to open well as it needs to "flip shut" as you go through it so we bind a flip book with the grain direction the "wrong way".
Use the bundle of single sheets with two thin card covers for this project and bind it with the best grain direction for opening.
- Take one of the white sheets and draw a pencil line on the binding edge, 1cm away from the edge of paper.

Then mark up five hole positions along this line. The holes can be evenly or unevenly spaced. Use this guide on top of your pages and covers when you drill the holes.
2. Use the power drill to make the sewing holes: If this is the first time you have used the power drill, please read through the instructions below and watch the video before you use it. You will be able to ask the technician for help if you need it.

Take your pages back to your work desk and prepare for sewing. Discard the top sheet that you used as a guide and set up your pages as shown here:


Sewing Pattern: I have numbered the holes 1-5, right to left to help with this instruction.
-
Start in hole 3, take needle and thread down through this hole. Wrap thread around the spine and take thread through hole 3 again and pull tight.
-
Come up through hole 4, wrap thread around spine and come up through hole 4 again. Pull tight.
-
Take needle and thread down through hole 5, wrap thread around spine and go down through hole 5 again.
-
Option to take thread around other edge at the corner.
-
Keep pulling the thread tight as you sew, take thread up through hole 4.
-
Now, jump over hole 3 and down through hole 2. Sew holes 2 & 1 as 4 & 5.
-
From hole 1 take needle and thread down through hole 2 then up through hole 3. Arrange the two ends of thread on opposite sides on the long thread which is laying across hole 3 and finish off by tying a knot over the long thread.
-
You can hide the ends by threading them through to the back of the book through hole 3 and snipping them close to the back cover.
When you have finished, please tidy up your workspace by putting rubbish in the bin and wash your glue brush.
Thank you.
