Flag Book

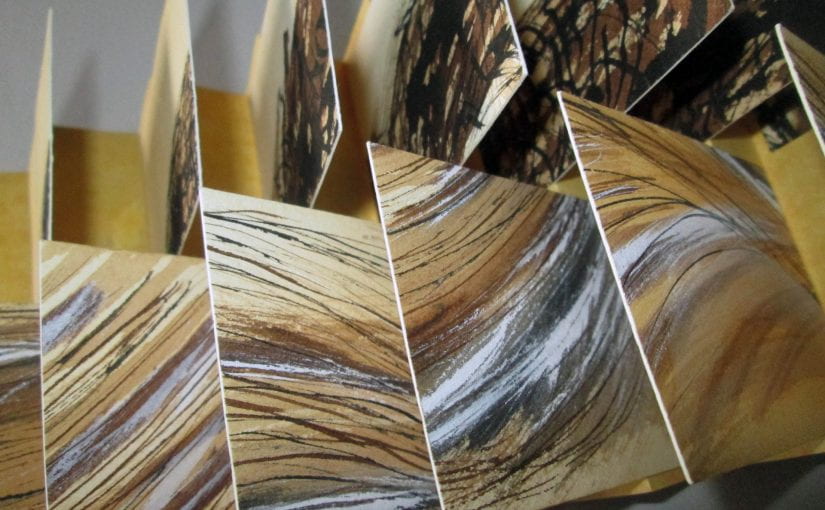
This structure was created by Hedi Kyle and presents opportunities for playing with the physical, more sculptural qualities of the book. The Flag Book structure can also be used to fragment content.

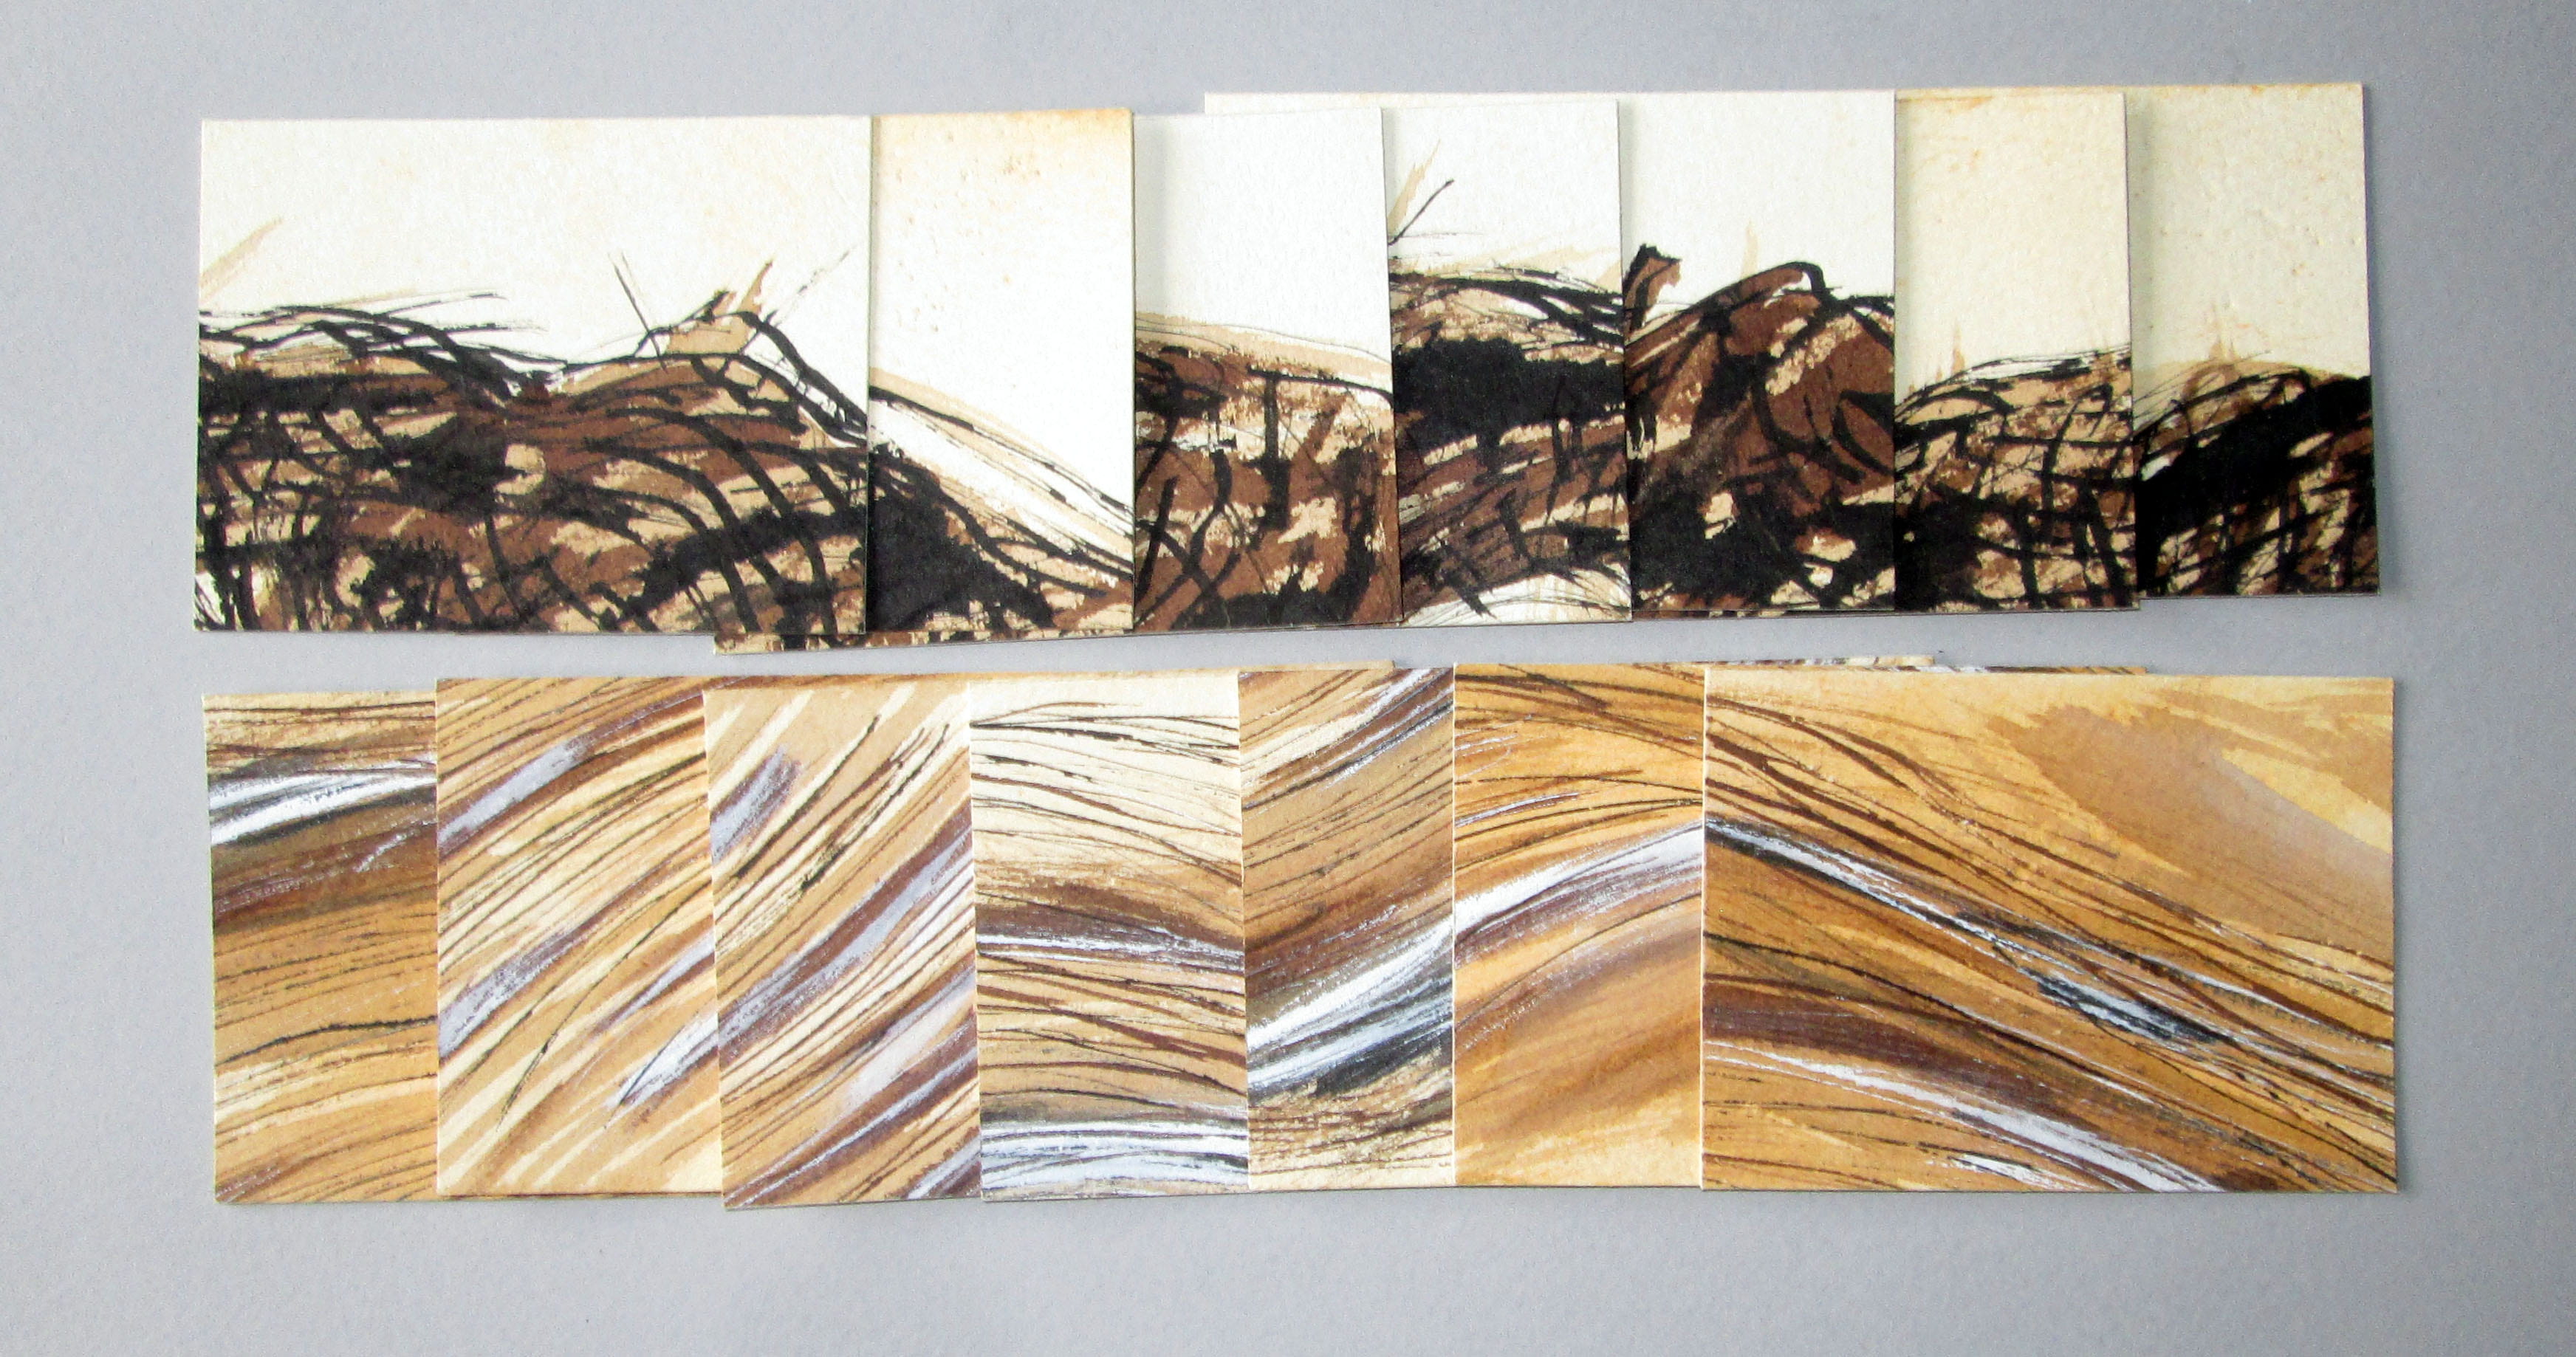
Find some artwork to cut up and reconfigure or try constructing with alternative materials.

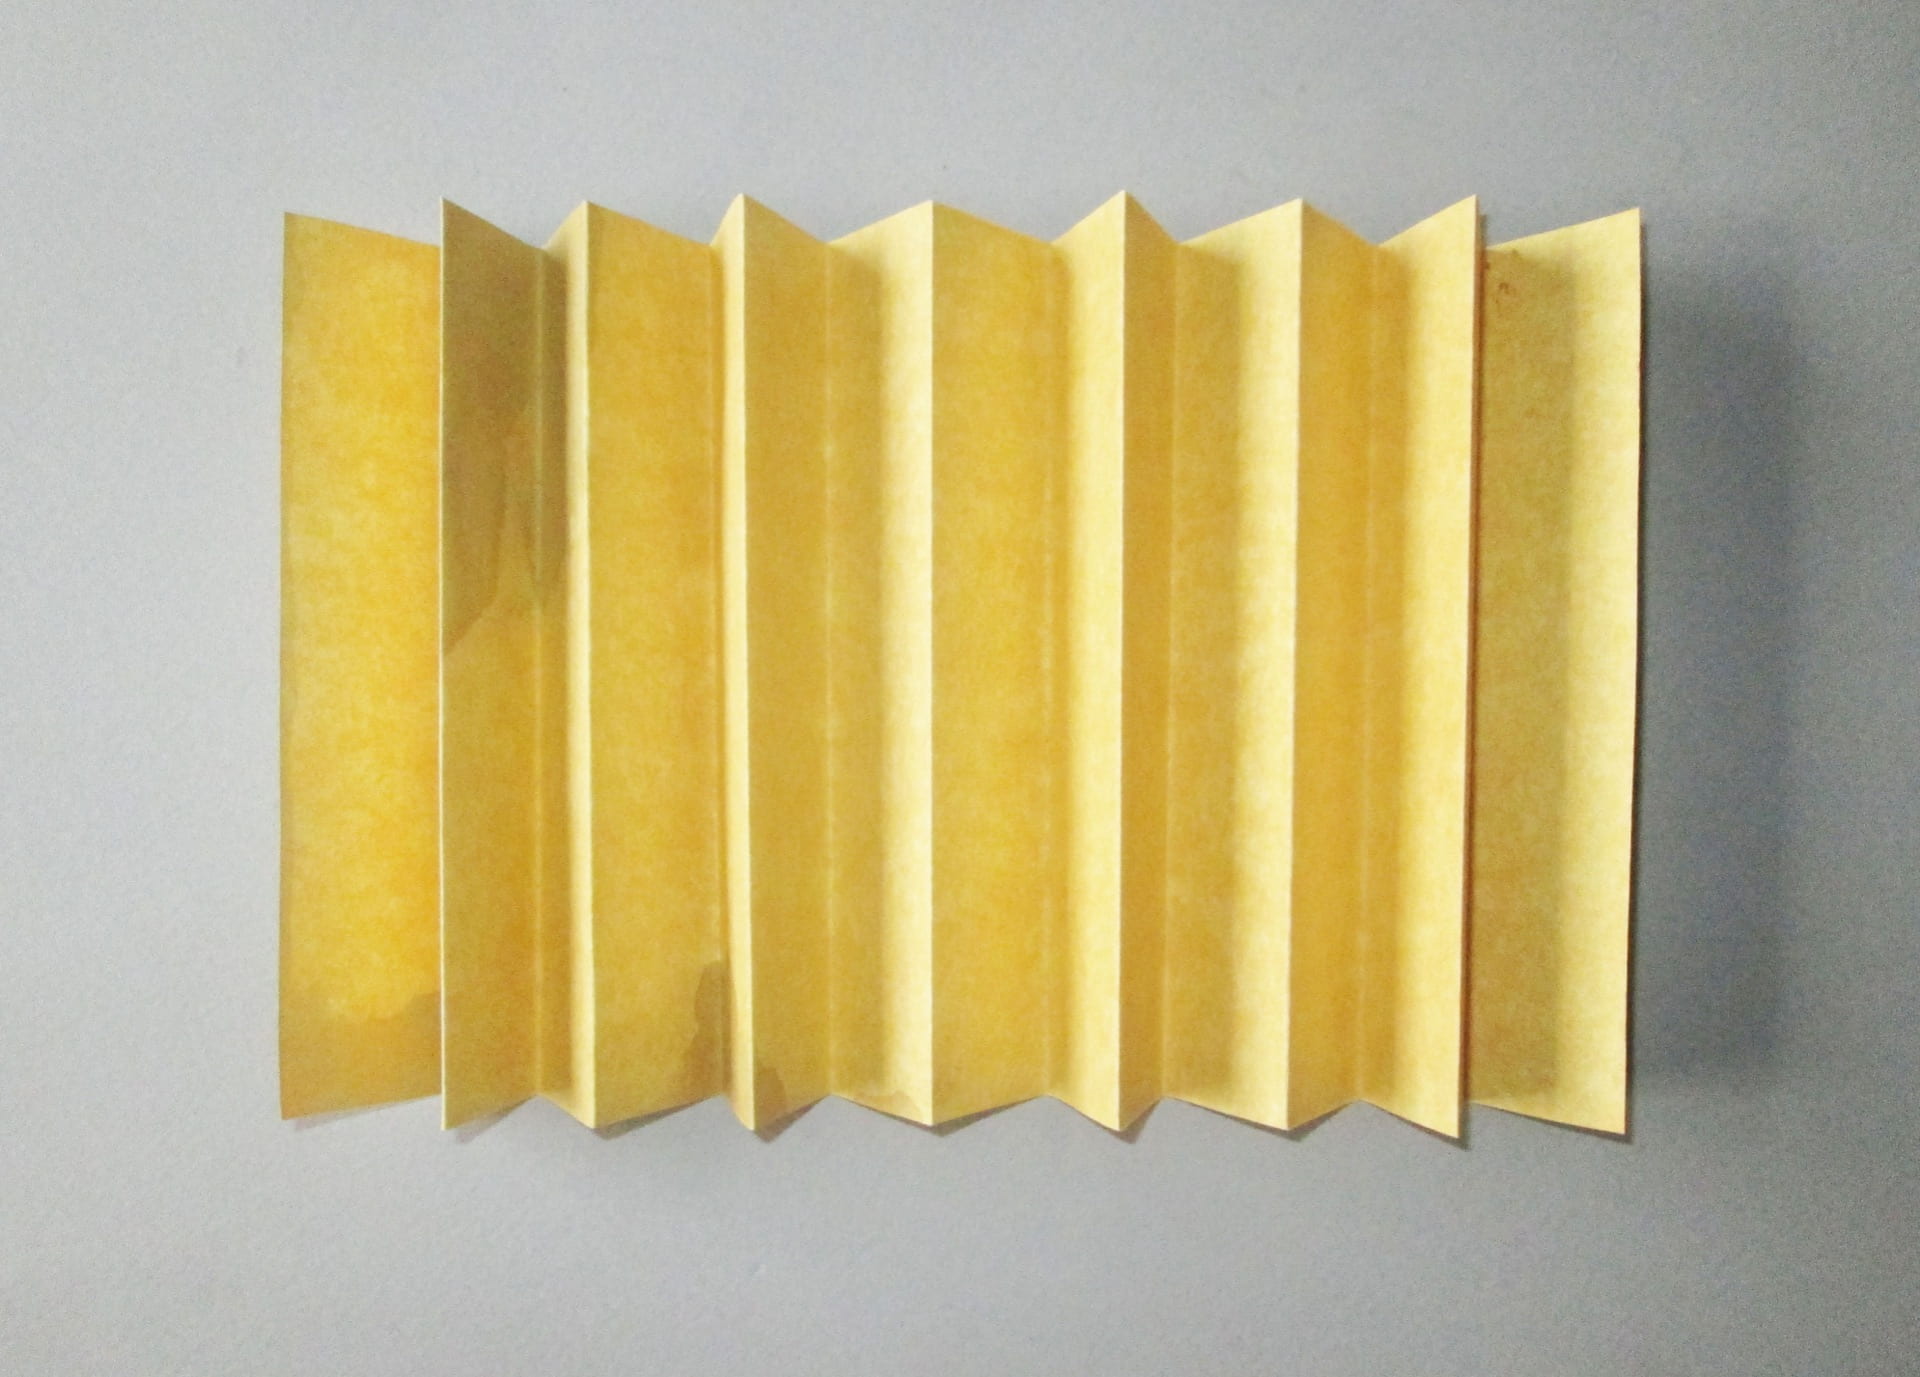
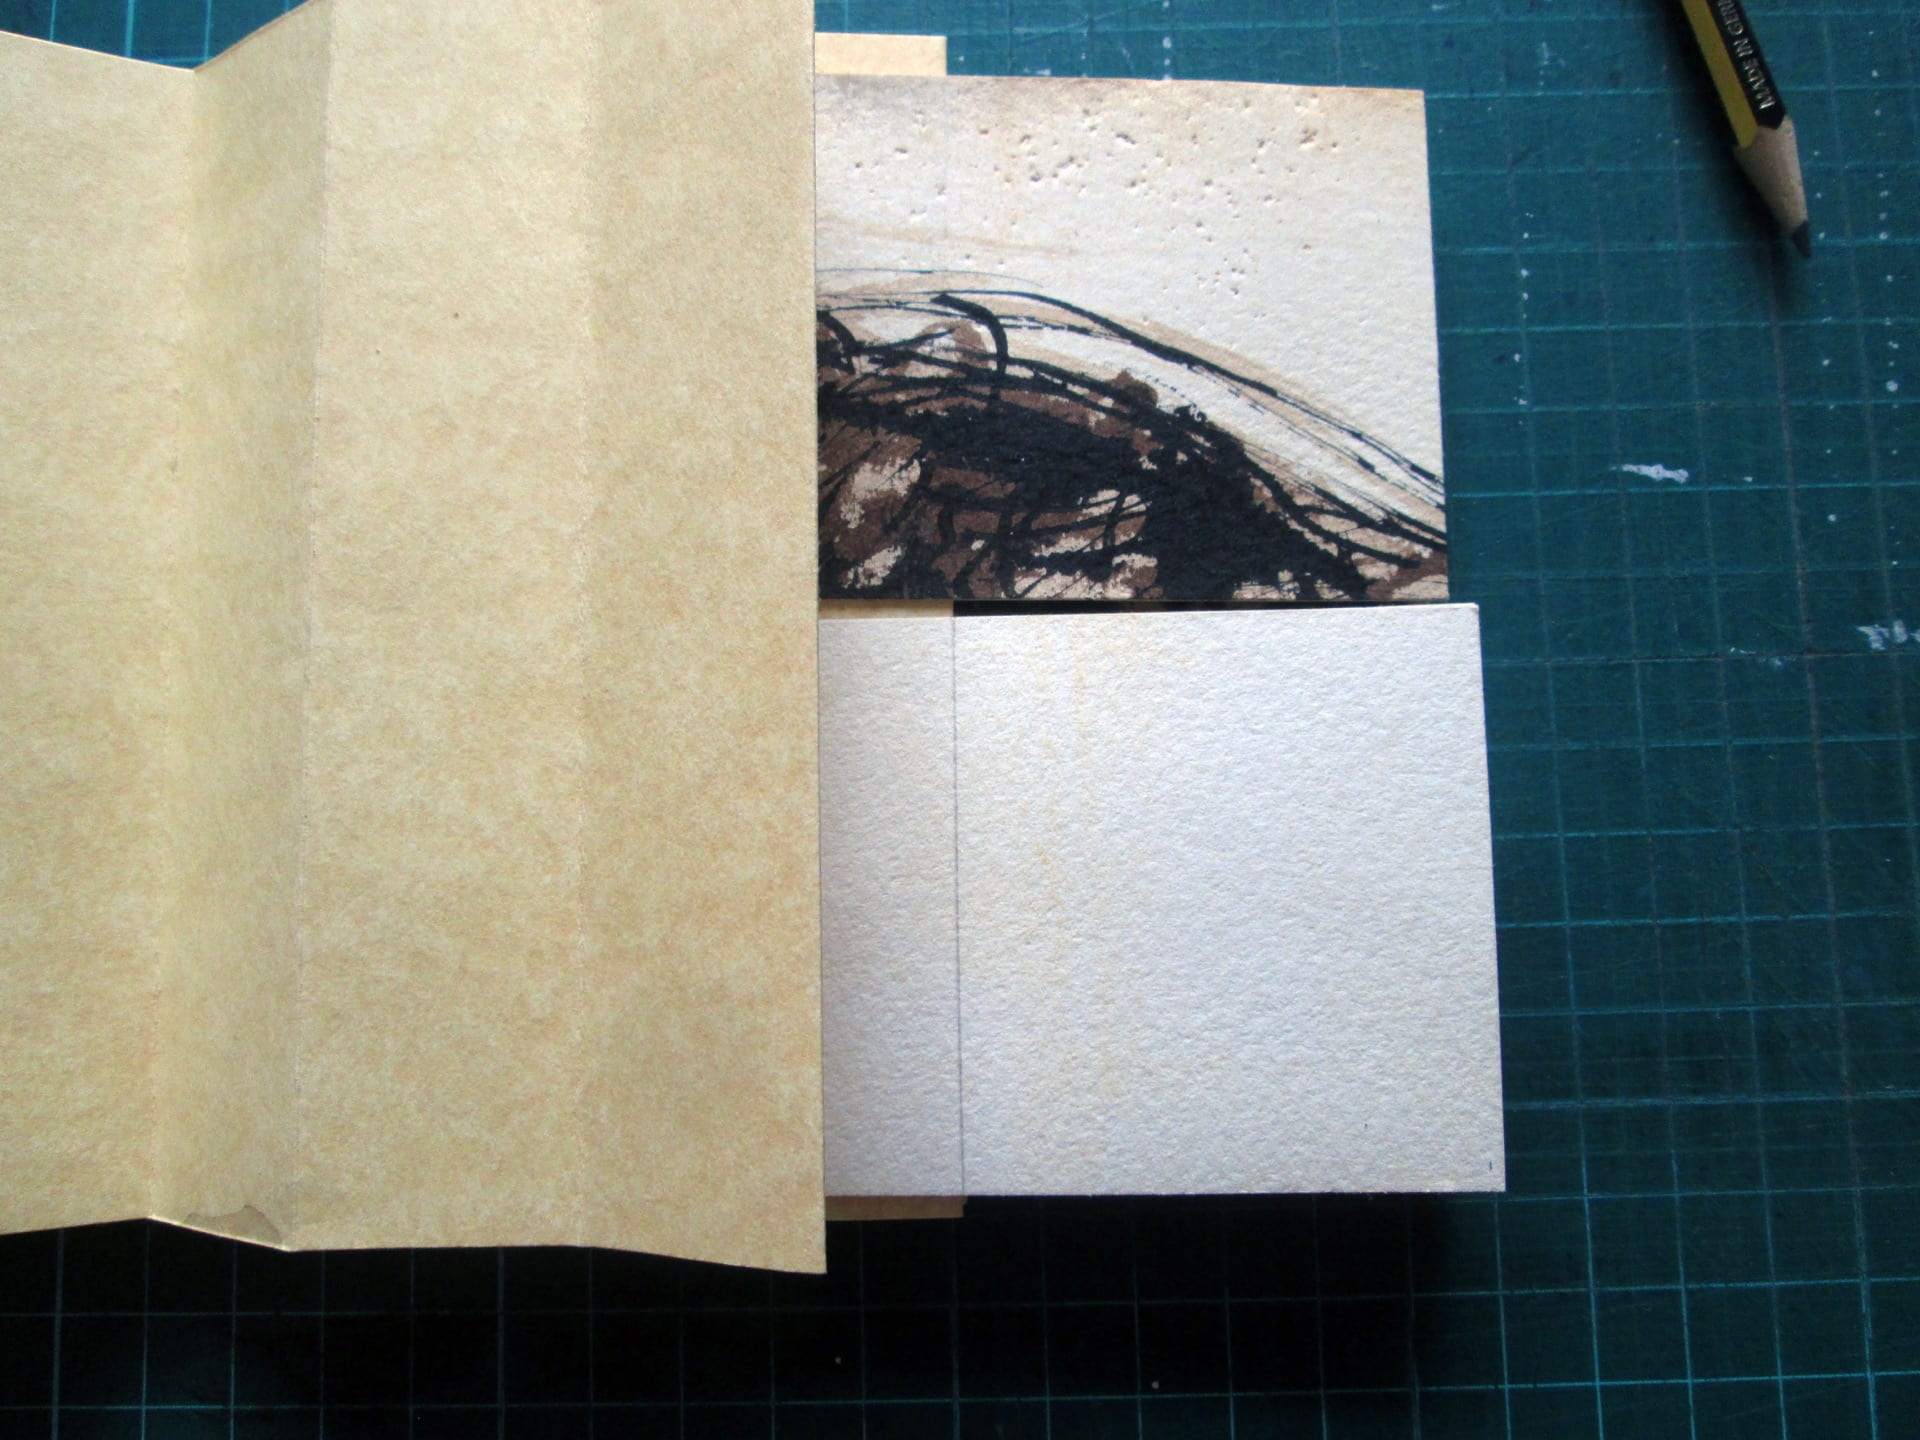
This example uses a heavy weight paper stock for the “flags”, something around 250 – 300 gsm. The concertina spine works best with a thin but strong paper stock – Kraft paper or Ingres paper works well.

Keep the grain direction of all materials running parallel to the spine.

In this example there are two rows of flags and the line between them is straight. It is, however, possible to create many more rows of flags and the line between them can be angled. Experiment!

Essentially, a narrow pleated spine is folded from a long strip of paper and the flags are glued on to both sides of the pleats so that when the book is opened and stretched, the flags point in opposite directions.

1. Cut the flags to size and lay them out in order. In this example there are seven flags on each row. Decide on the height of the book – height of flags plus some mm for movement and borders if you want them.
2. Fold a narrow concertina from a long piece of paper. Start with a sheet of paper 32cm long and keep folding in half until each section is 2cm wide. You will have enough “mountains” to attach 7 flags – the first and last section is used to join the spine to the covers. If you need a longer spine (more mountains), fold another strip of paper in the same way and glue together by overlapping one section. Cut to size as required.
3. Glue flags to spine. Start at the back and work forward. Lay the first two flags in position. (The paperweight is holding them in place). Use the grid on your cutting mat to keep everything square. I have left about 2mm gap between the top and bottom rows to allow for movement. Mark up where the edge of the concertina comes on the flags so that you know where to glue. Apply glue then fix in position and press with a bone folder.
4. The two flags are stuck to opposite sides of the mountain fold.
5. Fold the next mountain fold of the concertina over the first flags and join the second pair of flags in place. Use the first pairing as a guide so that you keep the flags in alignment as you work forward, joining all the flags in place.

6. A simple hard cover can be made from two pieces of 2mm grey board. Cut them to the size that you want and then cover them with bookcloth or paper or something else.
7. The first and last sections of the concertina can be used to attach the covers. Just glue in place on the inside of the cover board.
Stick a piece of paper on the inside of the boards to hide the join and finish off.
Print Friendly, PDF & Email