In terms of the design, you can get use/create an image like this:
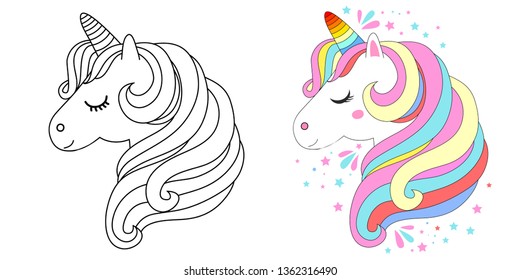
Then open the raster (pixel-based ) image in Illustrator and crop the image that you need (I used the image on the right). Then to convert the image to a tracing object with vector paths that can be manually edited goto Object > Image Trace > Expand. Here’s the result:

Here’s the machine ready to go!
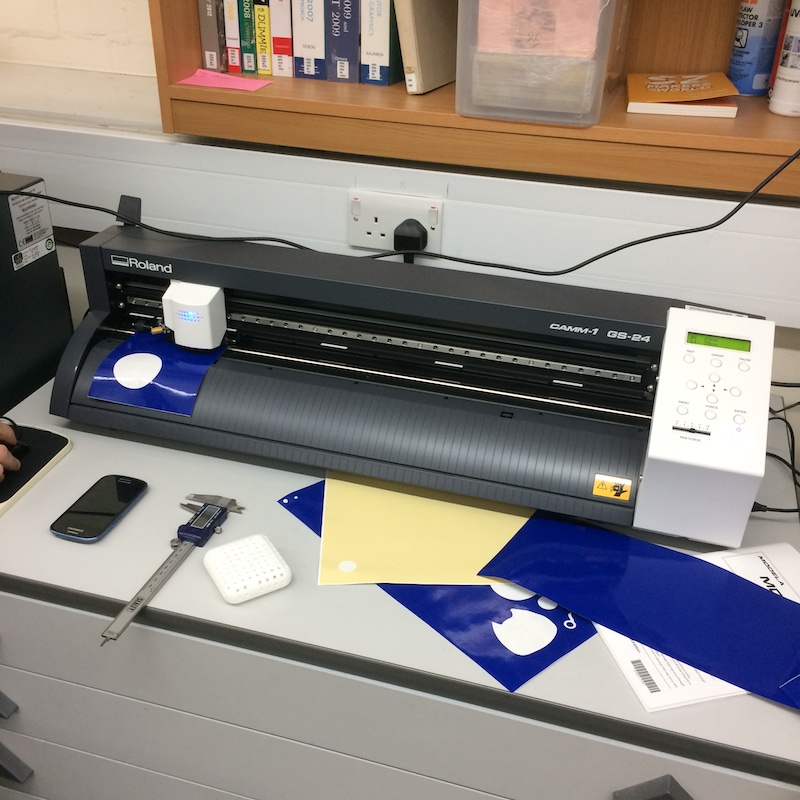
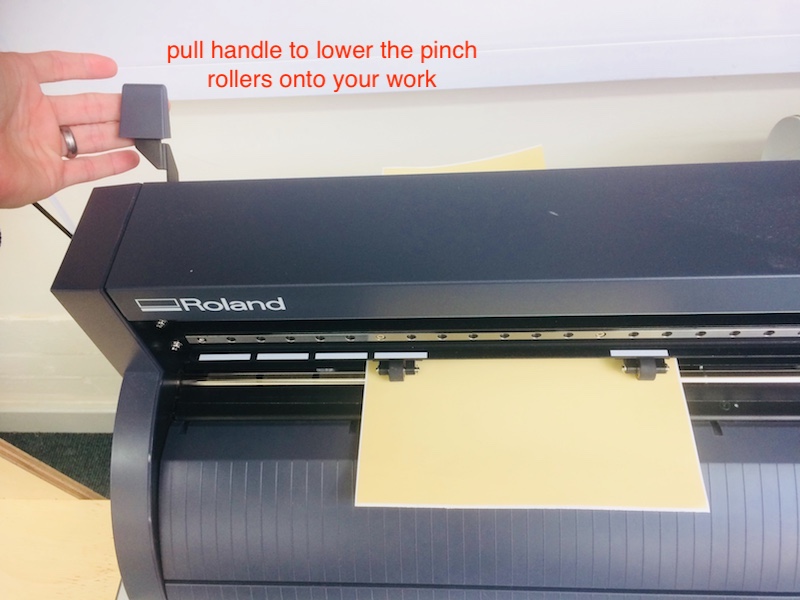
Setting up the machine. Firstly, turn the machine on, then push the handle at the back of the machine to raise the pinch rollers. Put your material in and make sure that the pinch rollers are within the white labels otherwise they won’t be secure!! here’s an example of how to do this.
![]()
Then pull the handle to lower the pinch rollers onto the material.
Press menu and then use the up/down arrows to select a sheet, roll or piece (I’m using a piece here), and press enter. Note that here is a guide to these options.
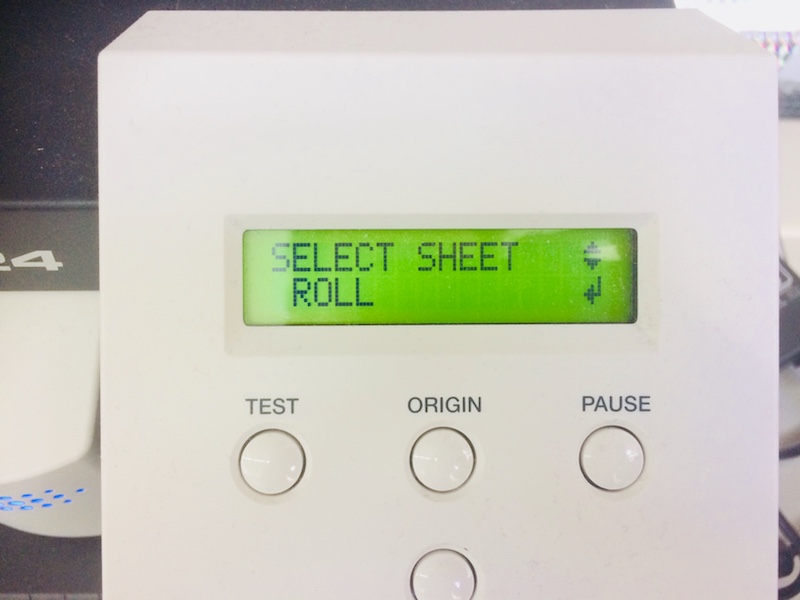
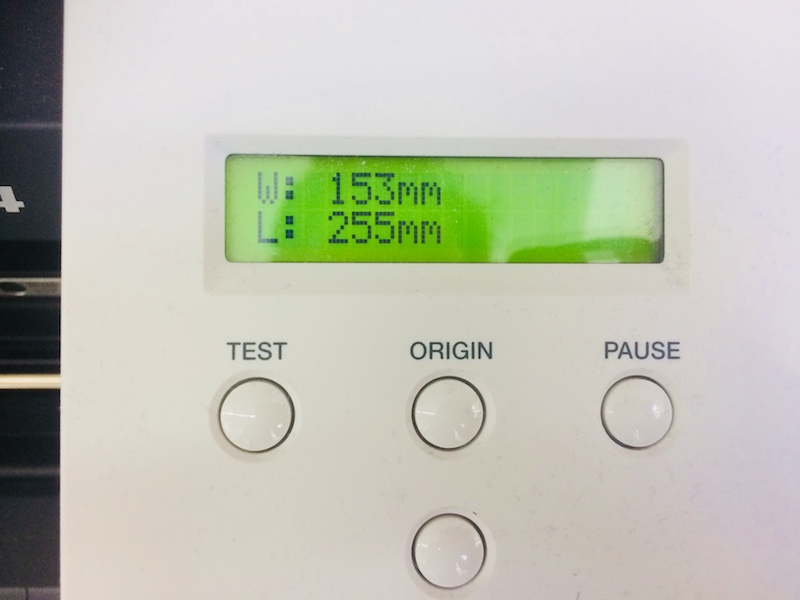
It will then move the cutter over your piece and measure the size of it.
I’ve used illustrator here, and we can cut directly from this package (only on the PC attached to the cutter), using File > Print. You’ll see the Roland GS-24 in the printer list. Then click on Setup.
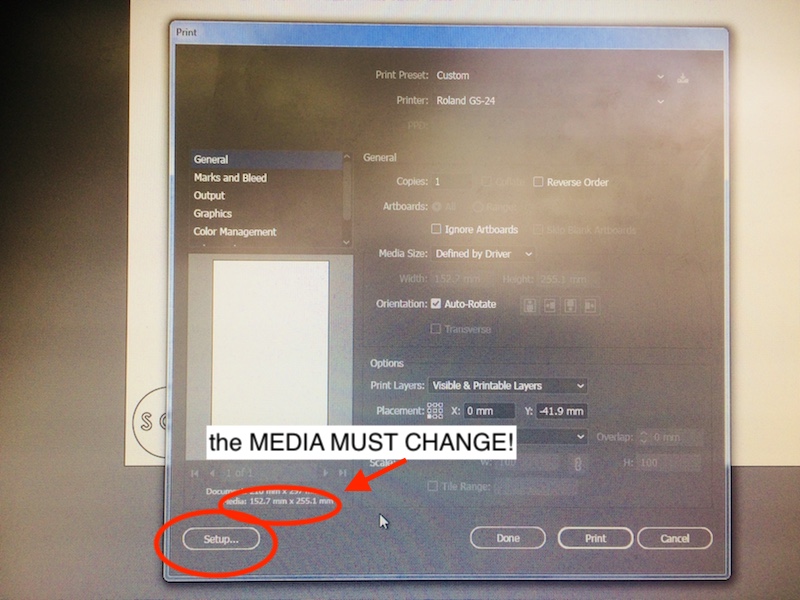
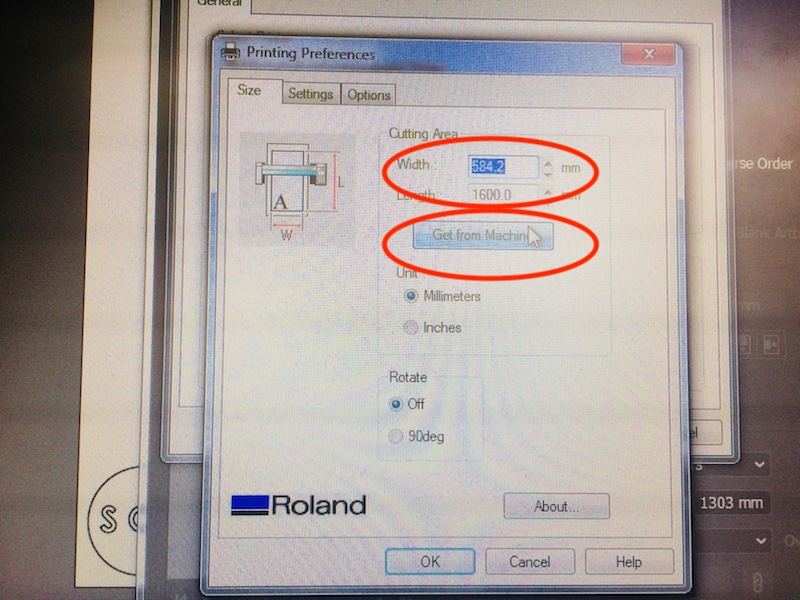
The idea with the setup is to make sure that the media reflects the size of your piece/roll/sheet. Do to this you often have to use the GET FROM MACHINE tool a couple of times from the preferences.
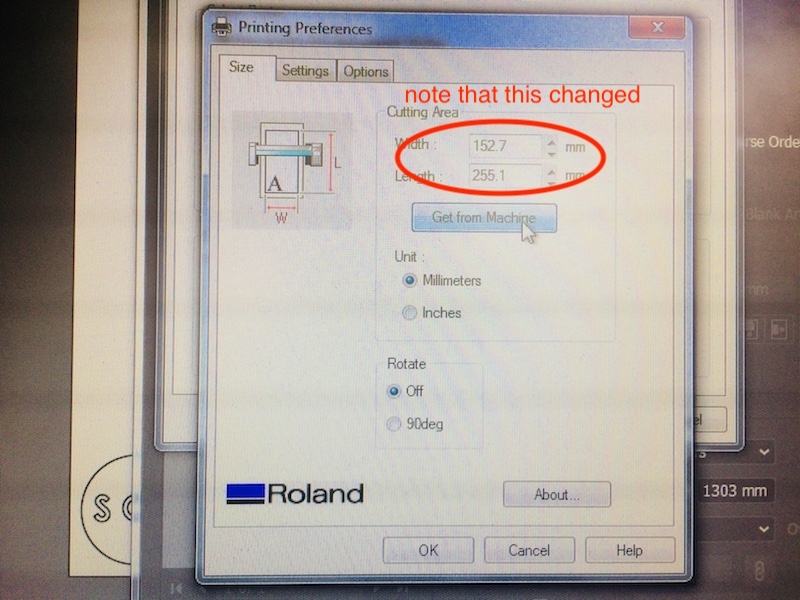
Once the media size is correct, you can click OK, then click Print and your shape will start cutting! Make sure you keep your fingers away!
