Some tips on cutting boards for covers when you want two boards the same size with right angles in the corners. A cutting mat with a grid clearly marked is useful for this – and a keen eye!
Use the grid on the cutting mat to keep the boards square as you cut them. Mark up accurately with a sharp pencil.
If you don't have a grid on your cutting mat, you will need a set square to check the right angles in the corner.

Use a tough (sharp) blade to cut through thick board - I use a Stanley knife. Keep an eye on the blade as you cut to keep it upright.
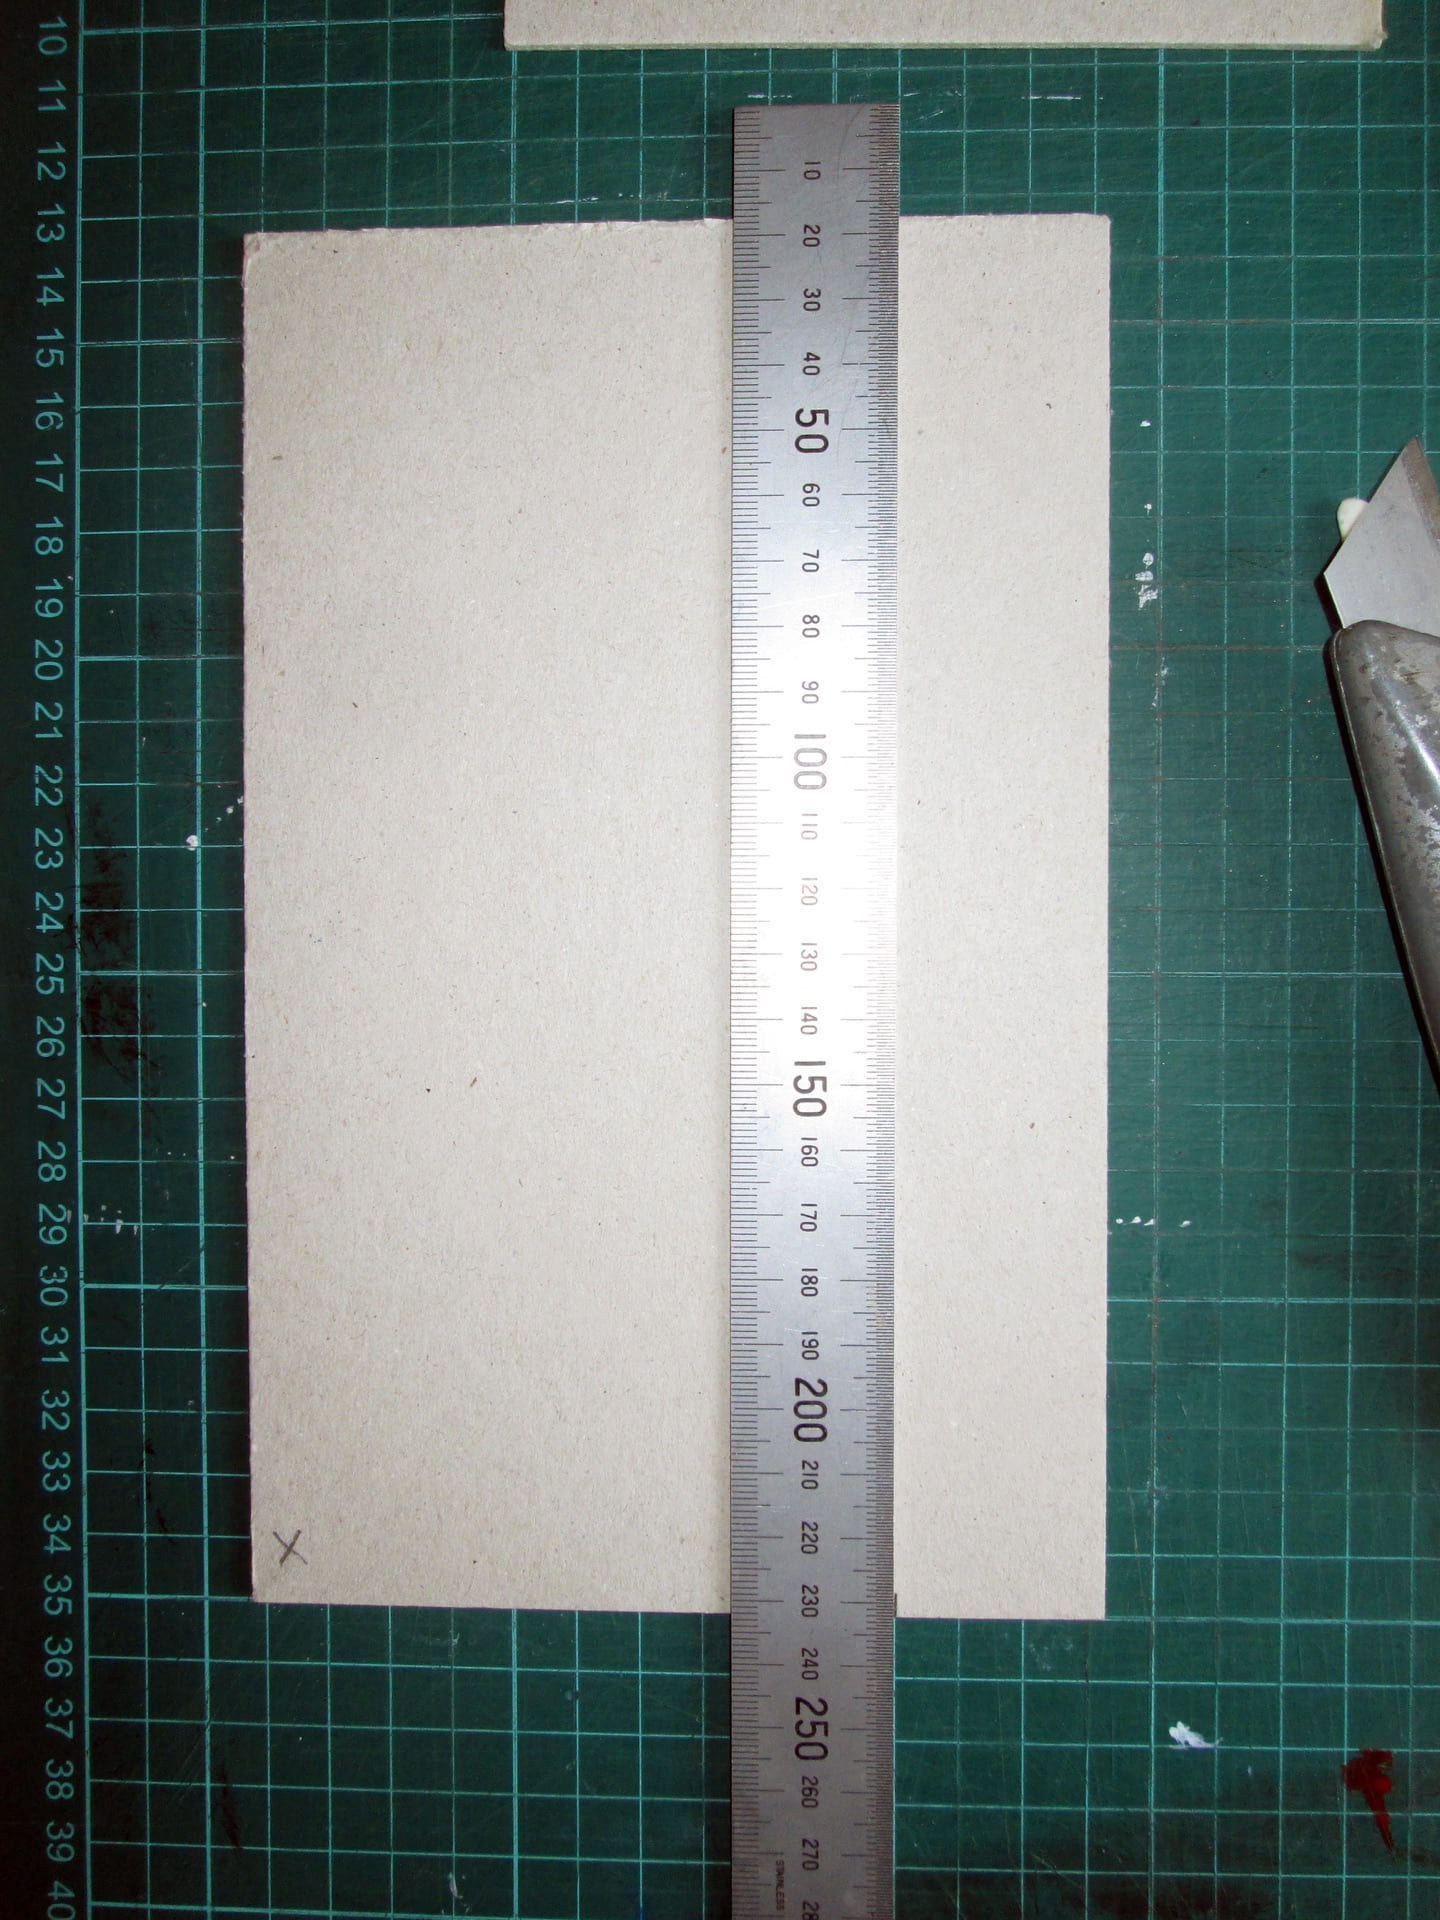
Choose a piece of 2mm thick board that is bigger than you need and find a corner with a right angle. Mark this corner with an X. (Use the grid on your mat to check the angle and if you don’t have a corner with a right angle you will have to cut one.)Calculate the size of boards that you need – height and width. Measure and mark these up on the edge of the board. A sharp pencil will be more accurate than a blunt one.Line up the first pencil mark with the grid on your cutting mat and lay a metal ruler in line. (If you don’t have a grid on your cutting mat make another pencil mark on the opposite edge to line the ruler up to.)Stand up to cut so that you can put maximum pressure on the ruler holding hand. Cut with a sharp blade and use as many strokes as you need to cut through the board – don’t force the blade. Keep the blade upright as you cut.You may be able to use the edge of one board to cut the second exactly the same size but be extra careful when you are cutting against a board rather than a metal ruler.Cut the second edge in the same way…… and with a little bit of skill you may have two boards the same size and the right size!
When you cut board by hand you can easily get a burr on the edge . (This is a rough and raised bit on the edge.) It is important to flatten this by pressing with a bone folder, especially if you are covering the boards with thinnish material as this can exaggerate the bumps.