Archives and Exhibitions Pt. II
Where has all the time gone (she said for the 100th time since starting to write this blog)? Autumn is here, and what a beautiful autumn it has been so far too! I would go as far as saying that this is easily my favourite time of year… But this is completely beside the point, so I will crack on.
We are (again!) involved with an exhibition of some of our materials. Often with exhibitions, people do not always think about all of the processes and challenges taking place behind the scenes to enable a display of archival materials to take place safely. To bust the myth a little, I thought I would write a post the steps involved to get to the ‘end product’.
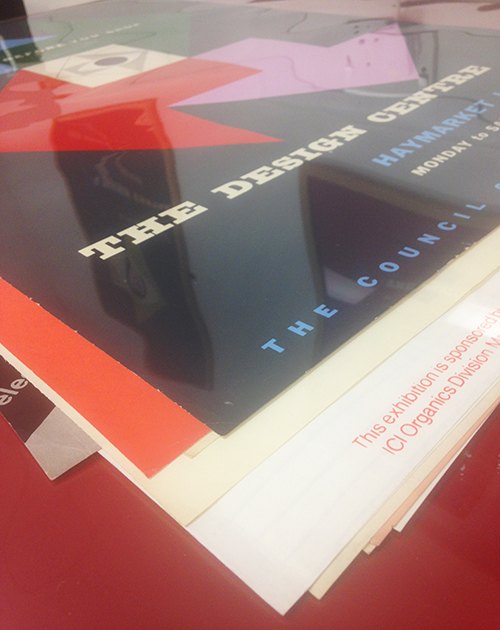
For this particular ‘case’, the wheels started turning when designer Margaret Howell visited the Design Archives over the summer with a desire to put up an exhibition in Howell’s Wigmore Street shop in London. Margaret and her colleague Jo Barber spent a day or two with us and became very excited about the posters in the Design Council Archive. There are 228 of these in total, and I must mention at this point that the selection process was done by going through the original posters and not by means of electronic selection – there is still nothing that beats looking at the originals! After ironing out some ideas, the end product was to publish a 2017 wall calendar and to exhibit 25 of the posters. It has been wonderful to see some of these gems coming out from a spell of hibernation and creating an opportunity for other audiences to see the real thing.
All of the Design Council posters were digitised back in 2008, are fully catalogued and can be found on the Archives Hub. Providing the 12 images requested for the calendar was therefore straightforward, which meant I could concentrate on getting the 25 posters ready for framing.
In these instances, the very first thing to do is to take time to assess the condition of the original materials requested for loan. There is always the possibility of an item not being in good enough condition to go on loan, in which case the whole ‘deal’ would have to be completely reconsidered. In regards to the Design Council posters selected, the condition was generally good, with only a few minor and easily-dealt-with issues.
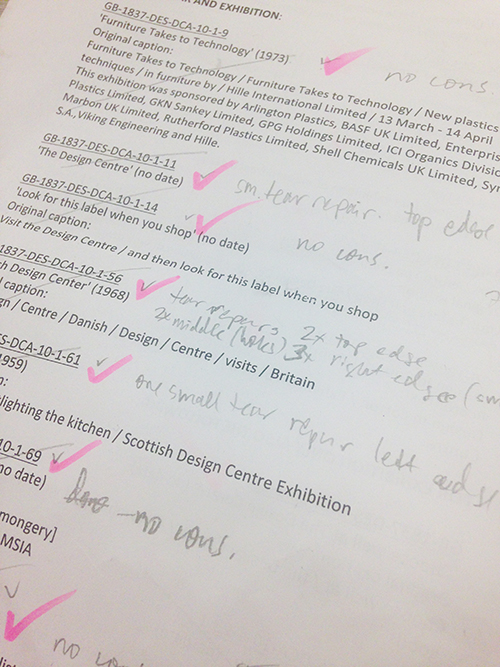
The next step in the process was to fill in condition reports for each individual poster. This involves checking them to make note any tears and/or other issues which will require attention to make them ready for exhibiting. Procedures like surface cleaning and repairing tears are very time-consuming at the best of times, but due to the size of the posters, this took even longer.
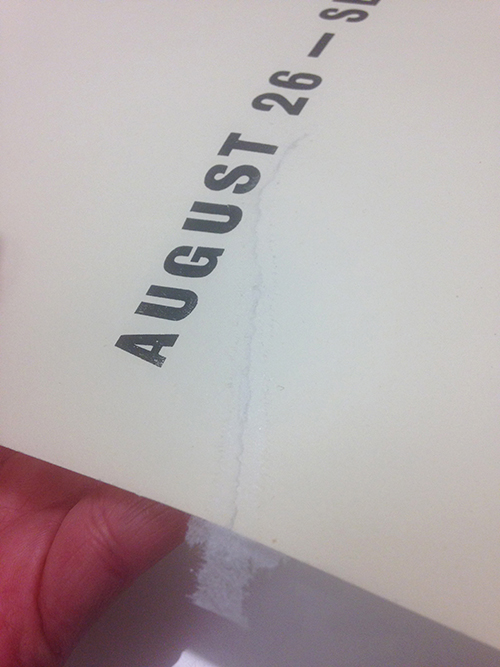
When it comes to individual tear repairs, one always tries to mend tears from the verso of an item to make the repair as ‘invisible’ as possible. As an example of an exception to this rule, one of the posters had this rather large tear starting from its edge.
The way the paper had ripped made it an awkward tear to mend. After making a repair on the verso, the tear was still very much an issue when the poster was handled.
This meant that mending the poster on the recto was also necessary. The repair tissue gets shaped over a lightbox to follow along as close to the edges of the tear as possible. The aim of this is to minimise its visibility.
The edges of the heat-set tissue repair get cut by feathering them with a scalpel. This maximises the repair’s ‘staying power’ by allowing the fibres to attach themselves onto the surface of the paper much more efficiently than they would if this was done by cutting a straight line. This increases the longevity of the repair and looks less intrusive.
For entire missing areas – like ripped corners – I created infills, again using heat-set tissue. Because of the nature of heat-set repair tissue, it has to be doubled up and fixed on both sides of the poster so as to not have any sticky areas exposed. This is the process we have adapted for the mid 20th-century collections here the Design Archives, but infills can also be done by matching and/or dyeing existing repair papers to the colour on the recto of an original piece, fixing it in place by an entirely different method.
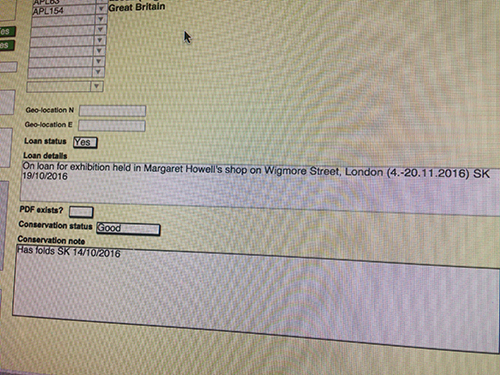
Once the posters were conserved, notes on their condition on departure and loan status are made on our internal database. When they return, they will be taken out of their frames and their condition will be re-checked and compared with the notes taken before they left the Design Archives. Once this has been done, the loan status gets changed to showing the item is back in the collection.
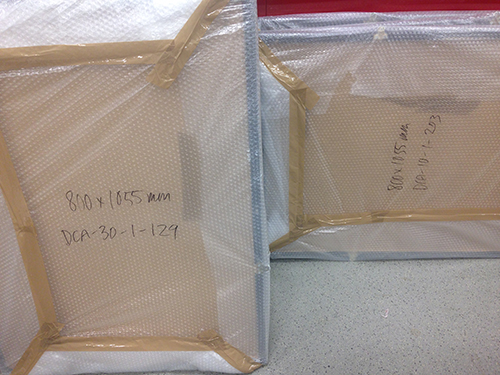
We happen to have a healthy stock of frames from past exhibitions belonging to the Design Archives. For exhibiting the Design Council poster selection, we were happy to reduce the client’s cost of framing by lending them some of our existing frames. We negotiated the process with our local framers The Frame Factory, who are always very accommodating, friendly and helpful – and who had made the frames for us in the first place. Alongside the original posters, we organised a courier to take the frames to the shop for mounting.
The posters selected for the exhibition had very specific sizes of frames assigned from our existing frames. This was done in accordance with the number of identically sized frames we happen to have and where they were going to be hung in the shop. The posters were packed for transportation by wrapping them in acid-free tissue and placing them in our specially made transportation portfolio.
The posters have their catalogue numbers written in pencil on the verso, and these numbers were matched up with the different sizes of the frame selection I packed up to make the mounting process run smoothly.
We then organised the transportation of the 25 frames and the original posters from us to Frame Factory. An exit form gets filled and signed on departure from the Archives and signed again at the receiving end of the loan once delivered to the appropriate person. When materials get returned back to us after an exhibition finishes, it gets signed for the third time stating materials have returned back safely.
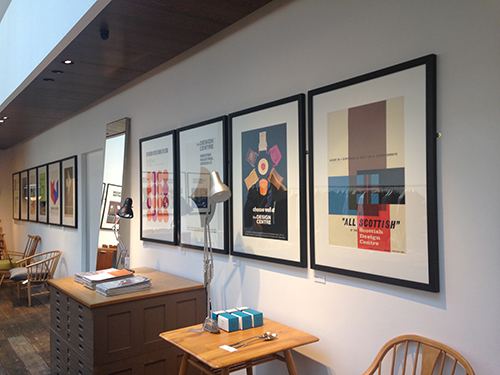
The framers took about a week to mount and frame the posters for us, using conservation mounting methods and acid-free, archival quality mount board. We then organised the art movers to pick the materials up, delivering them to their final destination on Wigmore Street. A day was then reserved for hanging the exhibition before it was officially advertised via the Design Archives’ and Margaret Howell’s website and social media.
The exhibition is now open at 34 Wigmore Street, London, W1U 2RS and runs until the 20th November, 2016. The art movers will then deliver the posters in their frames back to their home here in the Design Archives, where they will be taken out of their mounts by yours truly, and put back to bed… Until the next outing!
PS. As I mentioned at the beginning of this blog post, there is also an accompanying wall calendar for 2017 created from the digitised images of 12 of the posters. I wanted to test out putting a video on this blog, so here is a little ‘live’ taster of what the calendar looks like.

