Introduction to the Photo Studio
Contents
- 1 The Photographic Studio (203)
- 2
- 3
- 4
- 5 Safety in the Studio
- 6 The Studio Camera
- 7 Lenses
- 8 Shooting Modes Explained.
- 9 Image Quality
- 10 Exposure Triangle
- 11
- 12 Flash Sync Speed
- 13
- 14
- 15
- 16
- 17
- 18
- 19
- 20 White Balance
- 21 Sudio Lighting:
- 22
- 23
- 24 Light Modifiers:
- 25
- 26
- 27
- 28
- 29
- 30
- 31
- 32 Using Flash:
- 33 Downloading your Photographs:
- 34 Why Shoot in RAW?
The Photographic Studio (203)
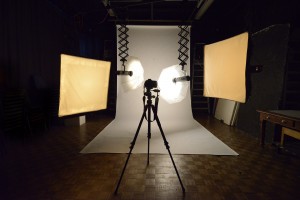
Welcome to the Photographic Studio in Room 203 at Grand Parade. The studio can be booked via the Photo Service Unit Team by dropping in to see us (Photo Unit Room 241 at Grand Parade) or by emailing us at: photographicserviceunit@brighton.ac.uk.
The studio can be booked for morning sessions 9.30-1.00, afternoon session 2.00-5.00 (2.00-4.00 on a Friday as we close an hour earlier), or if necessary you can book an all day session. Please book you studio slot early (at least a week in advance, maybe 2-3 when deadlines approach) as we get very busy.
Safety in the Studio
- Always inform a Technician of the work you are undertaking before starting in the studio so we can best support you and ensure you stay safe.
- No food or drink is to be consumed in the studio.
- Report all faulty equipment and breakages to a Technician as soon as possible.
- Take care of trailing leads and the lights which can become very hot.
The Studio Camera
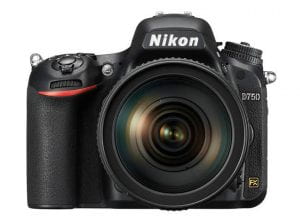
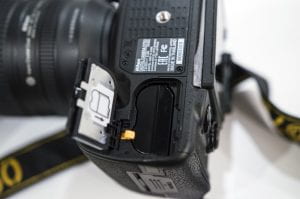
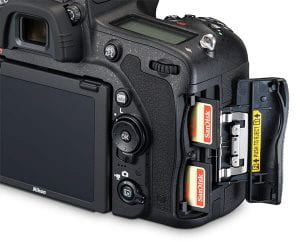
The Nikon D750 seen here is the typical studio camera but you may be given a different SLR if this one isn’t available. Menu buttons may vary slightly between cameras but the basic principles will remain the same.
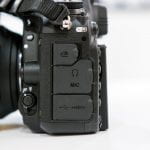
Access to the battery, media card and cables may vary between different cameras. Always check that the battery is fully charged before starting a session and regularly remove the card and check images on a large screen to ensure you are capturing the look you want.
Lenses
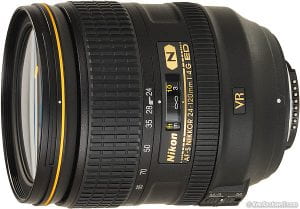
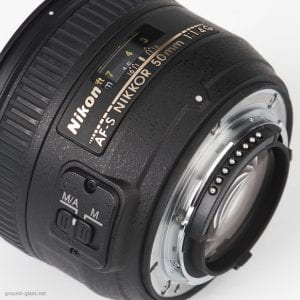

Each camera has variable lenses available depending on what your are shooting. A standard lens is 50mm which is the nearest to how the eye sees. Please let us know when you book the studio what you are planning to do so we can book the correct lens for you i.e. close-up work, wide angle etc.
Shooting Modes Explained.
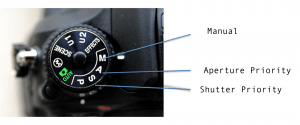
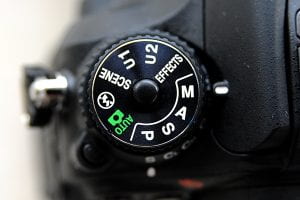
M – Manual you fully control the camera settings
A – Aperture Priority – you set the required aperture and camera sets the shutter speed. You can still alter ISO, WB etc.
S- Shutter Priority – you set the required shutter speed and camera sets the aperture. You can still alter ISO, WB etc.
P- Semi automatic mode allows changes to be made
Auto (green) – Fully automatic mode with flash
Flash off- Fully automatic without flash- will not work in low light
We recommend using only the manual setting (M) when working in the studio.
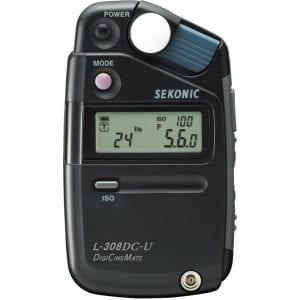
When working in the studio it will be necessary to use a light meter to ensure correct exposure.
Image Quality
RAW files are higher quality because they are uncompressed and allow you to edit without losing quality. They are larger in size so you will need a hard drive or similar to store them. You can also select to shoot in JPEGS which are lower quality.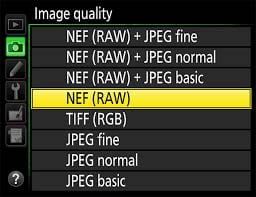
Exposure Triangle
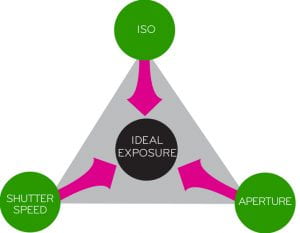
The ideal exposure is a mix of the correct ISO, shutter speed and aperture. In the studio ISO should be set to 50 or 100 to achieve the least amount of camera noise or grain and shutter speed should be set to the cameras flash sync setting, which, in the Nikon D750, is 1/200th of a second.
Flash Sync Speed
 If you are using flash in the studio you must set your shutter speed correctly so that the flash from the lighting and the camera are working in sync. If you’re shutter speed is too fast you will see a thick black line through part of your image where the shutter didn’t open and close in time.
White Balance
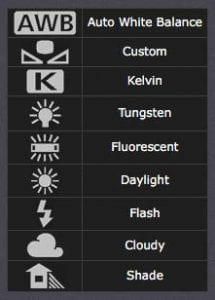
All light has a different colour temperature and when taking a photograph you can set the White balance according to your main light source. i.e Flash when you are in the studio.
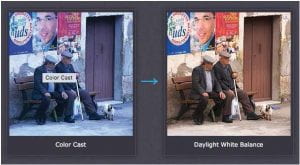
Some Colour temperatures are warmer (2000- 3000k) and some are cooler (8000-9000k) and the camera will adjust the colour temperature to try to achieve a natural colour but you need to let it know what colour tone the light is. If you select the wrong White Balance you may start to see some strange colour casts on your photos i.e. blue or yellow tinge. The image below shows and image with a blue colour cast and the same image without the colour cast once the White balance has been set correctly:
Sudio Lighting:
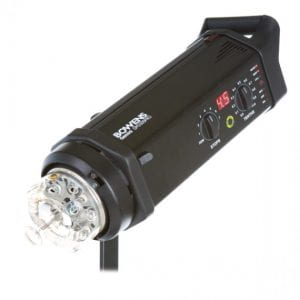
In the studio we have two main types of Bowens lights- Esprit and Gemini that are attached to the pantographs which hang from the ceiling and are adjustable. These lights can get very hot so please take care when using them. Each of these lights has a modelling bulb (provides a constant tungsten light) and a flash bulb (provides a very bright ‘flash’ of white light). Most still photographs taken in the studio will use flash lighting. However moving image work would require a constant light source.
Light Modifiers:
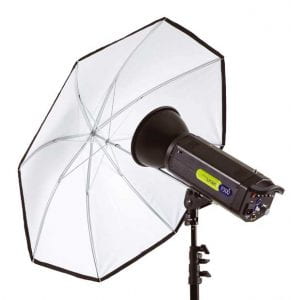
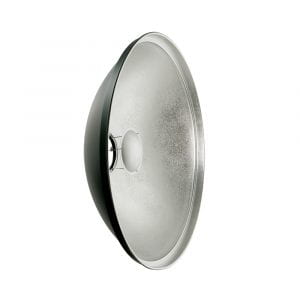
Quality of light can be changed and controlled by using different light adapters or modifiers. Ask us for help if you want to change the attachments to avoid damaging the equipment.



Using Flash:
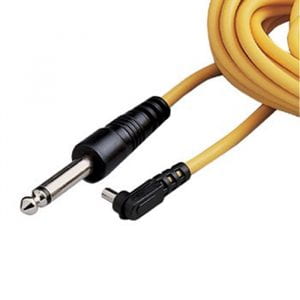
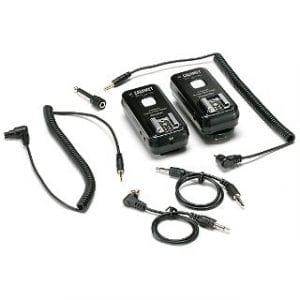
If you want to use Flash in the studio you need a hot shoe which attaches to the top of the camera, and a sync lead which is used to connect the hot shoe to the flash light. This enables the camera to trigger the lights (i.e. when you press the shutter on the camera the lights flash simultaneously.) Alternatively we also have wireless flash triggers which do the same job but via wireless signals rather than using a sync lead.


Downloading your Photographs:
The mac computer in the studio can be used to store your downloaded images before you load them onto your portable hard drive but remember the images will not be saved once you log out. You can log in to the mac using your university log-in credentials i.e. the username and password you usually use. It is your responsibility to download and save all of your images from the memory card before the end of your studio session. Make sure you leave time to do this and ask us for help if you need it. All memory cards are wiped after the end of each studio session so make sure you save your pictures and store them somewhere safe.
Why Shoot in RAW?
The examples below show why shooting in Raw is the best option. RAW files enable you to recover over exposed and underexposed images without losing image quality. The studio computer and other university computers contain Adobe software which enables you to open and then edit your RAW files so you can export them as high quality JPEGs or TIFFs.
