Making The Invisible Visible
Project 2
For this project we were asked to create a series of 2D images that we are then able to scan and use a triggers for animations using a software called artivive. We were asked to either create 4 animations or 6 videos or even a combination of both. The 2D images would be based off our text and the triggers could be in a form of posters, books, cards, etc.
To begin this project I decided that I would like to look at a different text as I wanted to challenge myself further and look at creating brand new images using a new text as reference. I chose the text Orlando as I was interested story line and character. I began by doing the same thing as I did in the last project, by highlighting the text and selecting parts that stood out to me.

After highlighting selected parts of the text that stood out to me, I thought I would go through the same process as the last project and begin drawing in response to some of the quotes.
I have only uploaded two images as thats all I started with, as I was finding it hard to document what I could see. I spoke to Paul about how I wasn’t sure about where I can go with my drawings or how i am going to start this project. I was told to think backwards, how would I show my images, what will my animations look like. I realised I was focusing too hard on making a completed image rather than just documenting ideas and thinking about how I am going to create animations from my images.
From there I decided to just start creating images of things that I could possibly use for an animation, rather than creating a completed images I focused on simple drawings. I grabbed some ink as I enjoyed using different mediums last time and started to document my ideas.
 I started with a the quote “Trumpets died away”. I used black ink to draw a trumpet, using a paint brush to make those bold sweeping lines and a stick to draw the smaller lines. I looked at using various tools to apply the ink such as sticks and paintbrushes, which I noticed created either really opaque lines or very bold dark marks so it was interesting to see the outcome of different tools. As music sheets aren’t colourful and use black symbols I decided that the ink would be the best medium to use to replicate the symbols, as for the trumpet I wanted a medium that would allow me to focus on simplistic lines rather than an accurate detailed drawing.

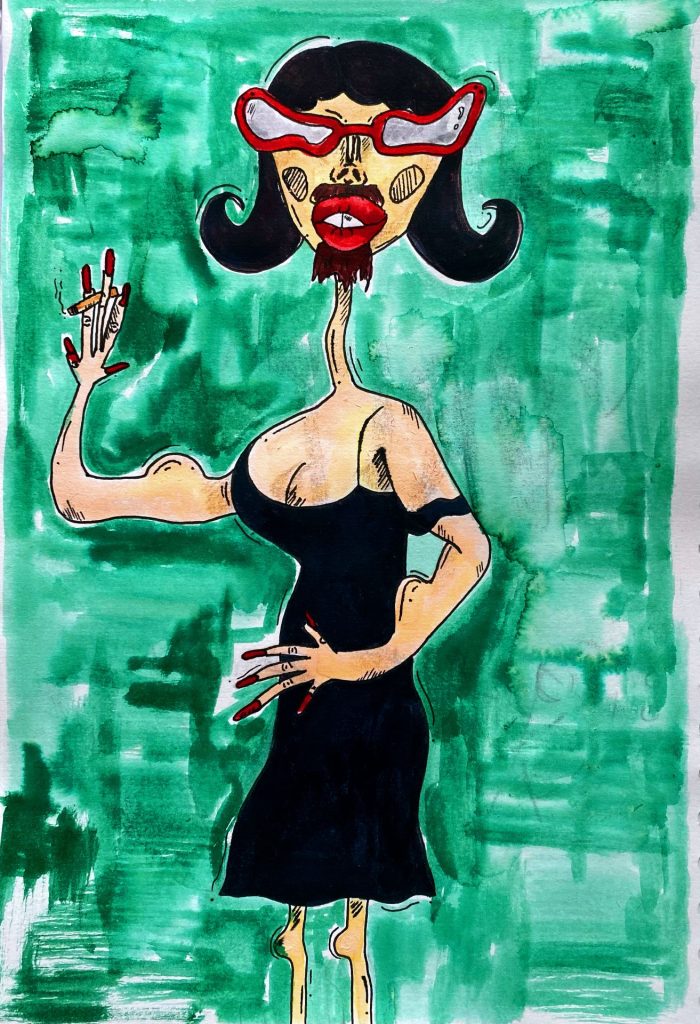
Another line I was drawn to was “their faces remained, as their portraits proved”. I used a fine liner pen to draw a portrait I found on pinterest using the blind drawing method. Using a fine liner had the same effect as the ink as the pen easily slid across the page and I was able to draw such an interesting image whilst not even looking at the page. After drawing the portrait I was thinking about how I could animate it and looking back at the quote I thought about how it would be interesting to create an animation that would be opposite to what the quote was saying, As the story is about Orlando becoming a woman so I thought I would draw a series of images of lips that are coloured acting as lipstick, as something stereotypically female. I used posca pens and even kissed the page with red lipstick to show some texture. I outlined each pair of lips to make them more cartoon like as I usually go for a more realistic style.
 I wanted to keep a similar style within this project so I continued using fine liner for my next drawing. I used the quote “few dark drops had fallen into the clear pool of memory” I took this quite literally and decided to draw a simple linear drawing of a pool. I decided to block in some of the pool to give it more dimension by drawing a lot of cross lines so that it stands out more. I have an idea of animating the pool being filled with the “dark drops”. The last page is of the male, female and trans symbol which came from the quote “Orlando has always been a woman”. I thought simply about the signs of being a man and woman and also the transition in between. I had the idea of intertwining the male symbol with the trans symbol as the story is about Orlando becoming a woman.
Story boards


I then moved on to producing four different story boards for each of my animations. I started with the trumpet and musical notes, I wanted the notes to cascade alongside the trumpet as if they had fallen out of the trumpet, taking inspiration from the text “Trumpets died away” as if the musical notes were dying. For my second animation, I chose a pair of lips from the multiple I drew and thought an interesting way to animate them would be to have the lipstick move into frame and appear on Orlandos lips as if the portrait was changing (focusing on the quote I chose). I thought that the big red lips would stand out nicely against the linear drawing I did of Orlando. The third animation consisted of the pool which I drew from the quote “few dark drops had fallen into the clear pool of memory” and as I mentioned, I had the idea of the pool filling up with the dark drops so I drew this idea out as the pool filling from the centre and rather than smoothly filling up I wanted it to look quite scratchy, to fit with the dark theme. My last animation was using the male symbol and the idea of adding a thick line through it was supposed to represent the trans symbol as the story is about Orlando being a woman but being born a man as well as still looking like one.
Animations
I then took the ideas from my story board and turned them into digital animations using procreate.
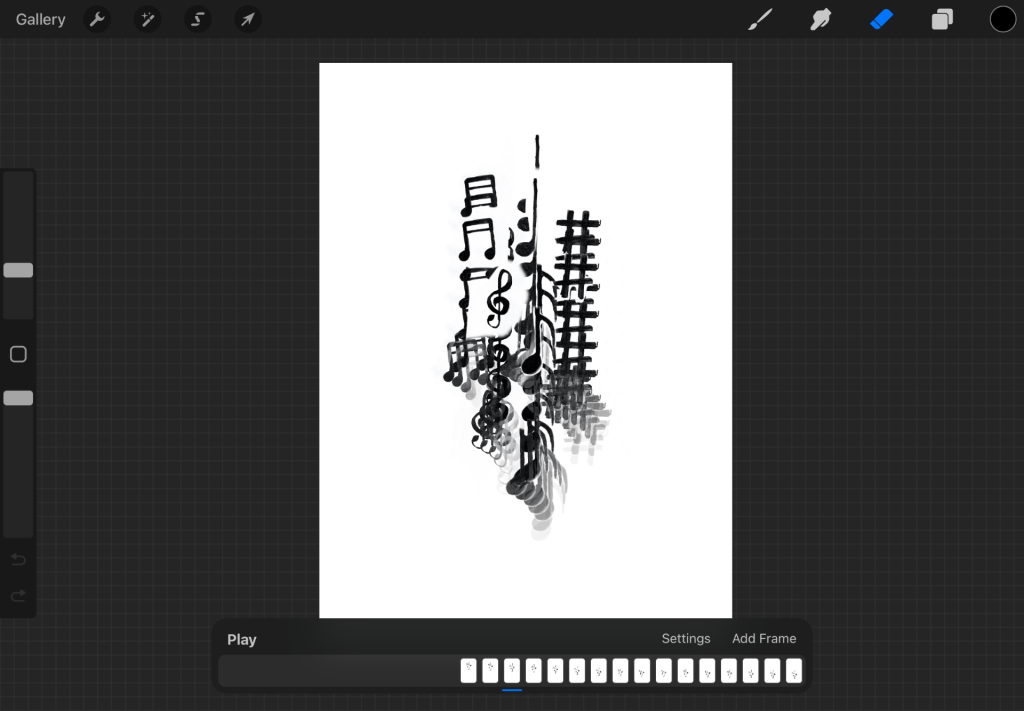
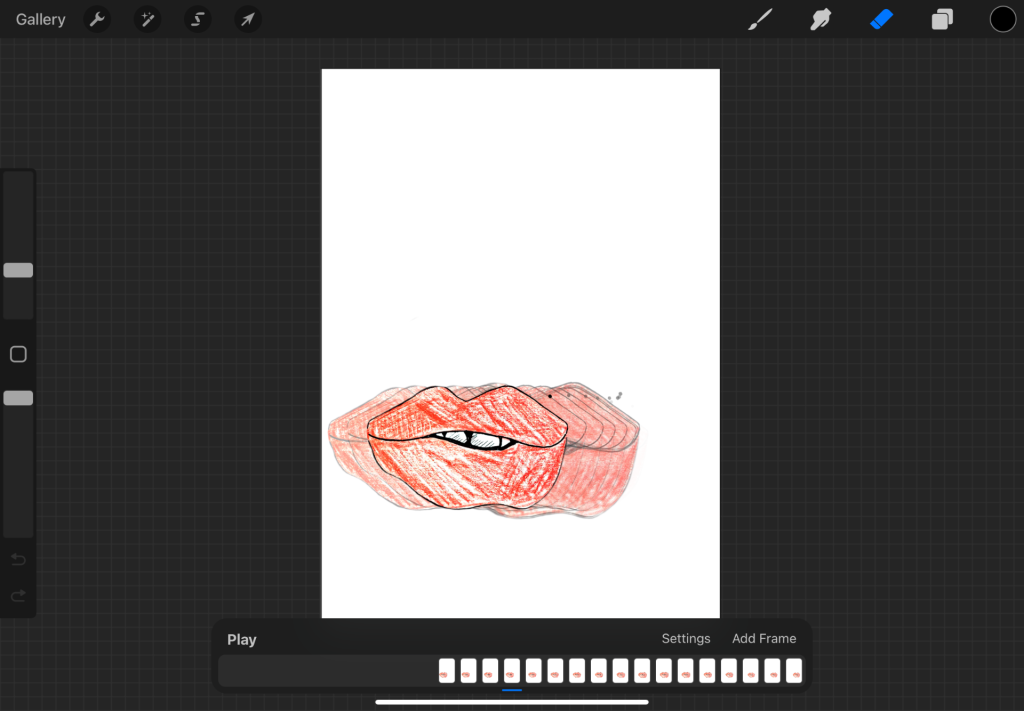

 I created each of my animations on procreate using multiple layers and an onion skin so I was able to see the previous layer. I found it quite enjoyable to see my animations through procreate and creating them on there. I enjoyed the process of adding new layers and seeing the movement slowly piece together, it made me look forward to seeing them over the top of my images.
My Movie 2 – I put together a video of each of my animations playing.
Exploring the ways I could trigger my animations

I was writing down some ideas on how I could create a trigger image. When in the studio I overheard a lot of people talking about how they are creating a trigger which is connected to their story, which had me thinking about how I could create a 2D trigger that was somehow connected to my short text, Orlando. I thought about the use of “trumpets” a lot and how they were mentioned more than once and after creating my animation of the music notes falling I thought that creating a band poster would be an interesting trigger and that Orlando is either the musician or a guest using live music to speak about themselves and how they went from he to she. I decided to take a look at some band posters for inspiration.
Research

I was looking at different types of band/gig posters for inspiration, seeing different layout ideas and colour schemes that I could potentially apply to my own poster. When creating my poster I have to consider the layout as the software artivive is very sensitive and will pick up everything that is seen when scanning the 2D surface. I was drawn to these posters because of how they vary between bold colour choices and text which is what I am considering using in my poster, especially text. I also looked at some more poster designs, this time a lot more simplistic to look at spacing and how I could add all my drawings without anything overlapping.

Initial Ideas
Before I began exploring the layout of my poster I made some notes on what I should Include in my poster and how I could utilise my drawings.
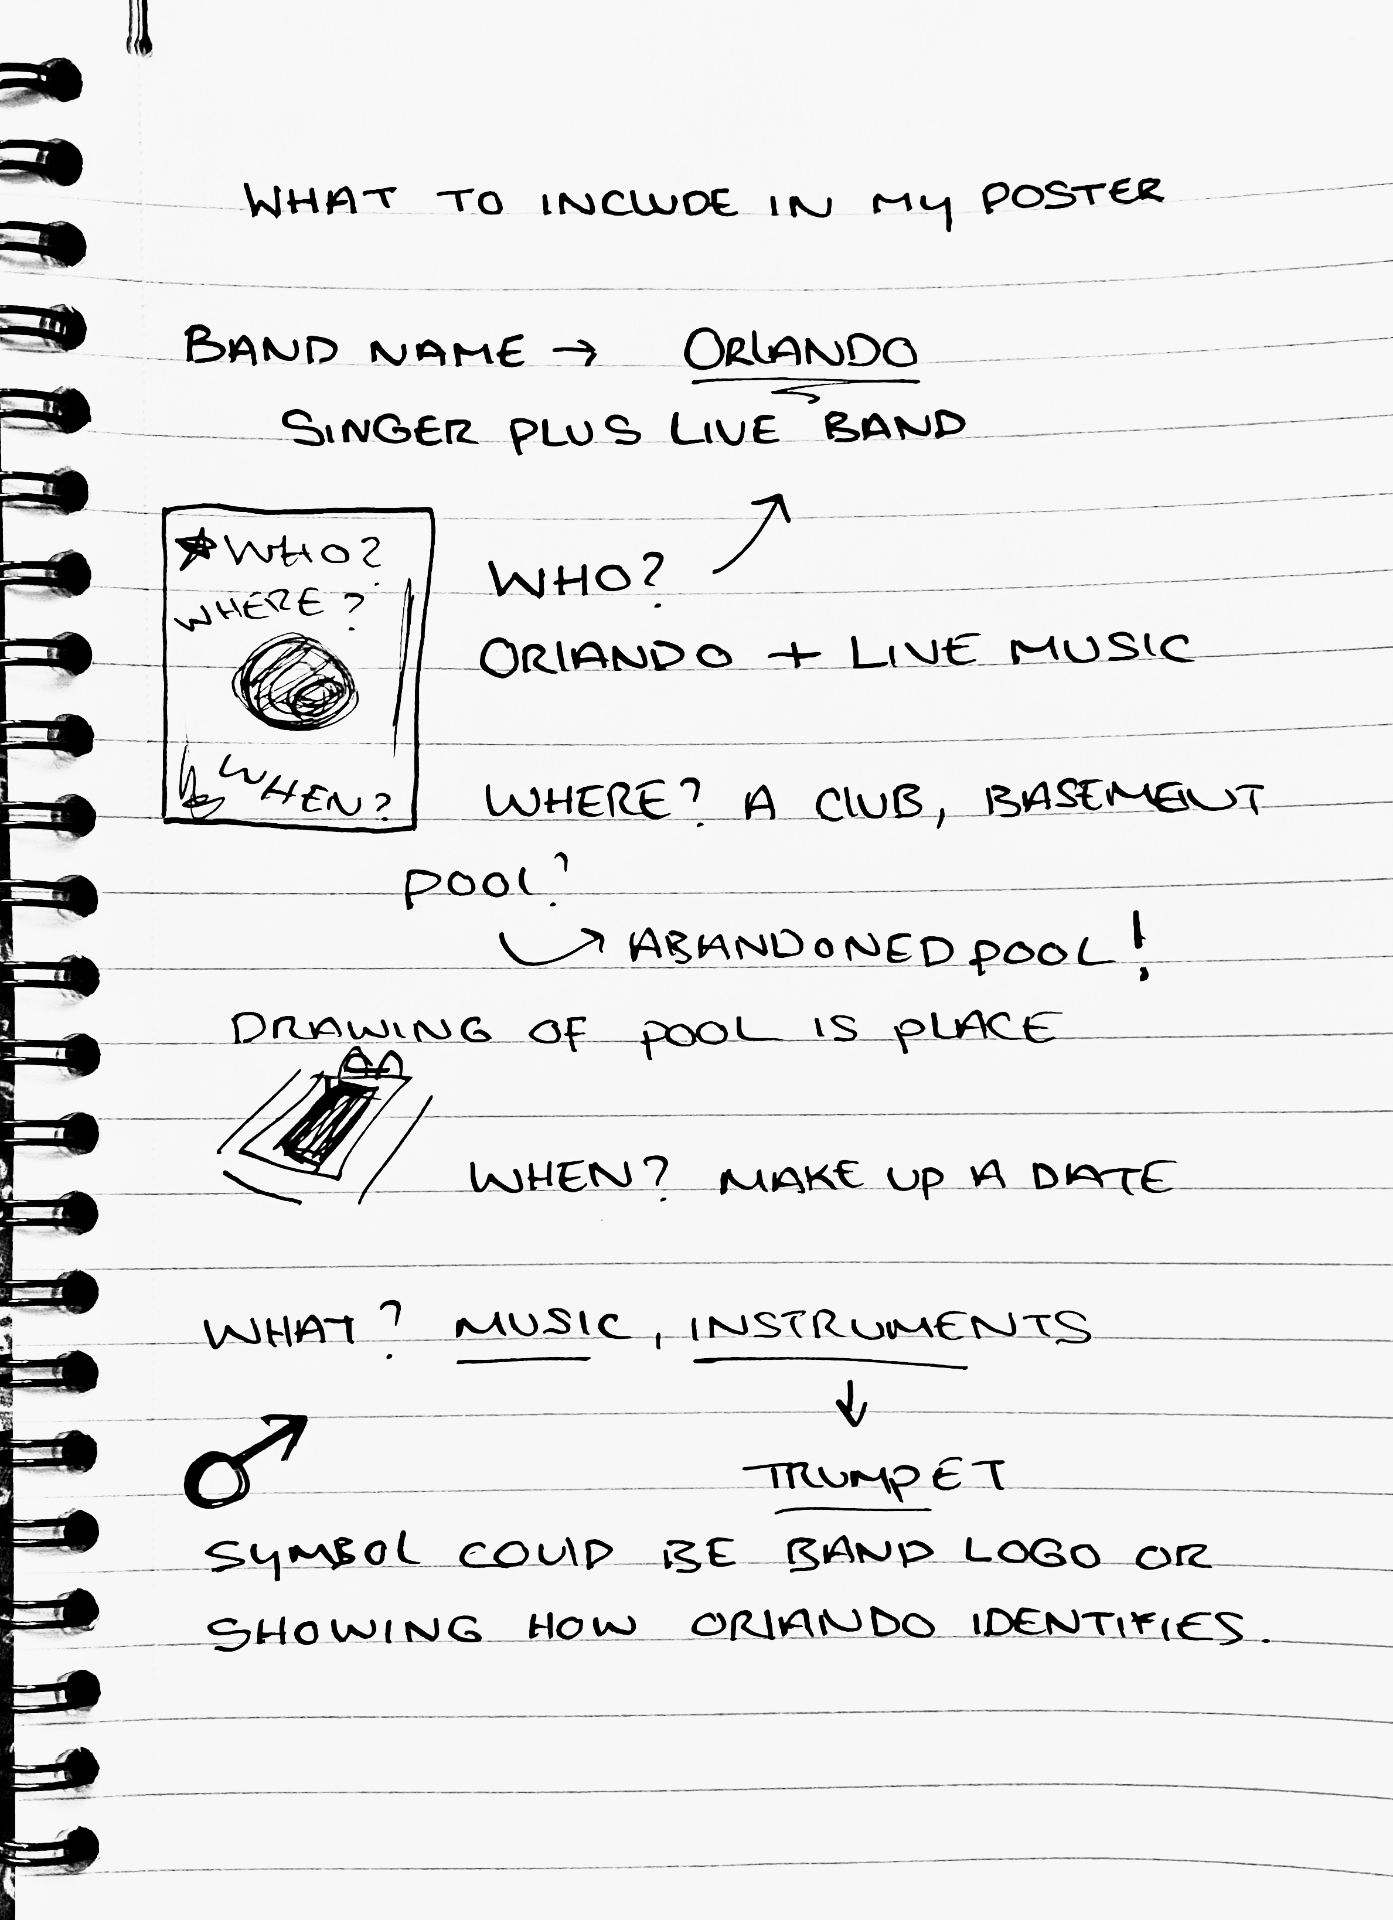 I started with the question who? When? and Where? Who being Orlando wether she is a singer with a live band or thats the band name, when is just a made up date not much significance, and where would be the pool or an abandoned pool as I thought about how I am going to use my triggers. I am going to include the drawing of Orlando somewhere on the poster to show who is playing, the trumpet would be a representation of the live music and then male symbol could work within the title as the O or just placed on the poster as a logo.
I drew/planned out a few ideas of what my poster could potentially look like, using my initial sketches. I took ideas from my notes as to how I could work with the layout.

 I did both of these digitally so I could have more freedom when playing around with the layout. I am drawn to the second design more so as I think that the the male symbol fits better when being used in the name. I also think that the first layout is a little too chaotic and was just me trying to fit everything in as well as I can whereas the second layout is a little more spaced out. I am going to move forward with the second layout in mind and work with the way I have used each trigger.

I decided to print out my drawings so I could move them around on a make shift poster to see how I could improve the layout design. I was pretty happy with the spacing of my poster as there isn’t too much going on, so no distractions and gets straight to the point. I am happy in which direction this is going in so far and want to move on to how I can work with the text as this is just as important as my triggers.
Developing Text


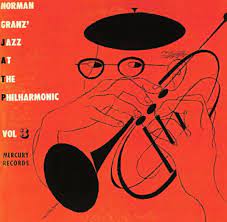
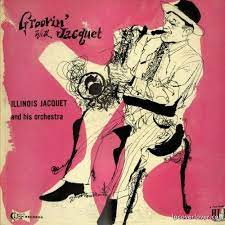
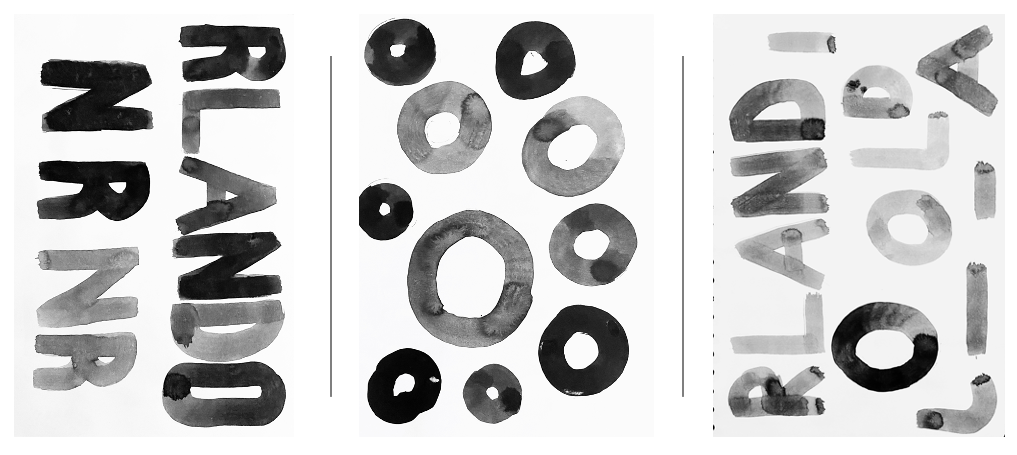
I started off by using both a fine liner and chunky posca pen to write out the text that I will add to my poster. I want to scan in my pages and add this to my poster as I wanted to make it more personal by using my own hand writing. I spoke to Jeremy about what I have been doing so far and he spoke to me about my text and how looking at using bolder lines for not just my text but also my drawings would bring them out more and have a much cleaner and more refined look. We spoke about different artists and he gave me the example of some album covers that were curated by David Stone Martin for Blue Note. These examples were very similar to what I am working towards as he uses a lot of bold marks on the covers as this is something we discussed that I should do, making the marks with ink a lot bolder. Jeremy also spoke to me about calligraphy and showed me some examples of people using ink for calligraphy and using brushes to sweep along the page, for again bolder lines. Artists such as Seb Lester and Chris Bigg, who look at calligraphy were shown to me and the videos were vary satisfying as they were using one brush stroke for each letter and the squared off brushes were the reason they were running along the page smoothly. Whilst looking at these examples, he told me about different things I could use not just now but in the future for calligraphy, one thing being a sponge brush as it is useful to mark down those bold lines and picking up enough ink.

I decided that I would look into using ink again for my calligraphy and practice using squared brushes to write different letters. I began by comparing how it would look when adding ink to water and just ink by itself, I obviously knew that the watered down ink wouldn’t be as bold but it was still interesting to compare the two. When using the brush and ink I found it quite difficult at first to make my letters look clean and refined as the brush I was using was that great but looking at the page scanned in, I am very pleased with how bold some of the letters are.
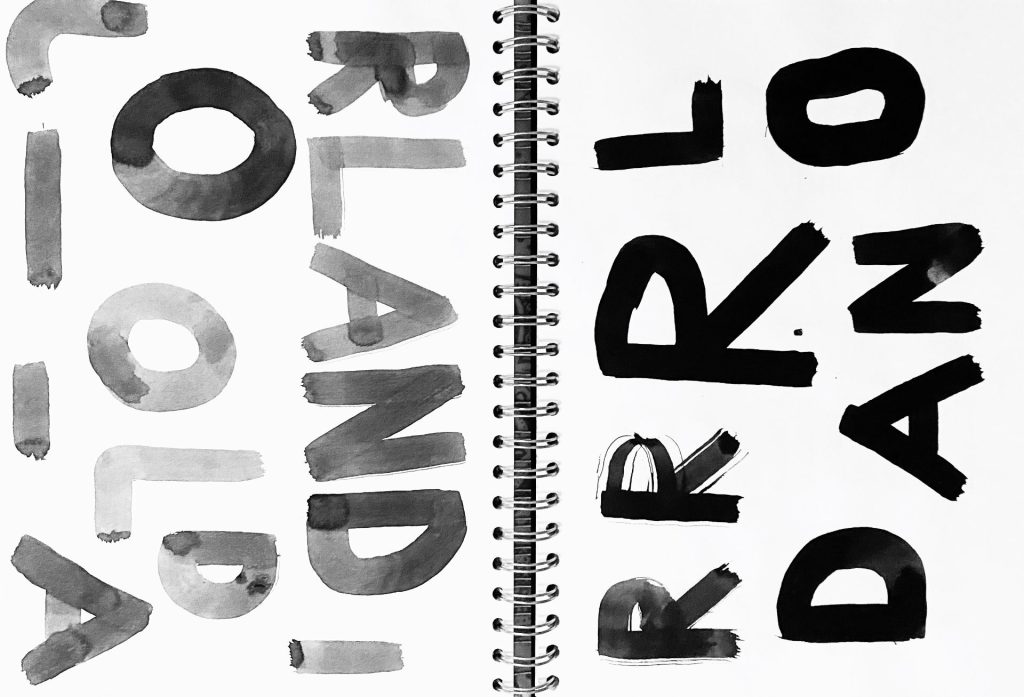
I kept practicing with the watered down ink as well as the normal ink, even switching my brush so that the letters didn’t have random brush strokes as the previous brush was very messy. The first page scan is of my practice writing Orlandos name (leaving at the O as i’m using the symbol) and I was pretty happy with the way it turned out, It wasn’t as bold as some of my pervious practices but once taken into procreate I could darken it up slightly.
Final Piece
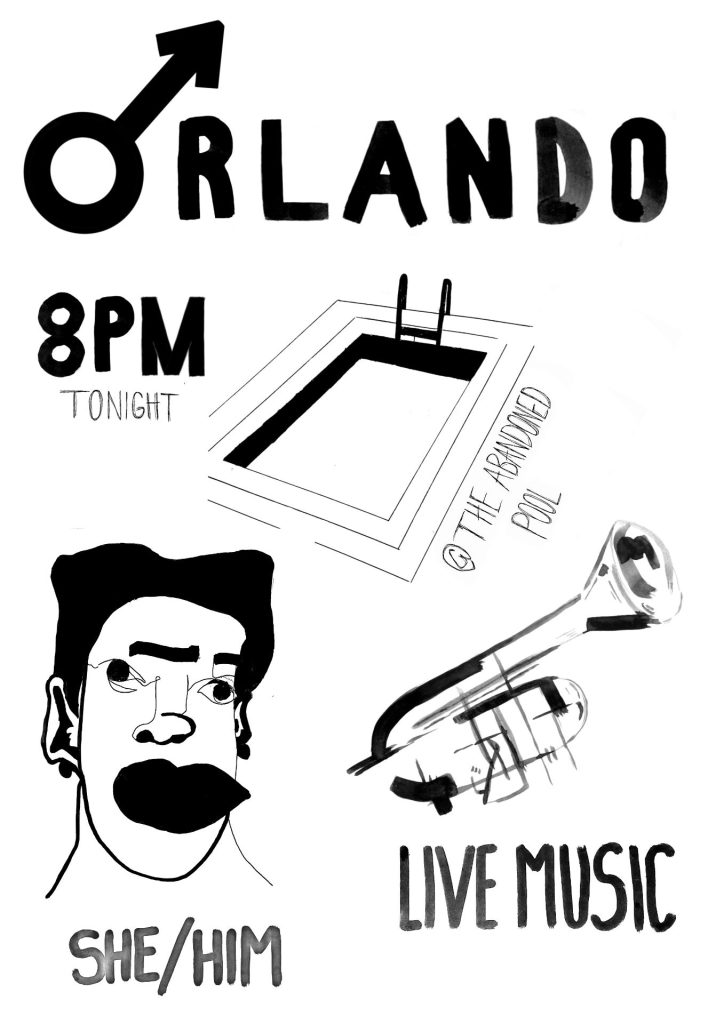
This is my final poster design. I created this digitally on pro create using my text and triggers scanned in. I wish I spent longer on my poster as I am not too happy with the outcome. i would have liked to play around with colour and texture as I don’t feel as though it reflects the text but it does reflect my style which is simplistic and i also like to stick with black and white themed outcomes. I also was considering how if there was too much colour that when seeing my animations from my triggers that it may be too much.
artivive
recording_2023_01_20_15_34_50_183 – attempt at artivive.
When using artivive, I had to work with the transparency so that it would only come up with the lips which worked on the website but when using the app to scan the poster, It didn’t single out the lips over the drawing so the whole portrait was covered with the blank part of my animation. I attempted to try again with another one of my animations, trying to remove the background of my animation so that it wouldn’t cover my trigger.
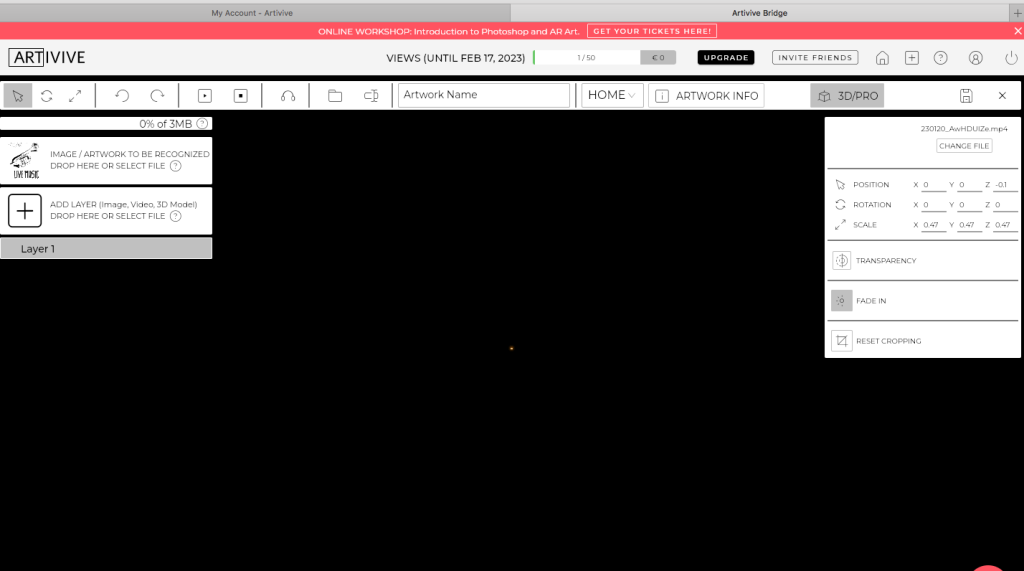
My artivive then wouldn’t allow me to edit my work, which was upsetting I then wasn’t able to see what my work looked like and to see my triggers show my animations.