Saturday 13th December


Saturday 13th December
Monday 1st December
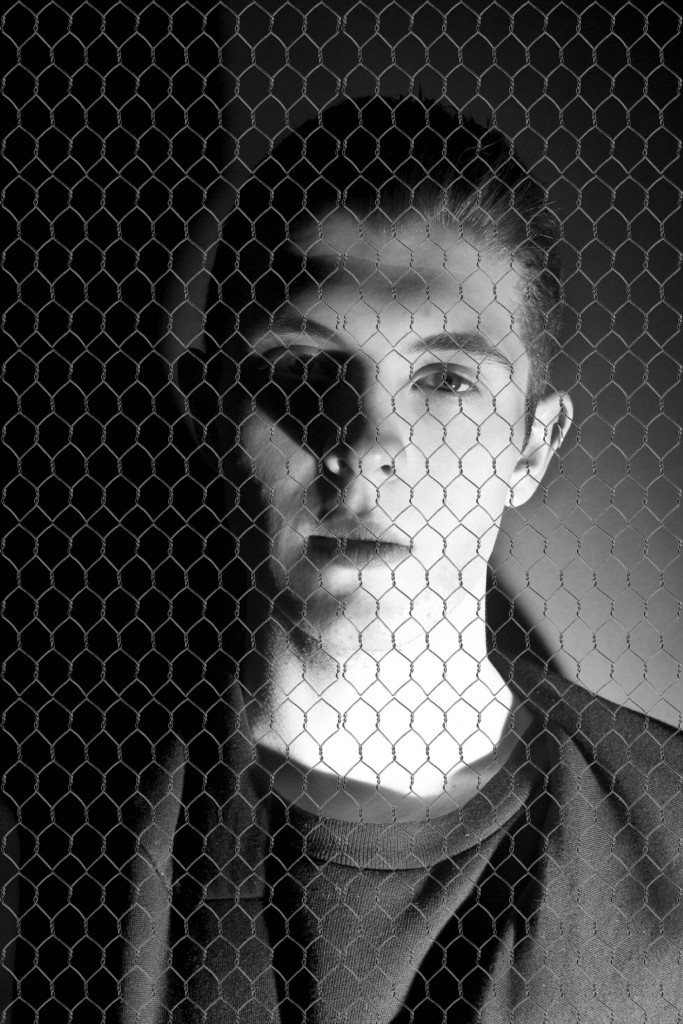
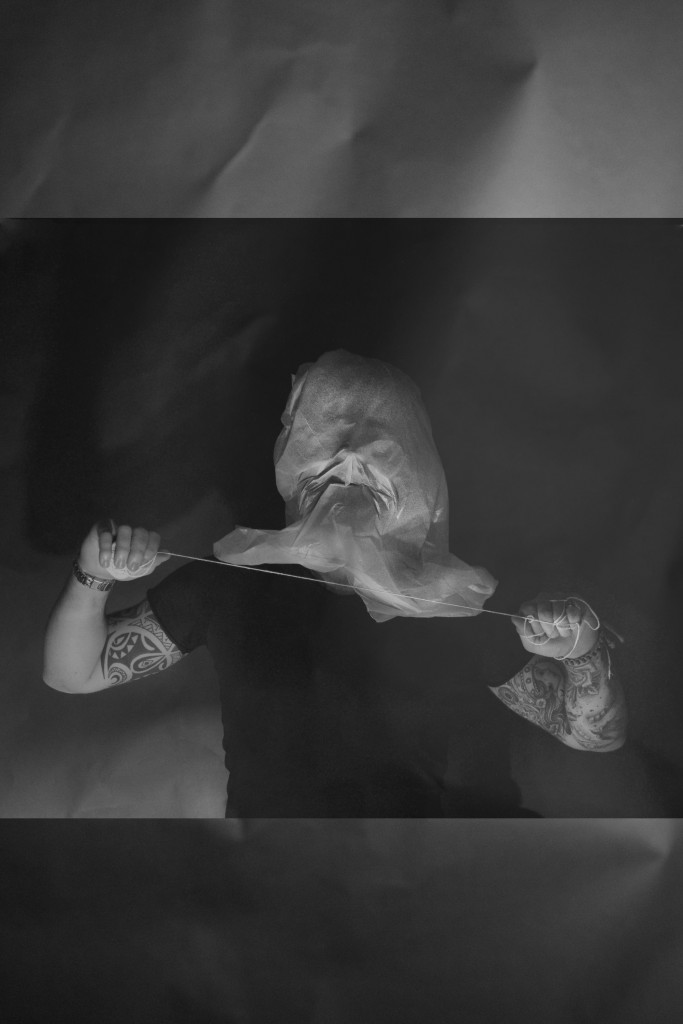
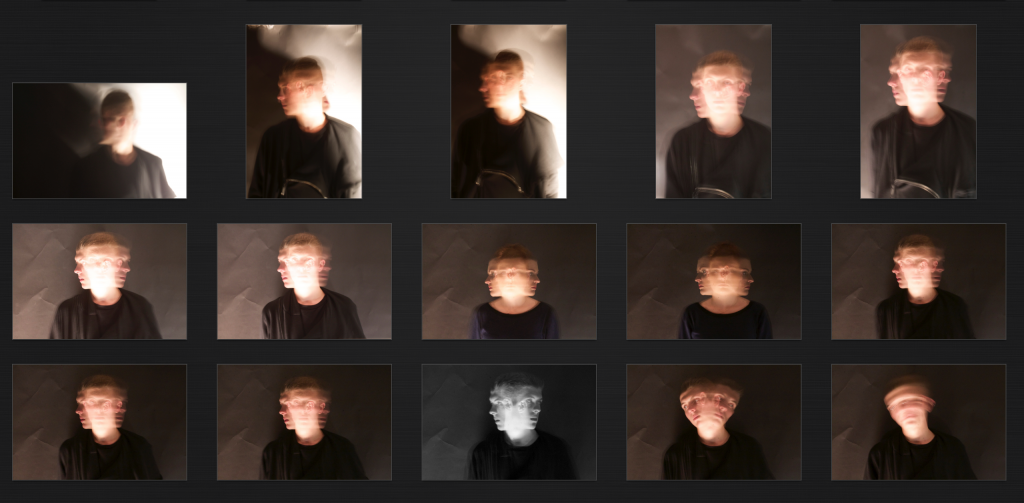
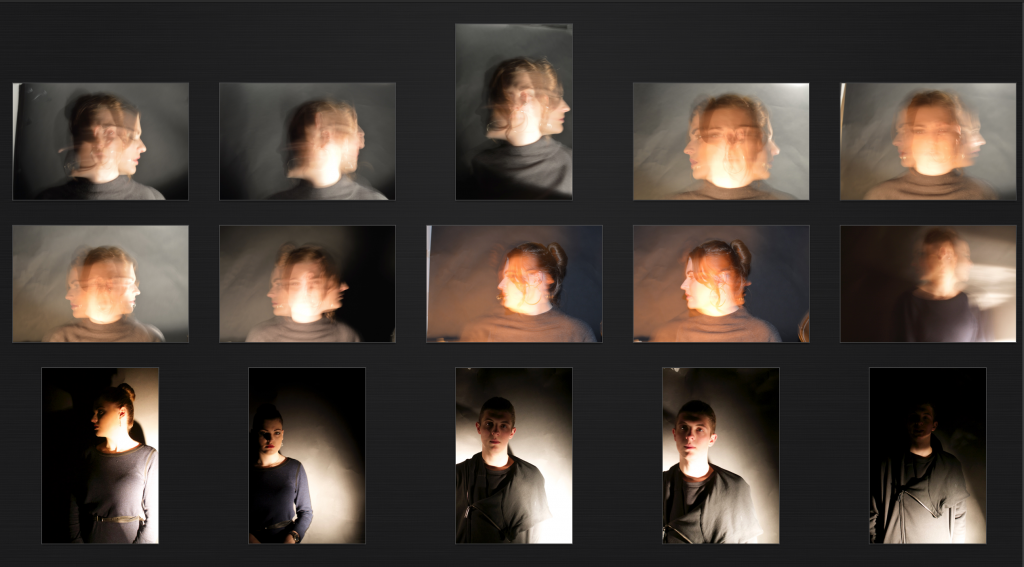
For the second photoshoot we decided that we really wanted to concentrate on movement. We felt that the morphed effect you can create with a camera portrays this idea of having a split personality and also conveys how for some, unfortunately they feel trapped in their mind.


Sunday 26th November
After brain storming the other day, myself and Phoebe decided to simply our thoughts and start making some mood board to help us develop our project further.
Thought process simplified:

Moodboards for our overall concept, the type of photography we would like to use, and the styling that we think we accompany the images well.
Concept:

Photography:

Styling:

Friday 14th November
I absolutely loved processing our film images and experimenting with the length of time in which we exposed them for today.
Looking at the first outcome in a technical view, it was not a good quality of print (which you can see from the faded/ grey colour around the photos) however I actually thought it worked really well for some of the images. Because they were under exposed when I took then, it meant that exposing them to light for a smaller amount of time (10 seconds) results in a visible photograph. E.g.


For the second set I decided to extend the length of time the images were exposed to 20 seconds, allowing more light to come into contact with the images. This gave the photographs a better quality in that the images were sharper and more crisp.
Overall it was a really useful and enjoyable experience and I can’t wait to do it again!
Here are my favourite images from session:


Monday 10th November
Setting up your camera for a shoot:
Using the light meter:
Lighting:
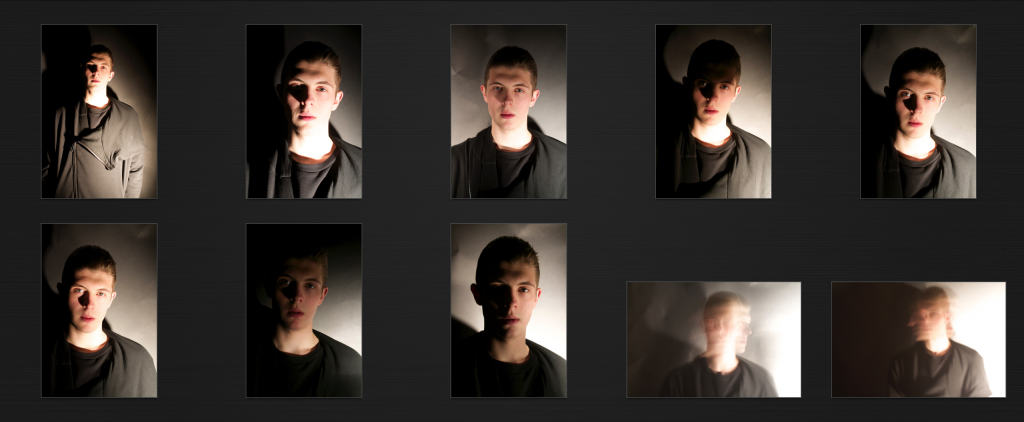
I feel this session went really well and i really enjoyed learning new skills. As i am a novice when it comes to photography i am really interested in gaining experience and the knowledge needed to create a really strong shoot. I really liked to use the extremes of either a lot of light or hardly any at all. The crisp white background really appeals to me in the same way as a black back drop creating a small but really detailed picture does too. Overall a really insightful and fun day.
Its strange how exciting the sense of control you get makes you feel when being the photographer of a shoot, although due to my inexperience my comfort levels are definitely not as high as I hope they will be in the near future.

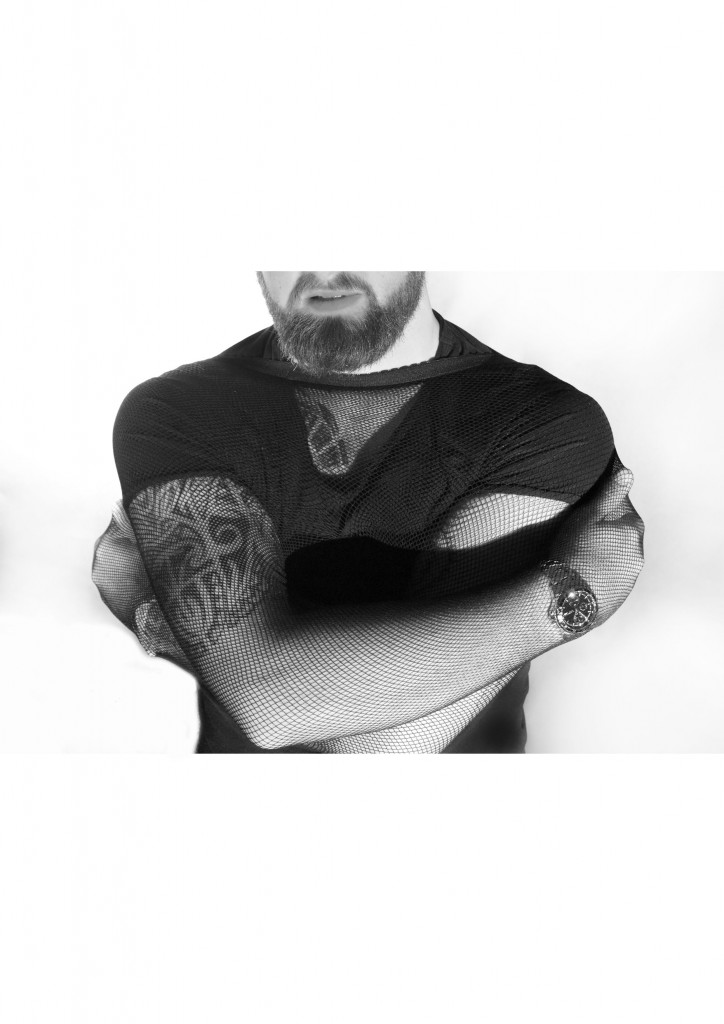
White back drop, lots of flash

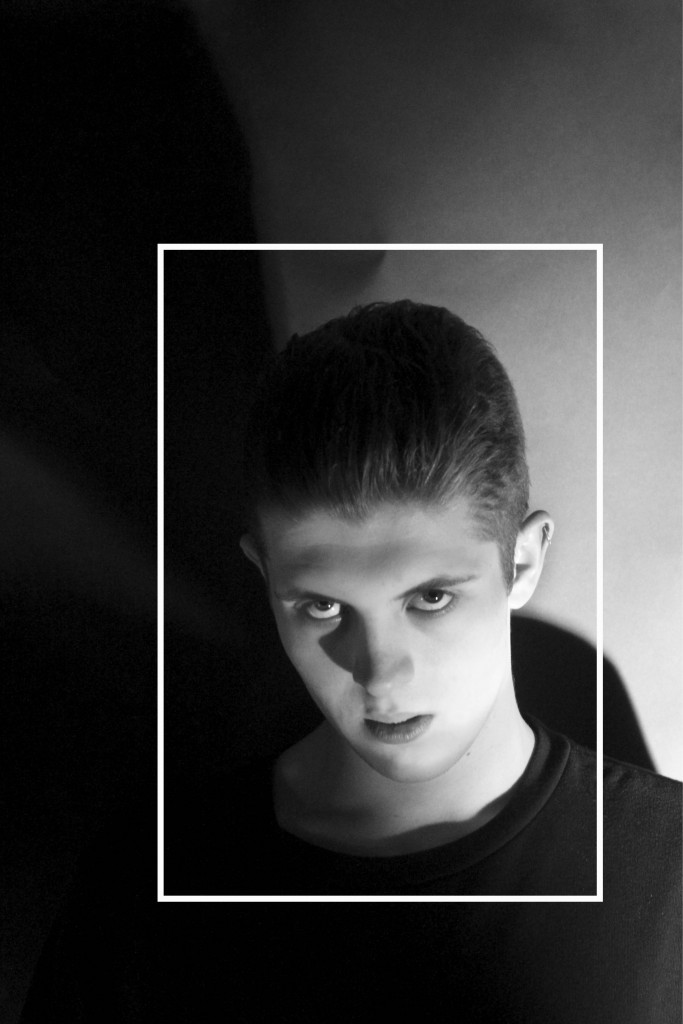
Black back drop, spot light