


Various modifications and improvements made to my Land Rover either in progress or completed.
Summer 2018
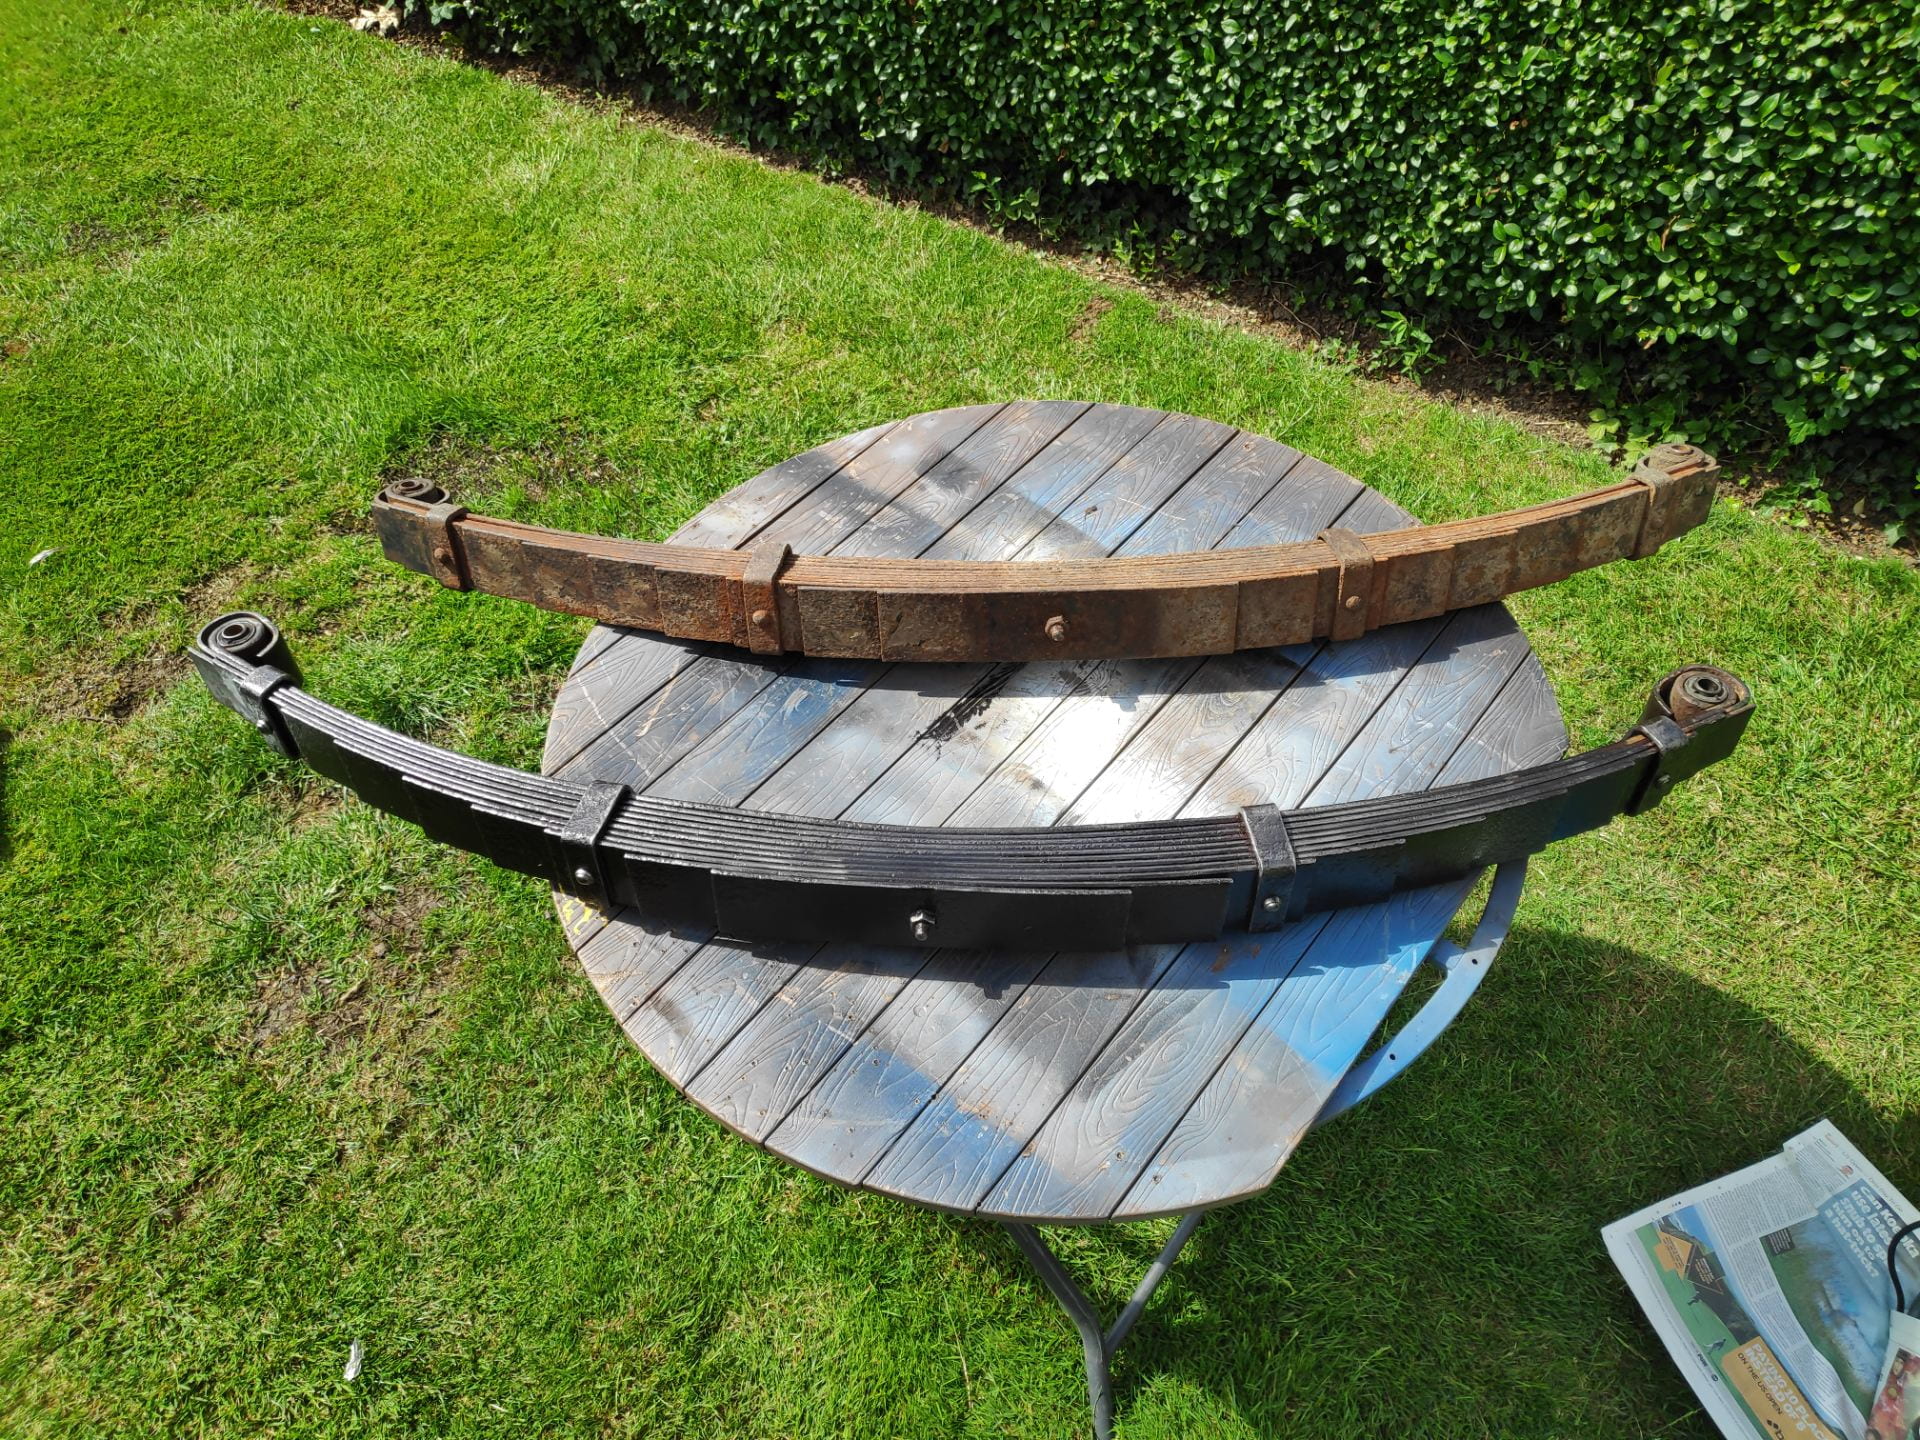
Swapping Springs for the front of the Land Rover.
The previous owner put the wrong springs on each side when he restored the vehicle, causing the vehicle to lean to one side as the springs are sided. The springs were taken on and swapped, with a small repair done and a de-rust and oil to improve the ride of the car.


Christmas 2018
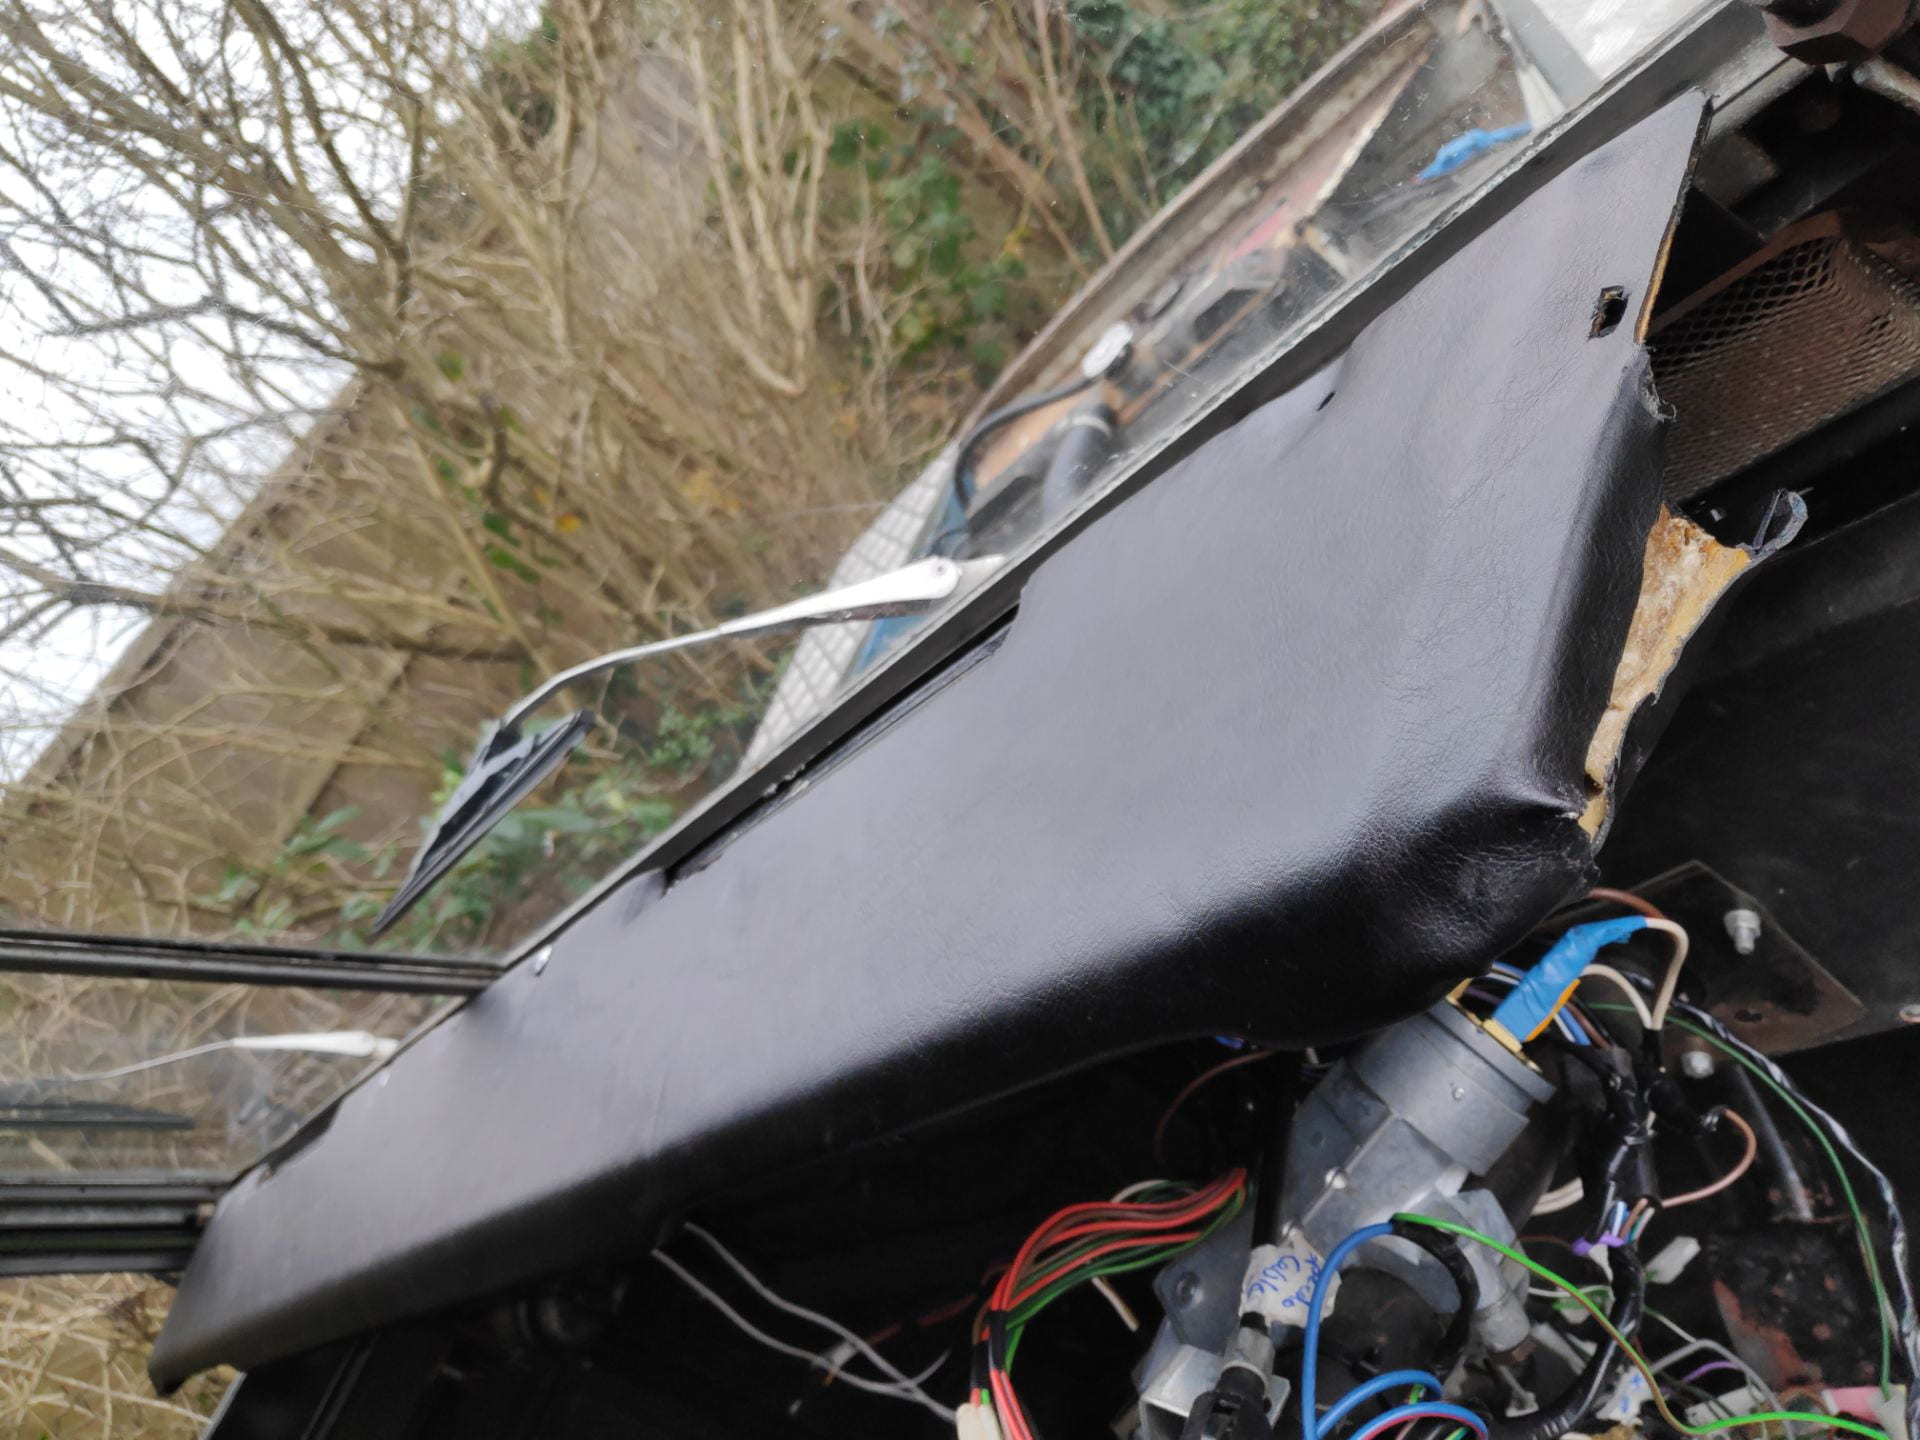
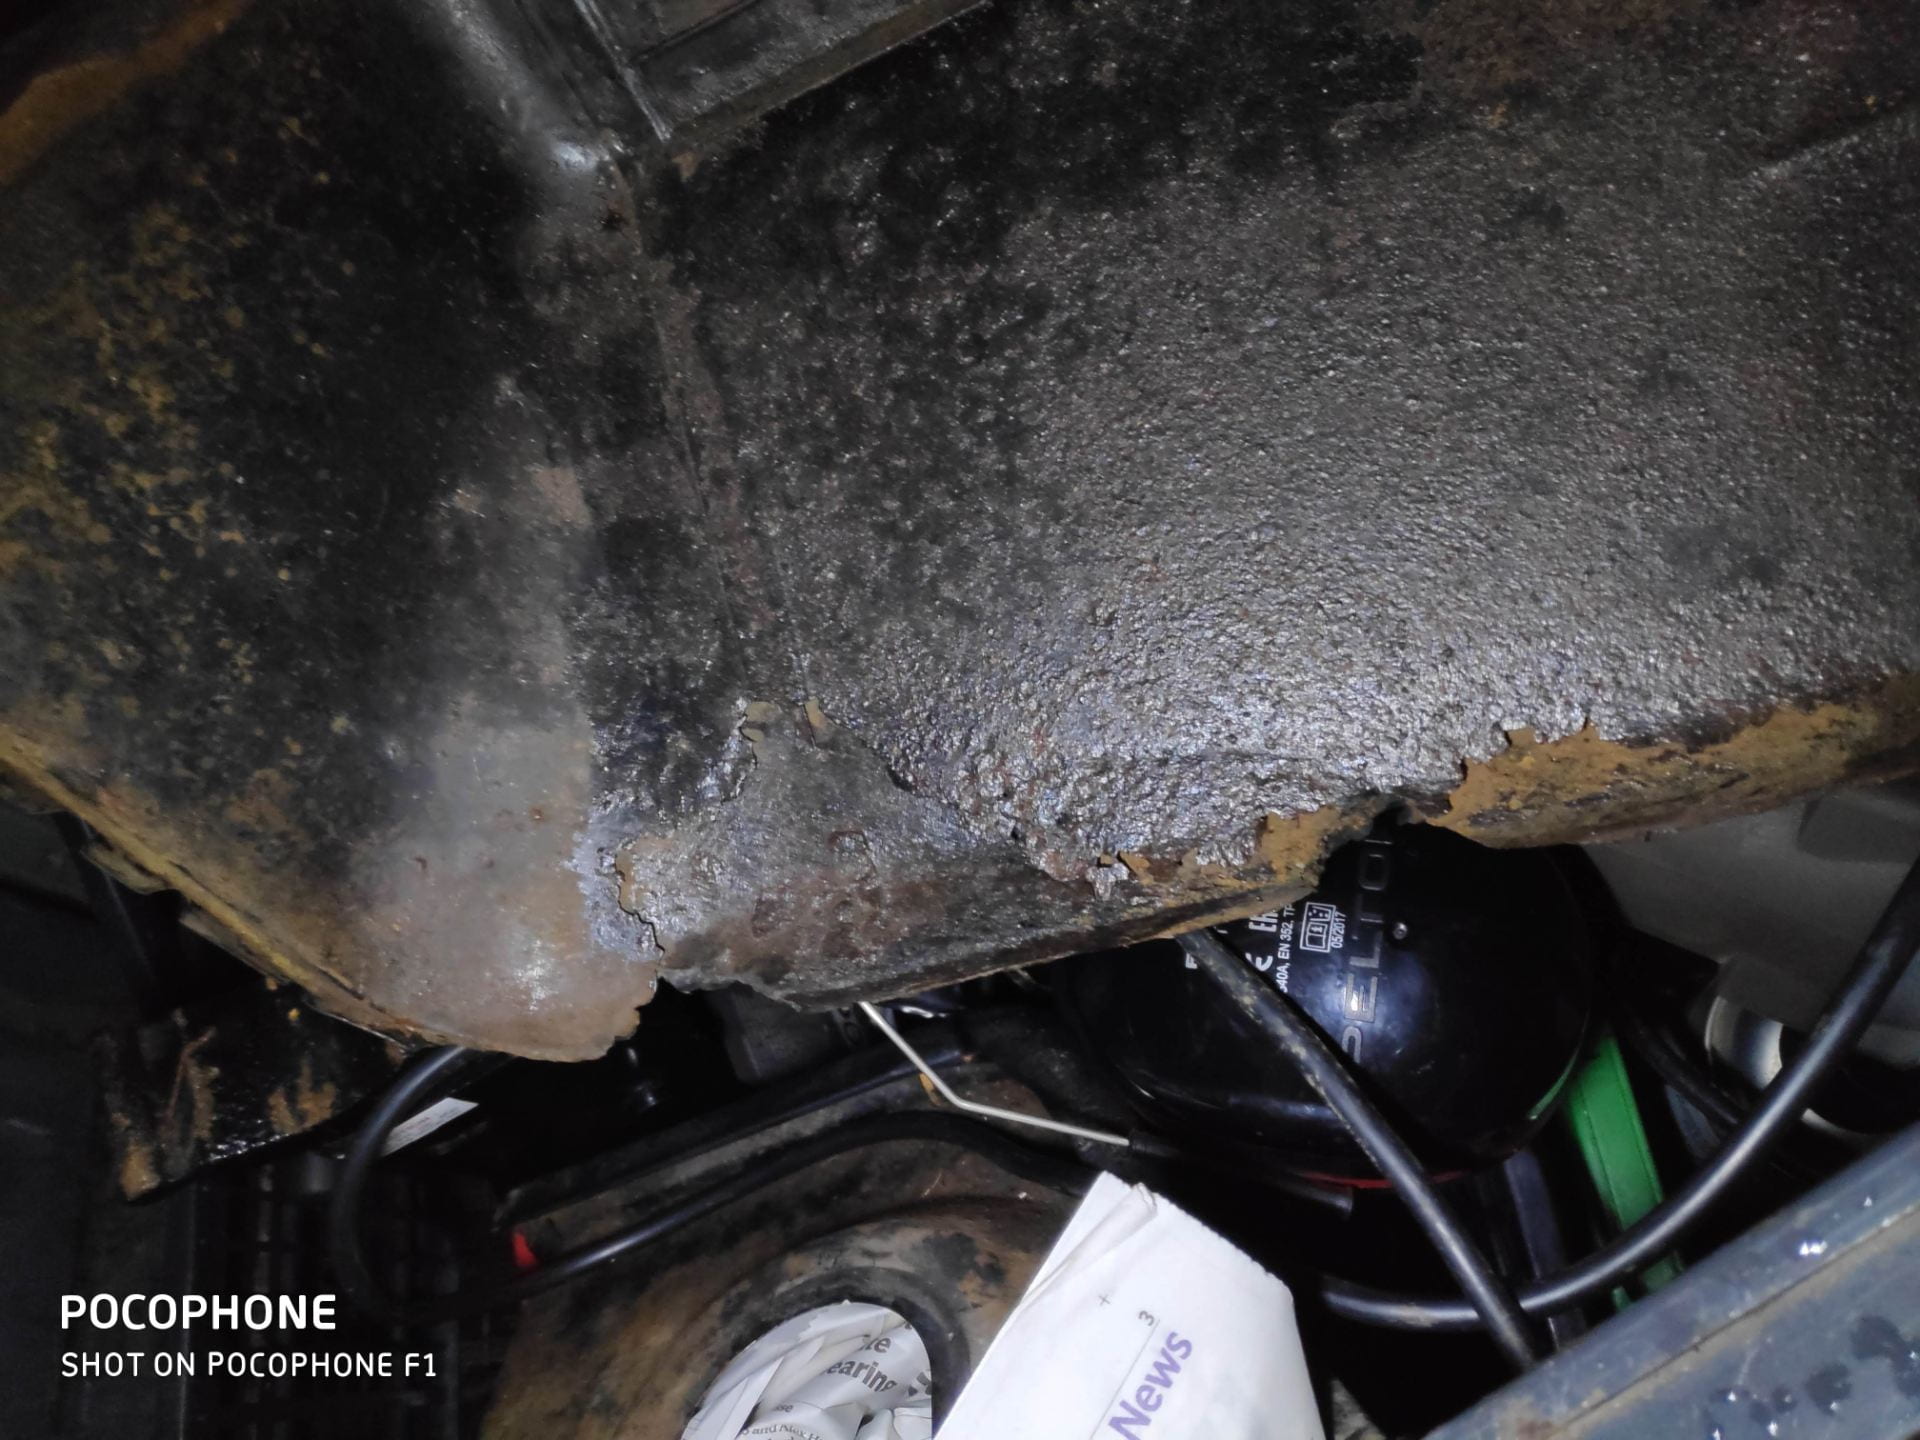 The Project over Christmas was to restore the dashboard of the car. Since this is where the driver sits 95% of the time it is nice to have a well covered and good looking area to drive from. In the process of the physical restoration of the dashboard, I restored the gauges, trim and heater matrix of the vehicle. The main dash pieces were fairly rusty and required lots of welding, which was quite difficult due to how thin the steel was!
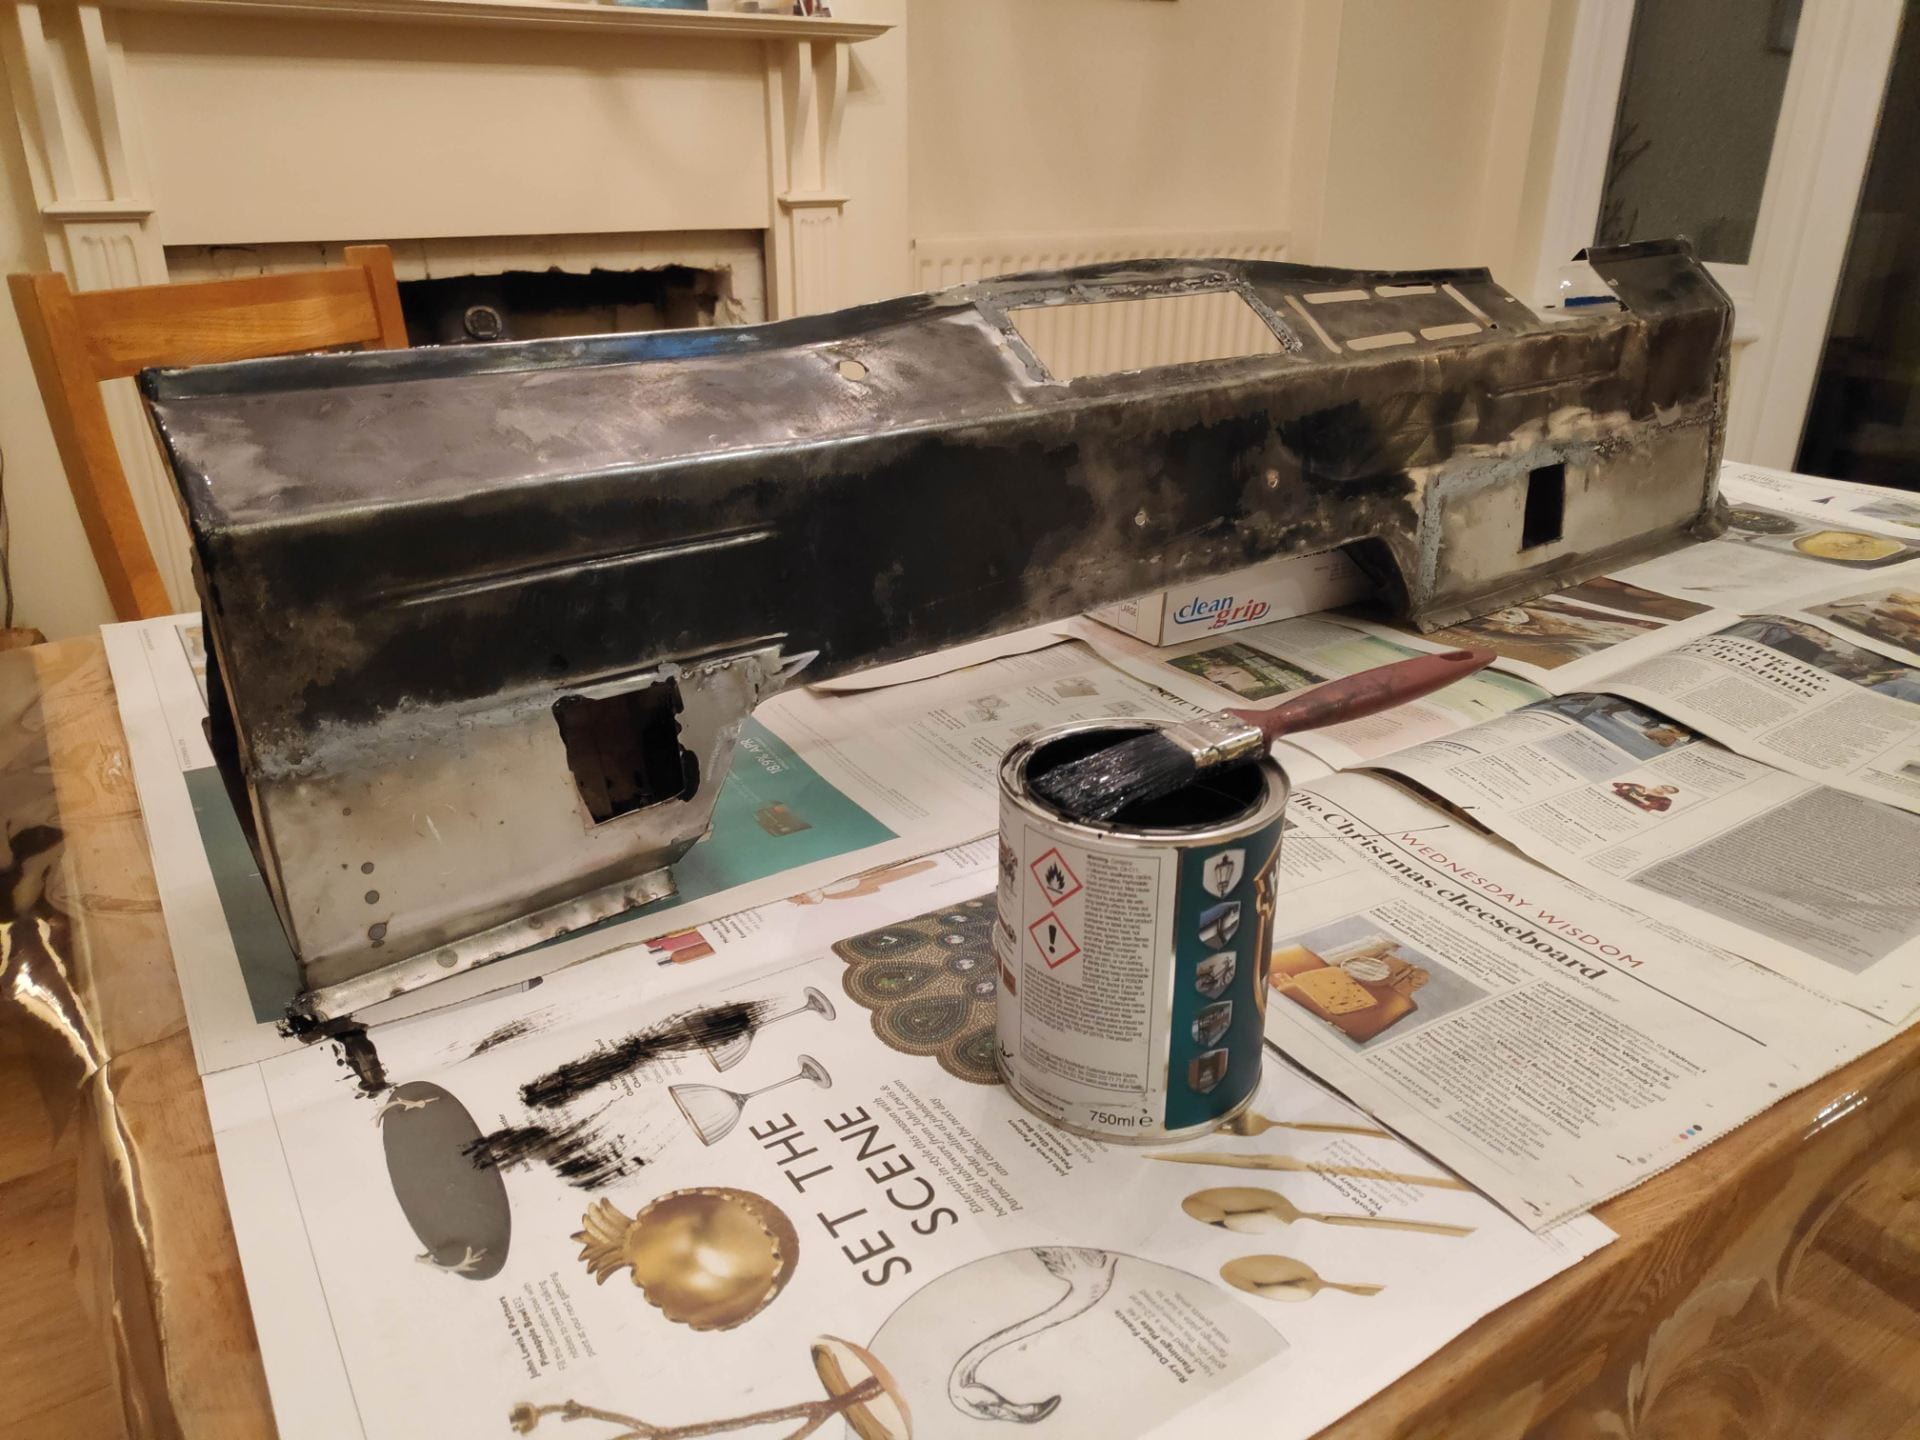
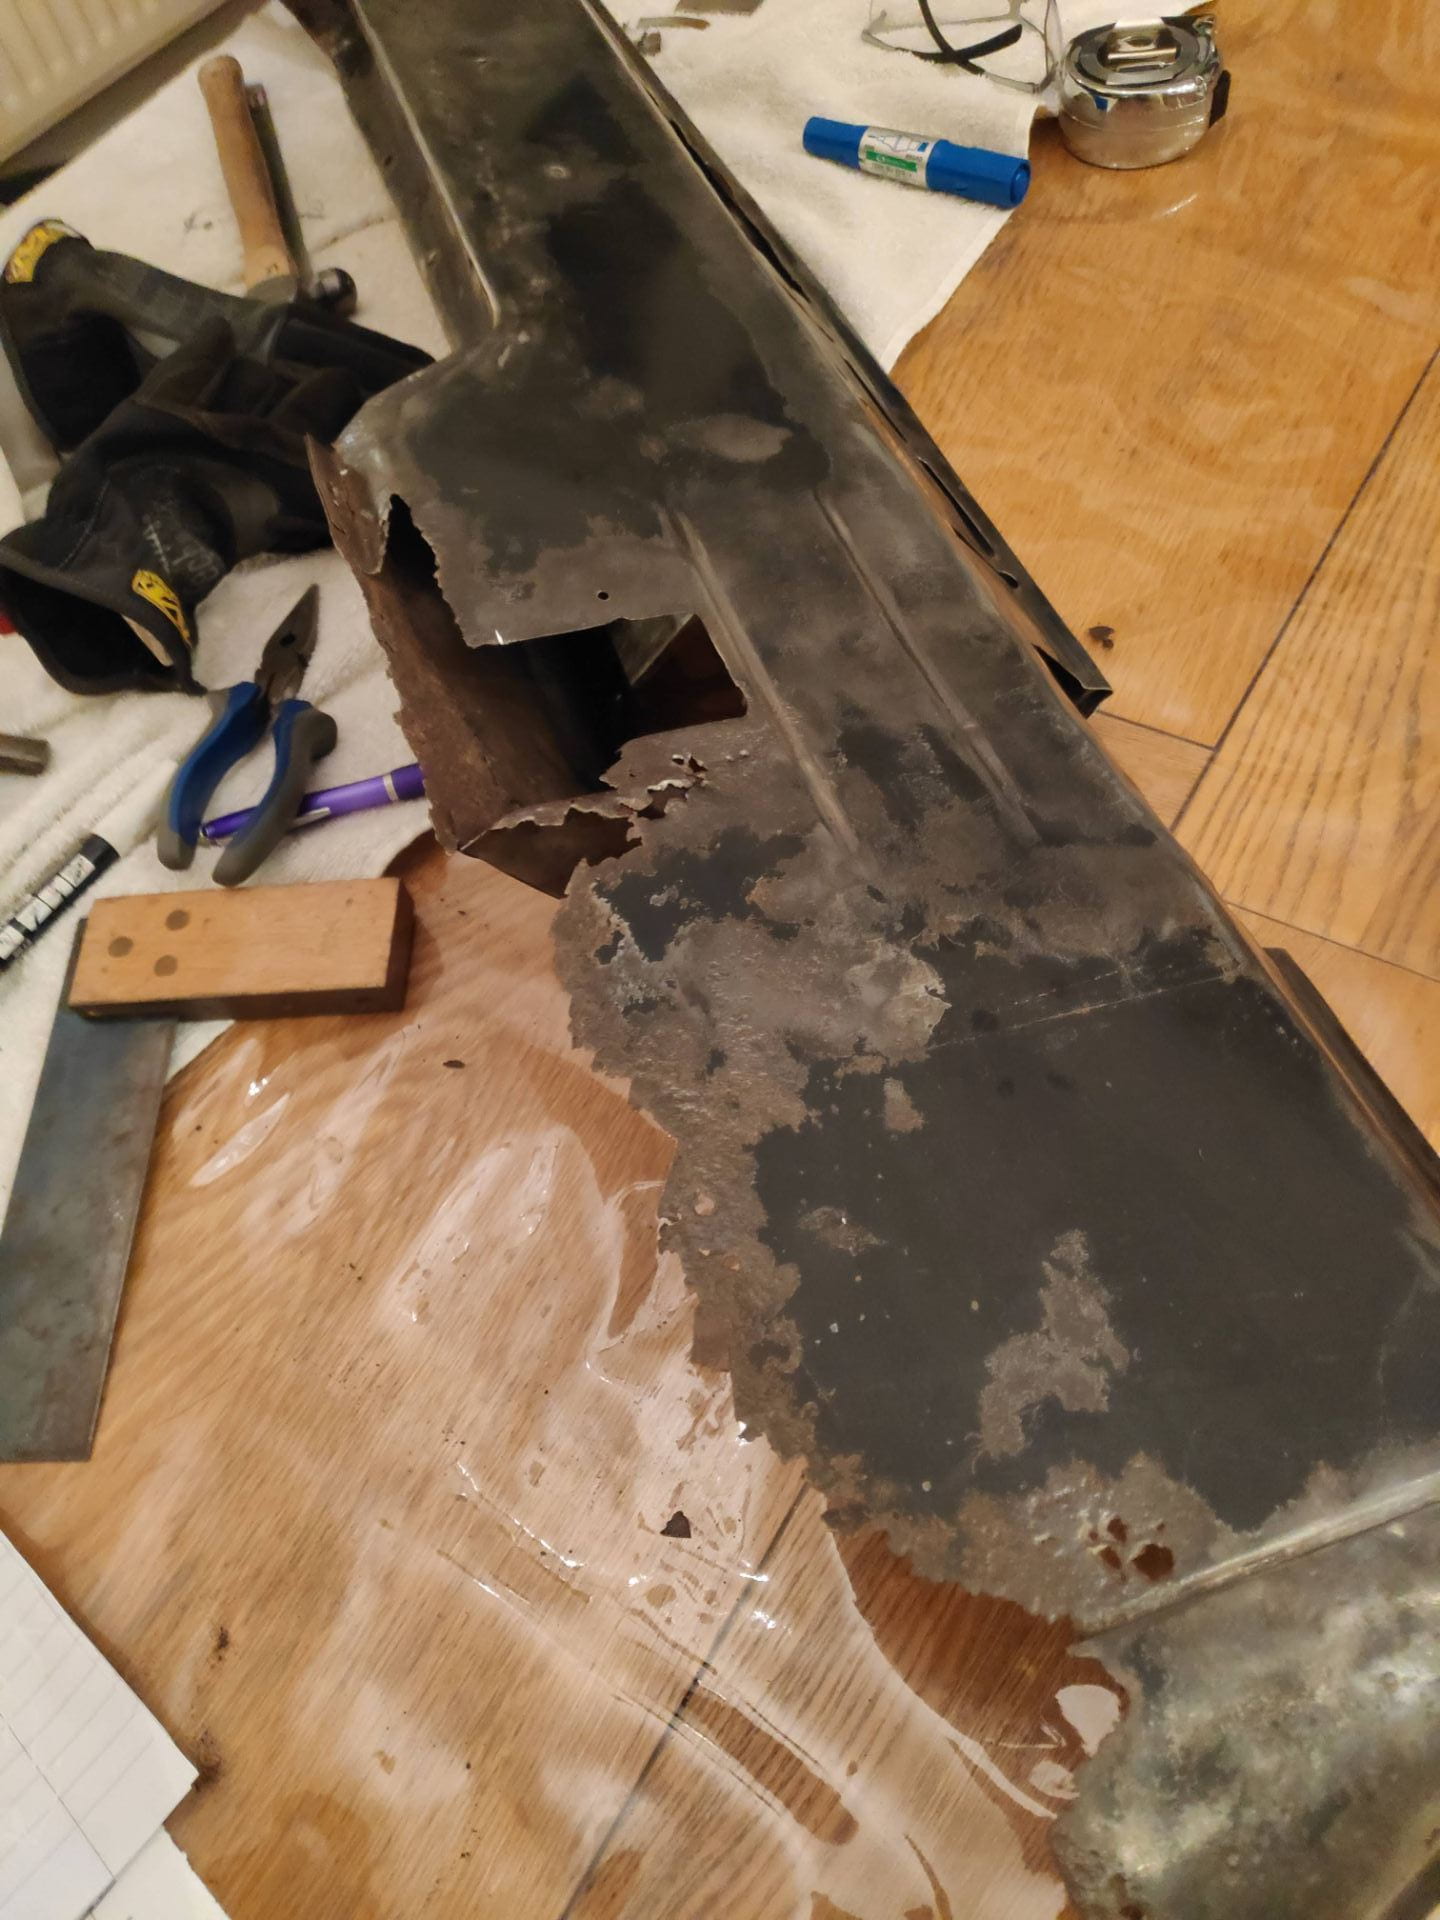 The first section was about renewing the metal by welding sheet steel after bending into the space which was left after cutting out the rusted metal.


As part of the dashboard remake, the wiring needed a lot of attention. This stage I got the lights working properly and added a relay to them, which made them brighter and reduced the chance of a fire in the cab, and the high voltage didn’t travel through the dashboard.
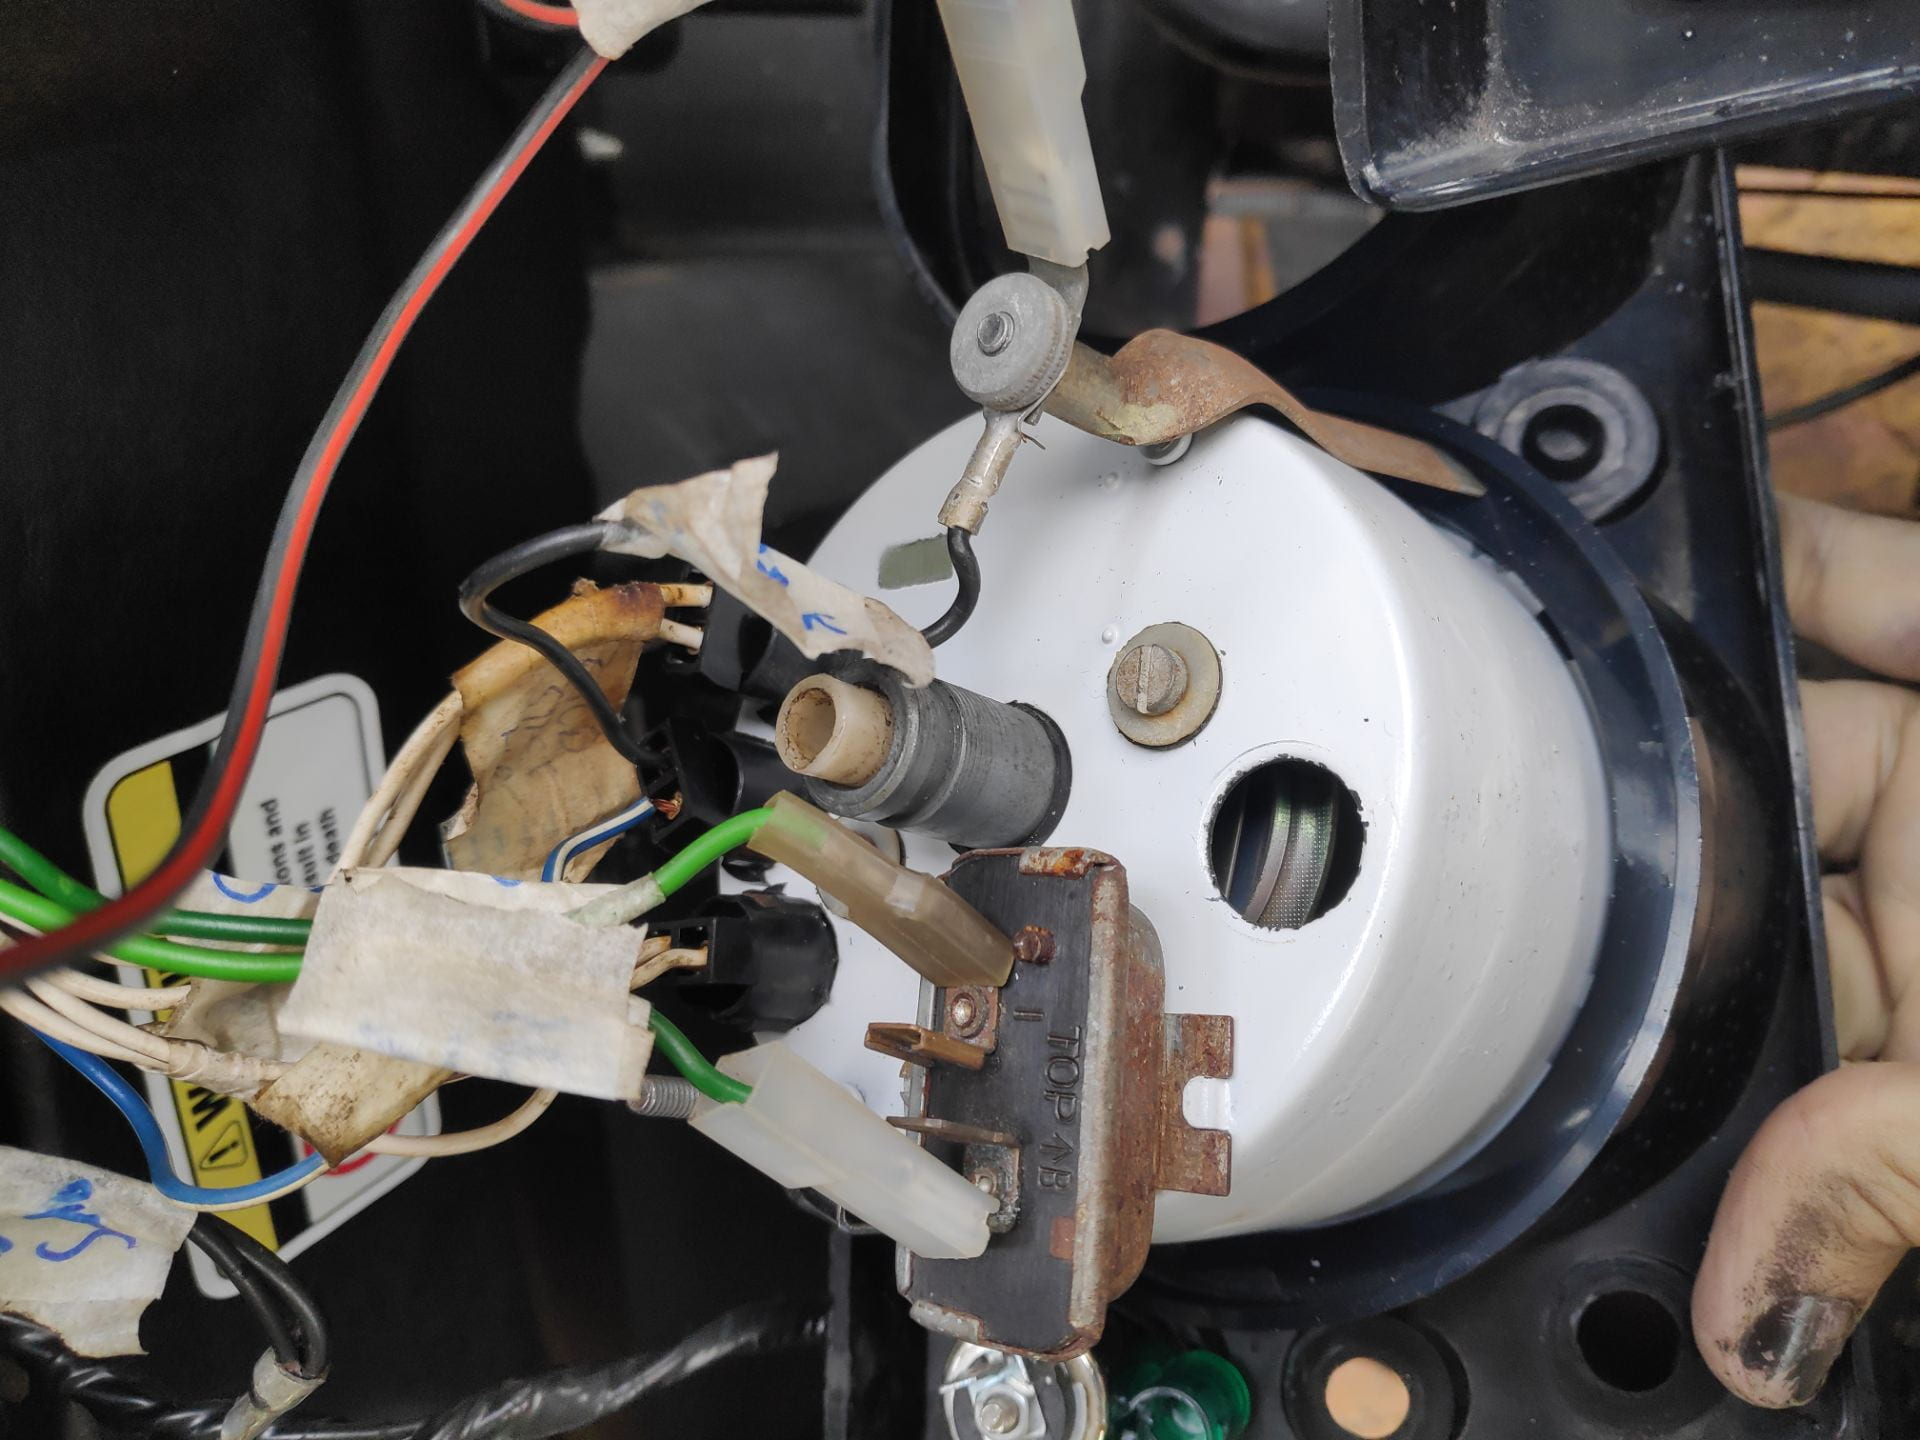

Here are the recondition gauges which were rather difficult to get the bezels and glass back into.
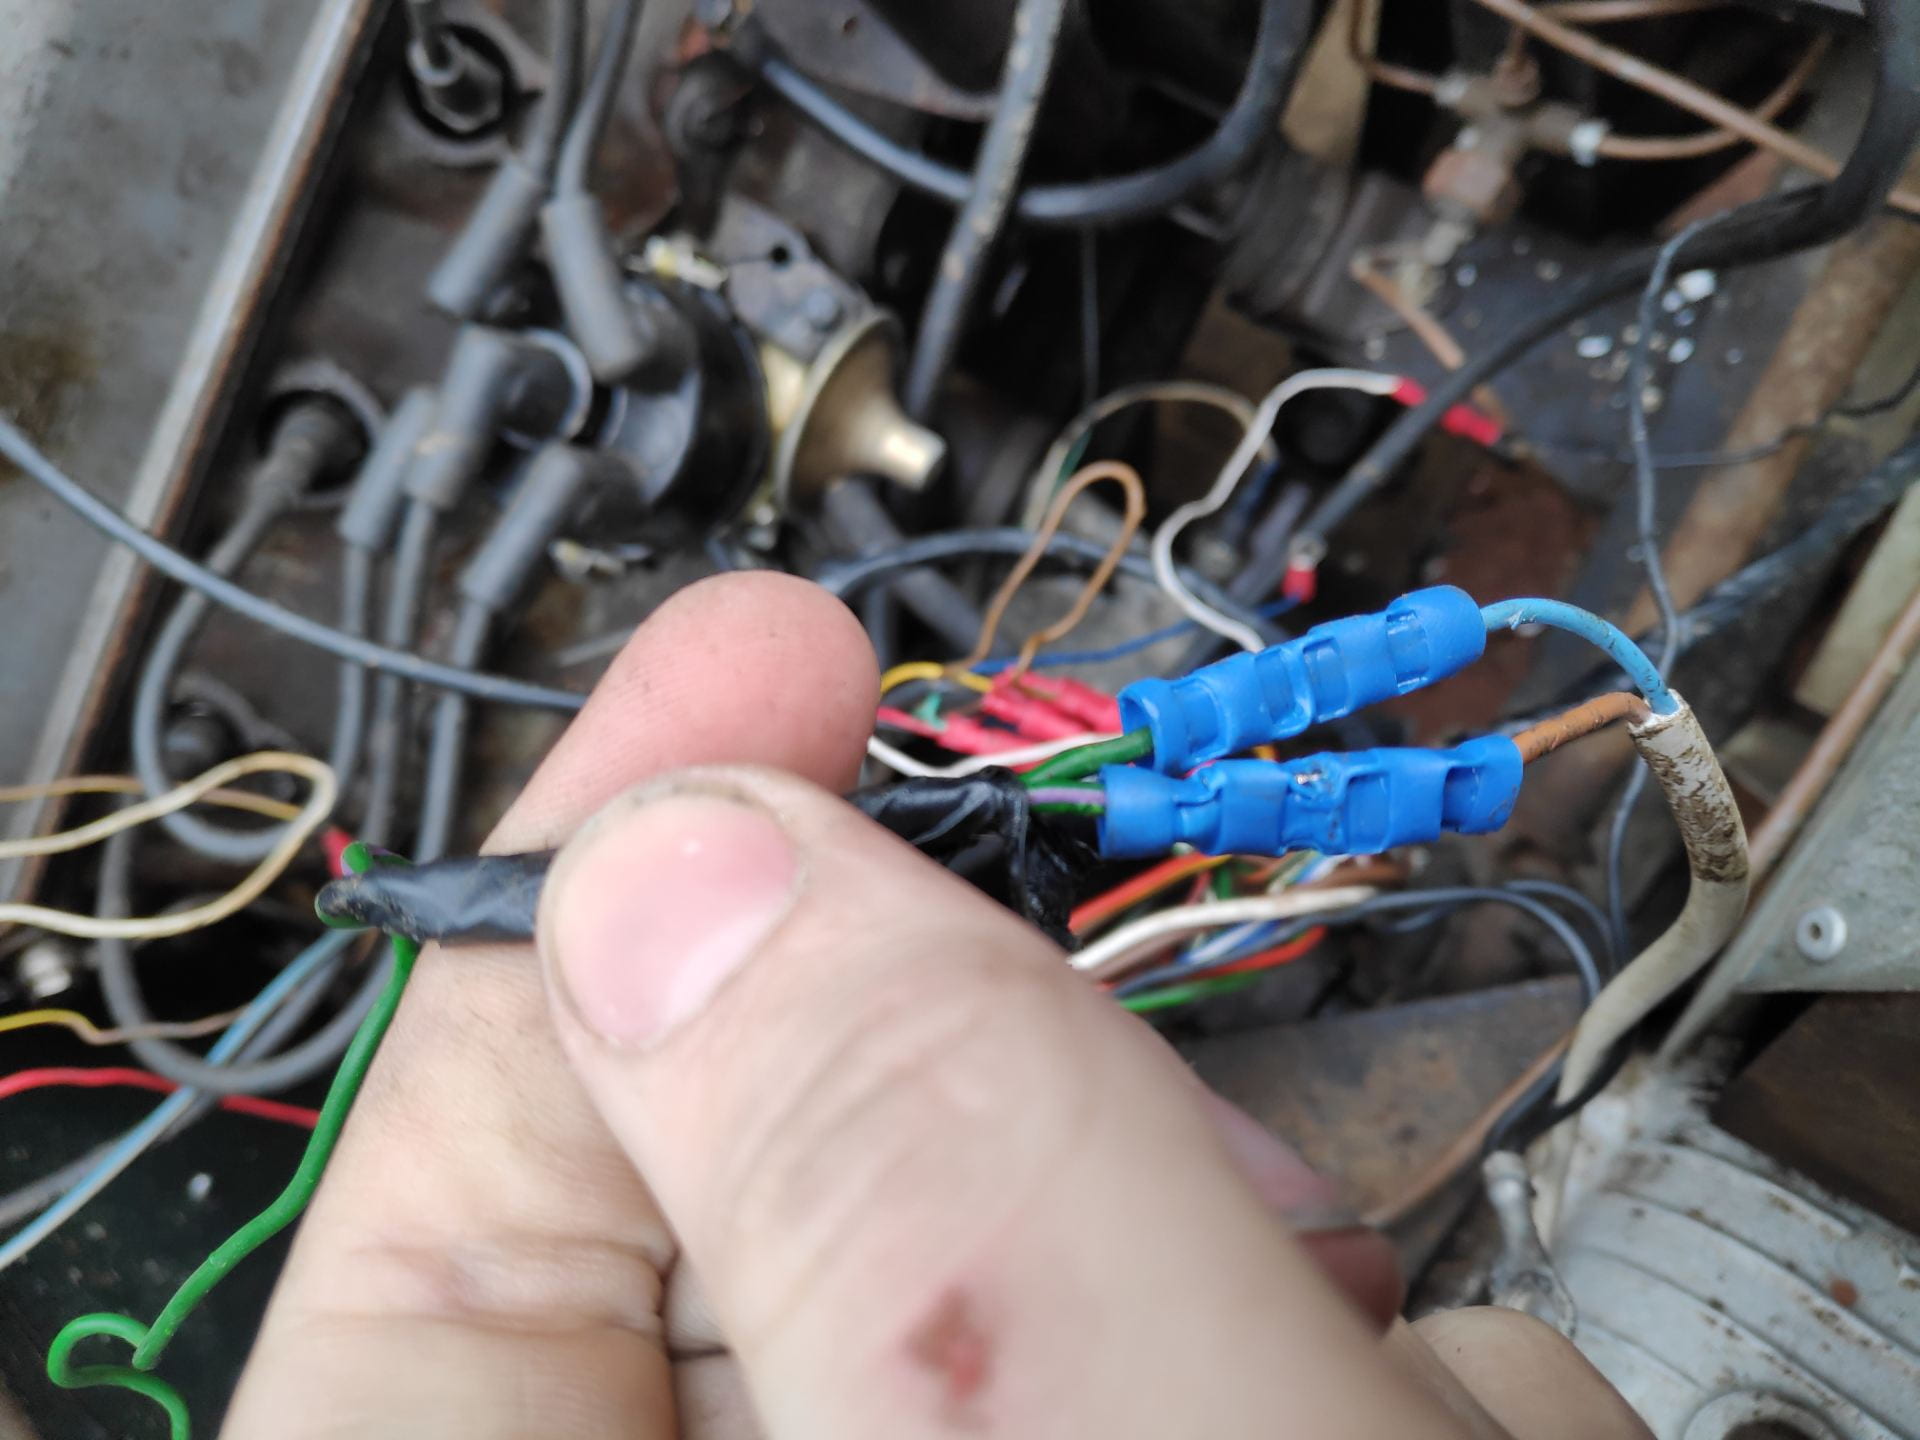
This is some of the wiring in the engine bay which the previous owner did. Rather shoddy and was replaced by adding new connectors and cleaning it up.
Below is the trailer hitch which was causing a lot of problems as it wasn’t wired properly. This was ignored until all the wiring was working and then was simply spliced into the new wiring.

Heater Matrix and Fan
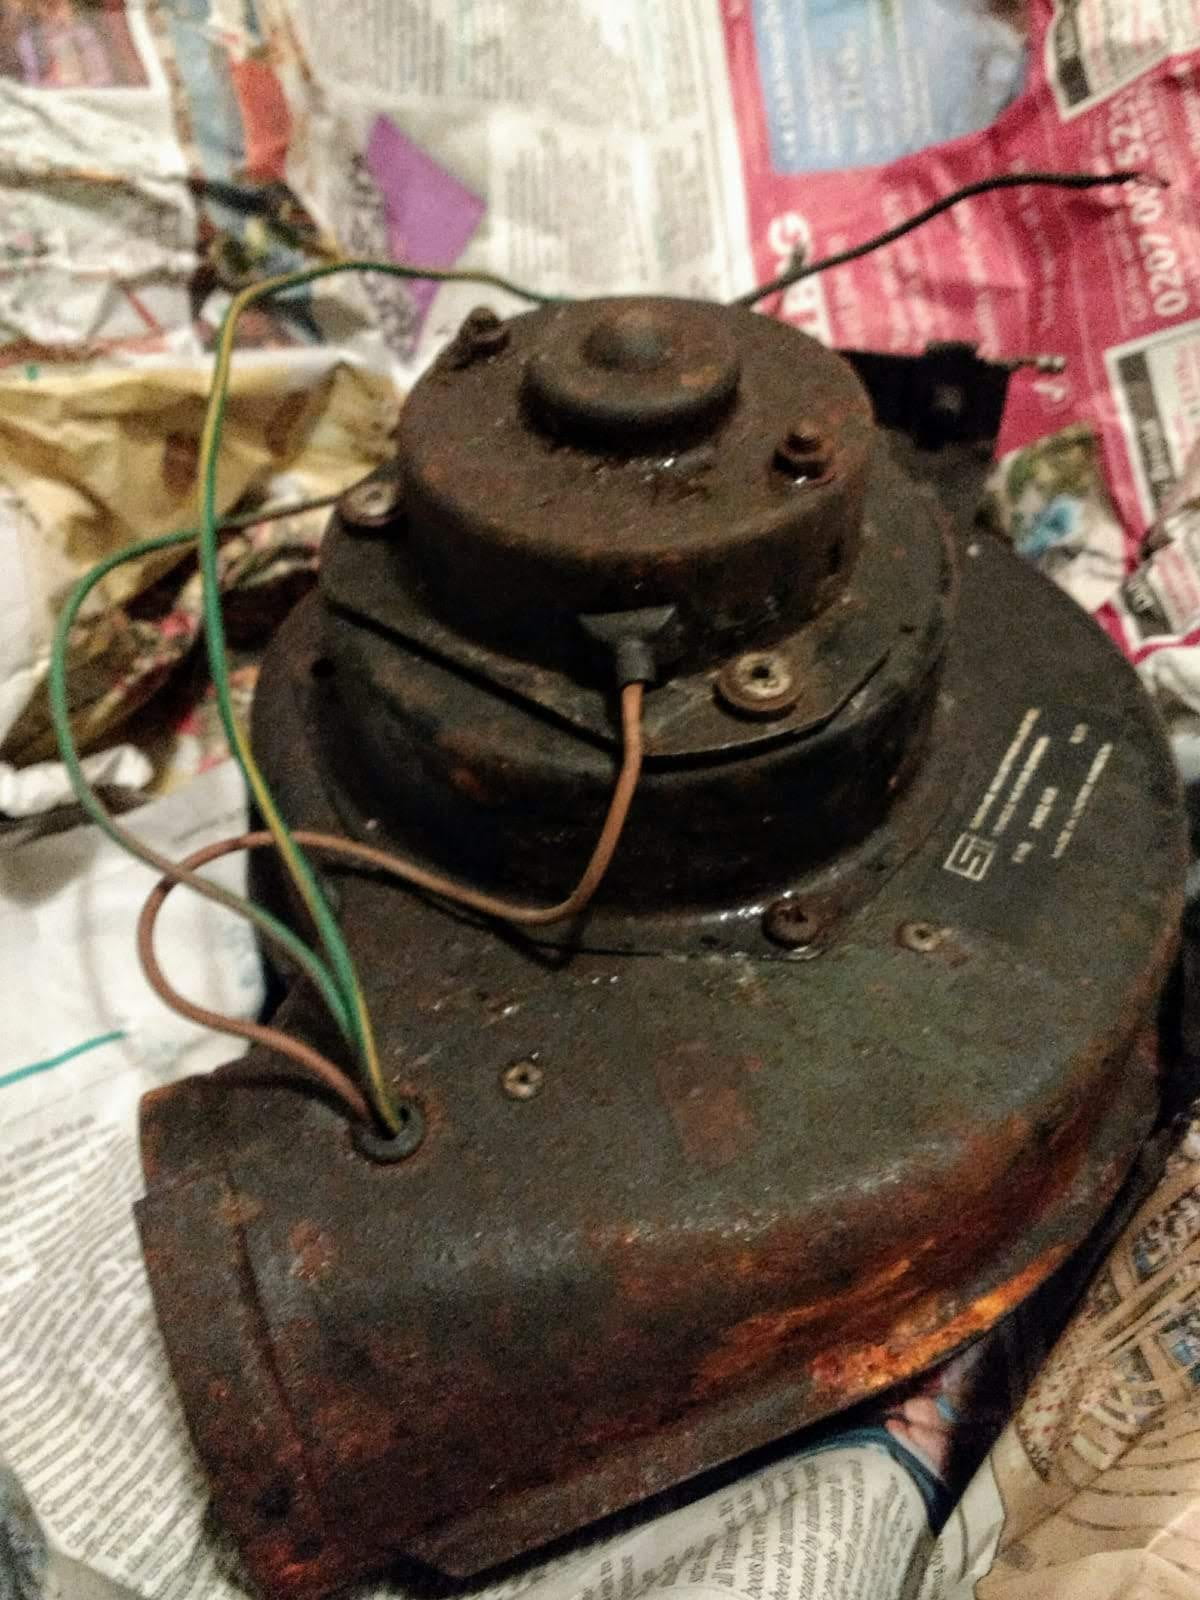
The existing fan was shot – Spending £100 for a new motor was a no go at that point, especially since fans from Mini Coopers were £12 and blow better and faster. All the original mountings were used and so an original motor could be used in the future if required.
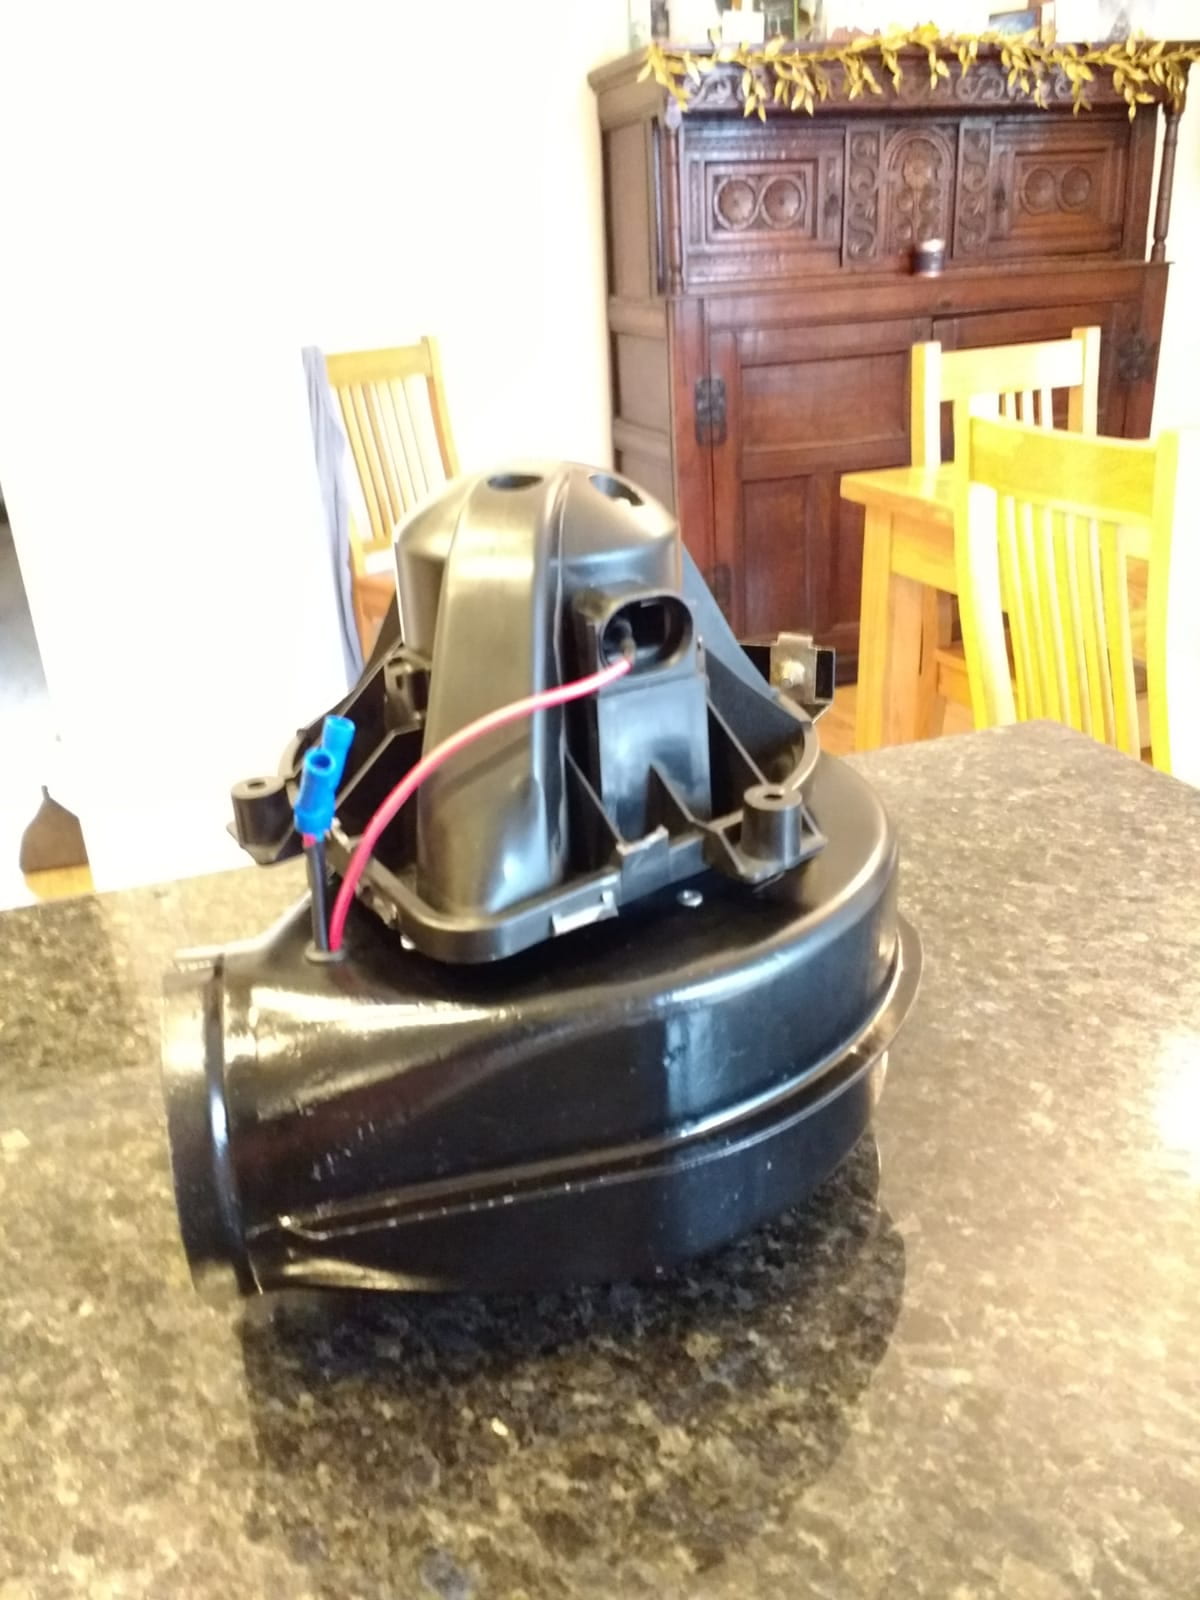

Using kitchen extractor pipe also saved some money which could be better spent on other parts of the project (£80 for a short section was again ridiculous). The heater core was reused after a good flush and clean up and paint of the box.
Learning about the resistor and switch mechanism was interesting and that something that simple could be used the control the speed of the fan.

I did of course take apart the motor to see how it worked and if it could have been saved.
Rims
No fancy alloys for me thank goodness. Good old steel rims. A lot of angle grinding and old paint and rust and they were ready to paint. Red oxide and then some hand painted 2k limestone and they were ready to go. Just a day to mount the tyres before the Claygate Flower Show classic car event.

Classic Car Show
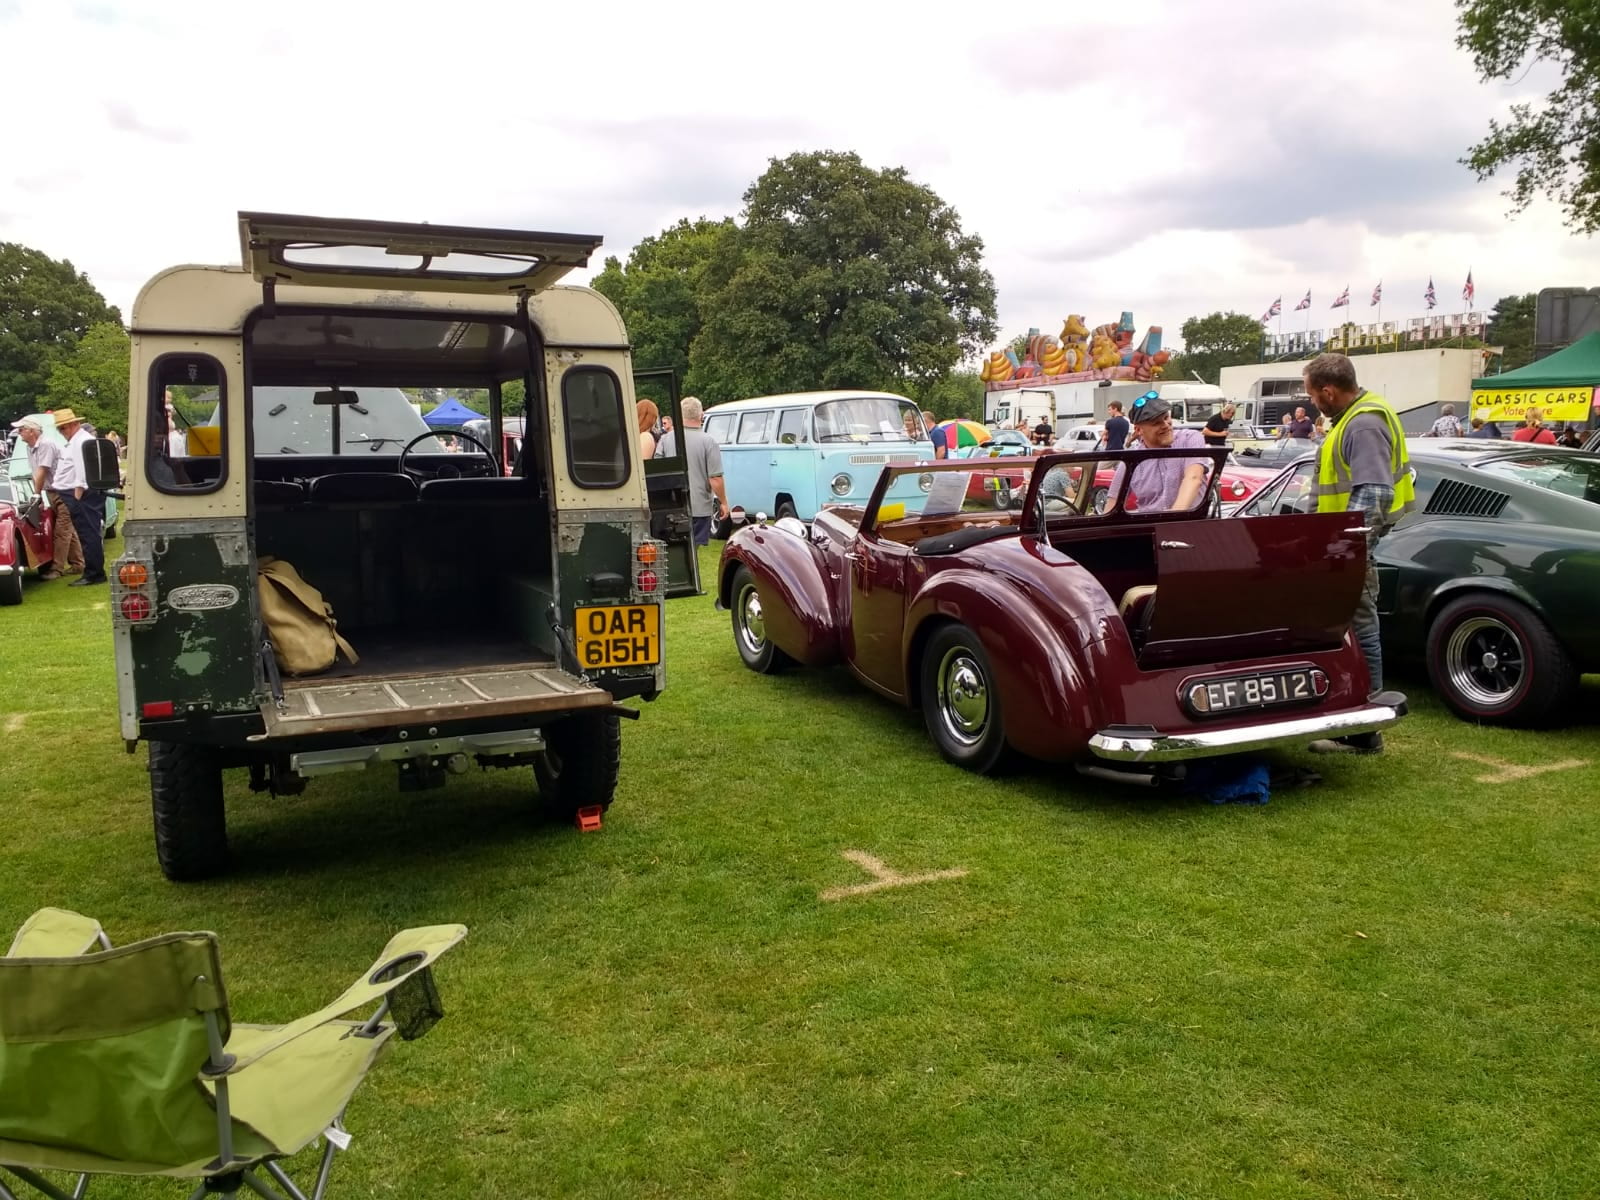
It was very nice to set up next to some amazing classic cars and have so many people come and talk to me about their experiences with Land Rover and the good memories that they still remember from their childhoods.
Clutch Bearing…….or mainshaft bearing……or both?
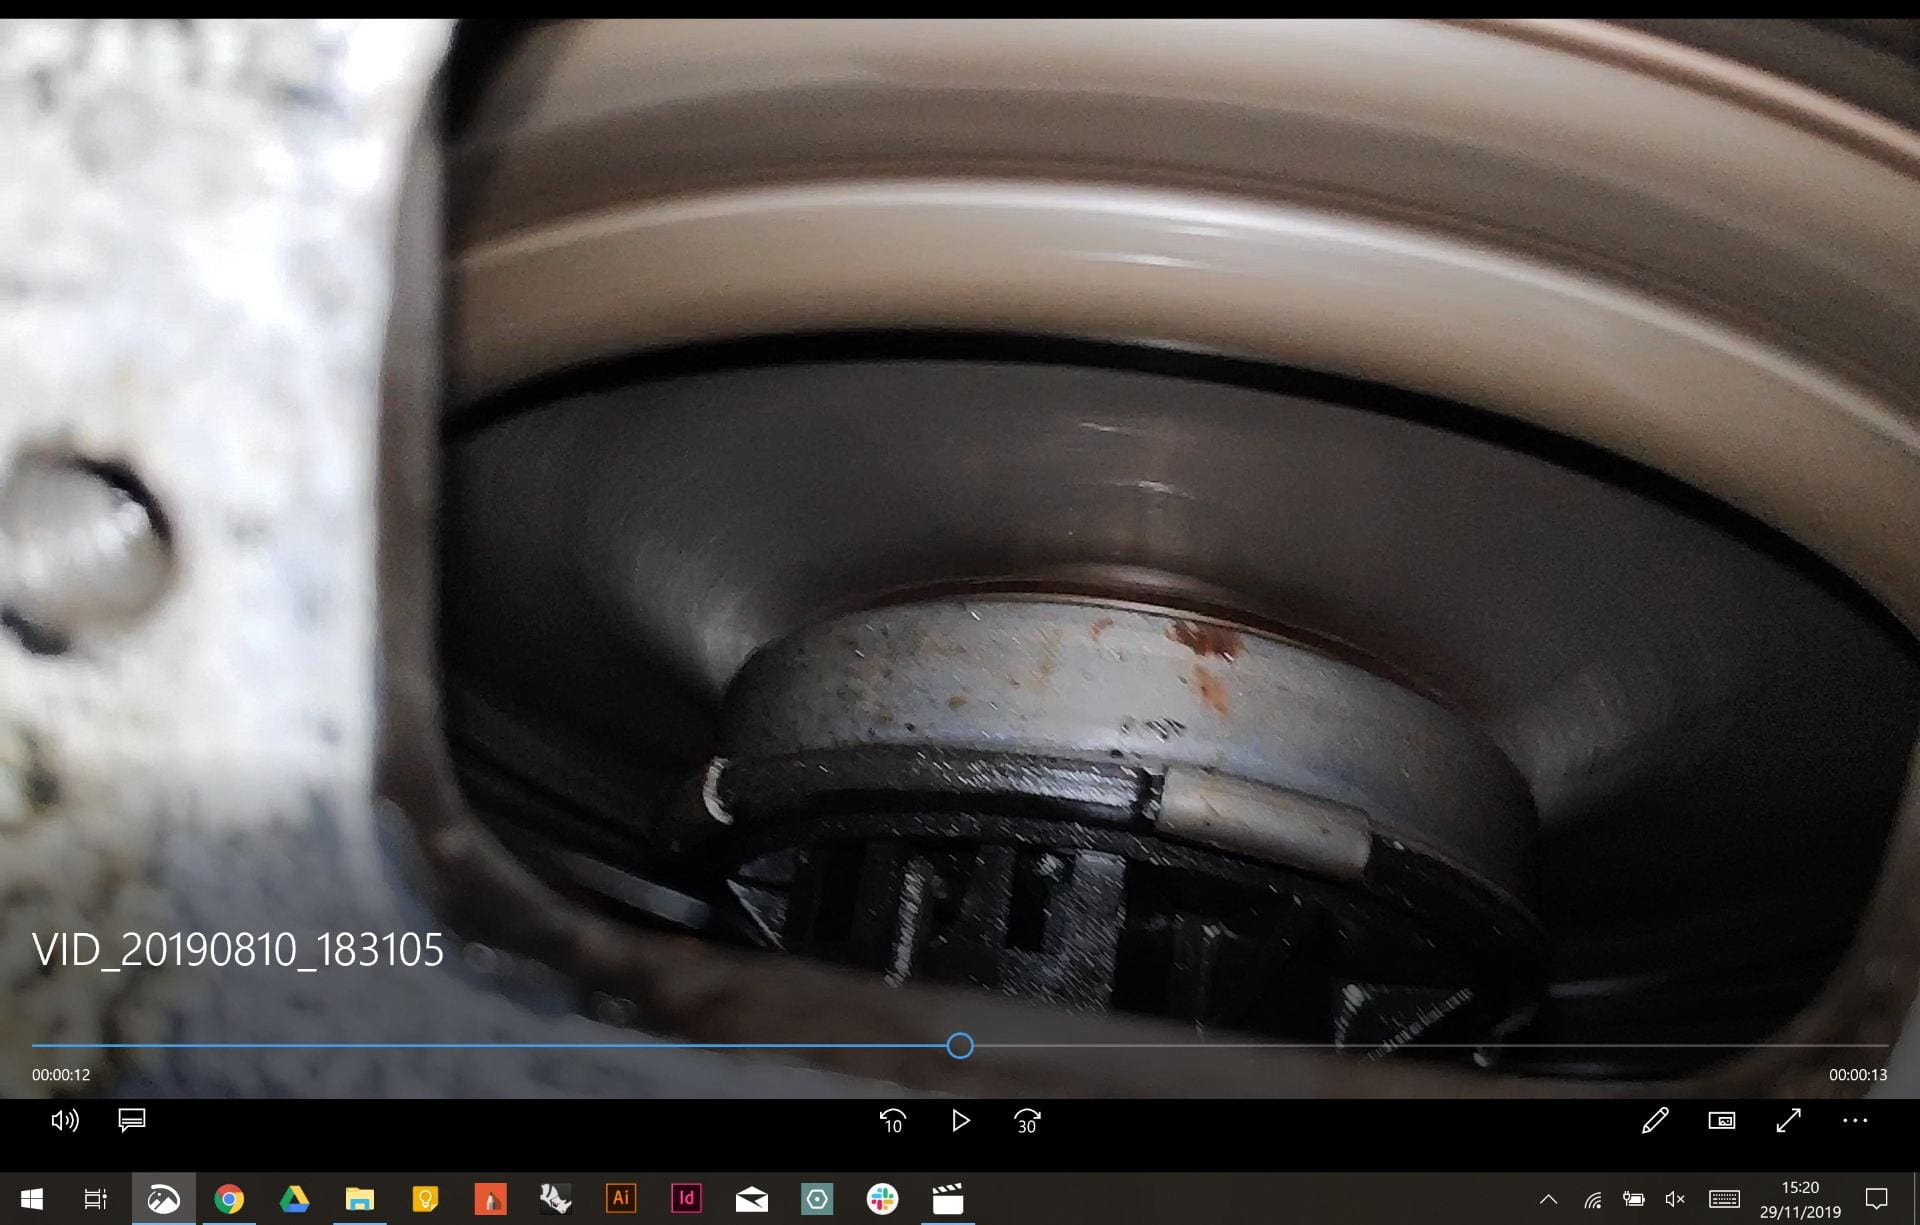
The noise was more of an irritant that a problem, according to the haynes manual.
Using an endoscope I tried to diagnose the clutch bearing but it seemed all good. The mainshaft of the transmission was the next culprit and therefore it was decided to take of the hub at the back. Again everything was fine and was left after replacing the spring clip and lock nut at the end of the mainshaft.
Seating for the rear
It is rather uncomfortable in the back especially without seats. Rather than buying them I decided I could make a higher quality seat for less money and it would also fit much better.
It it to be mounted to the rails n the side and would be a single cushion on the back two benches.
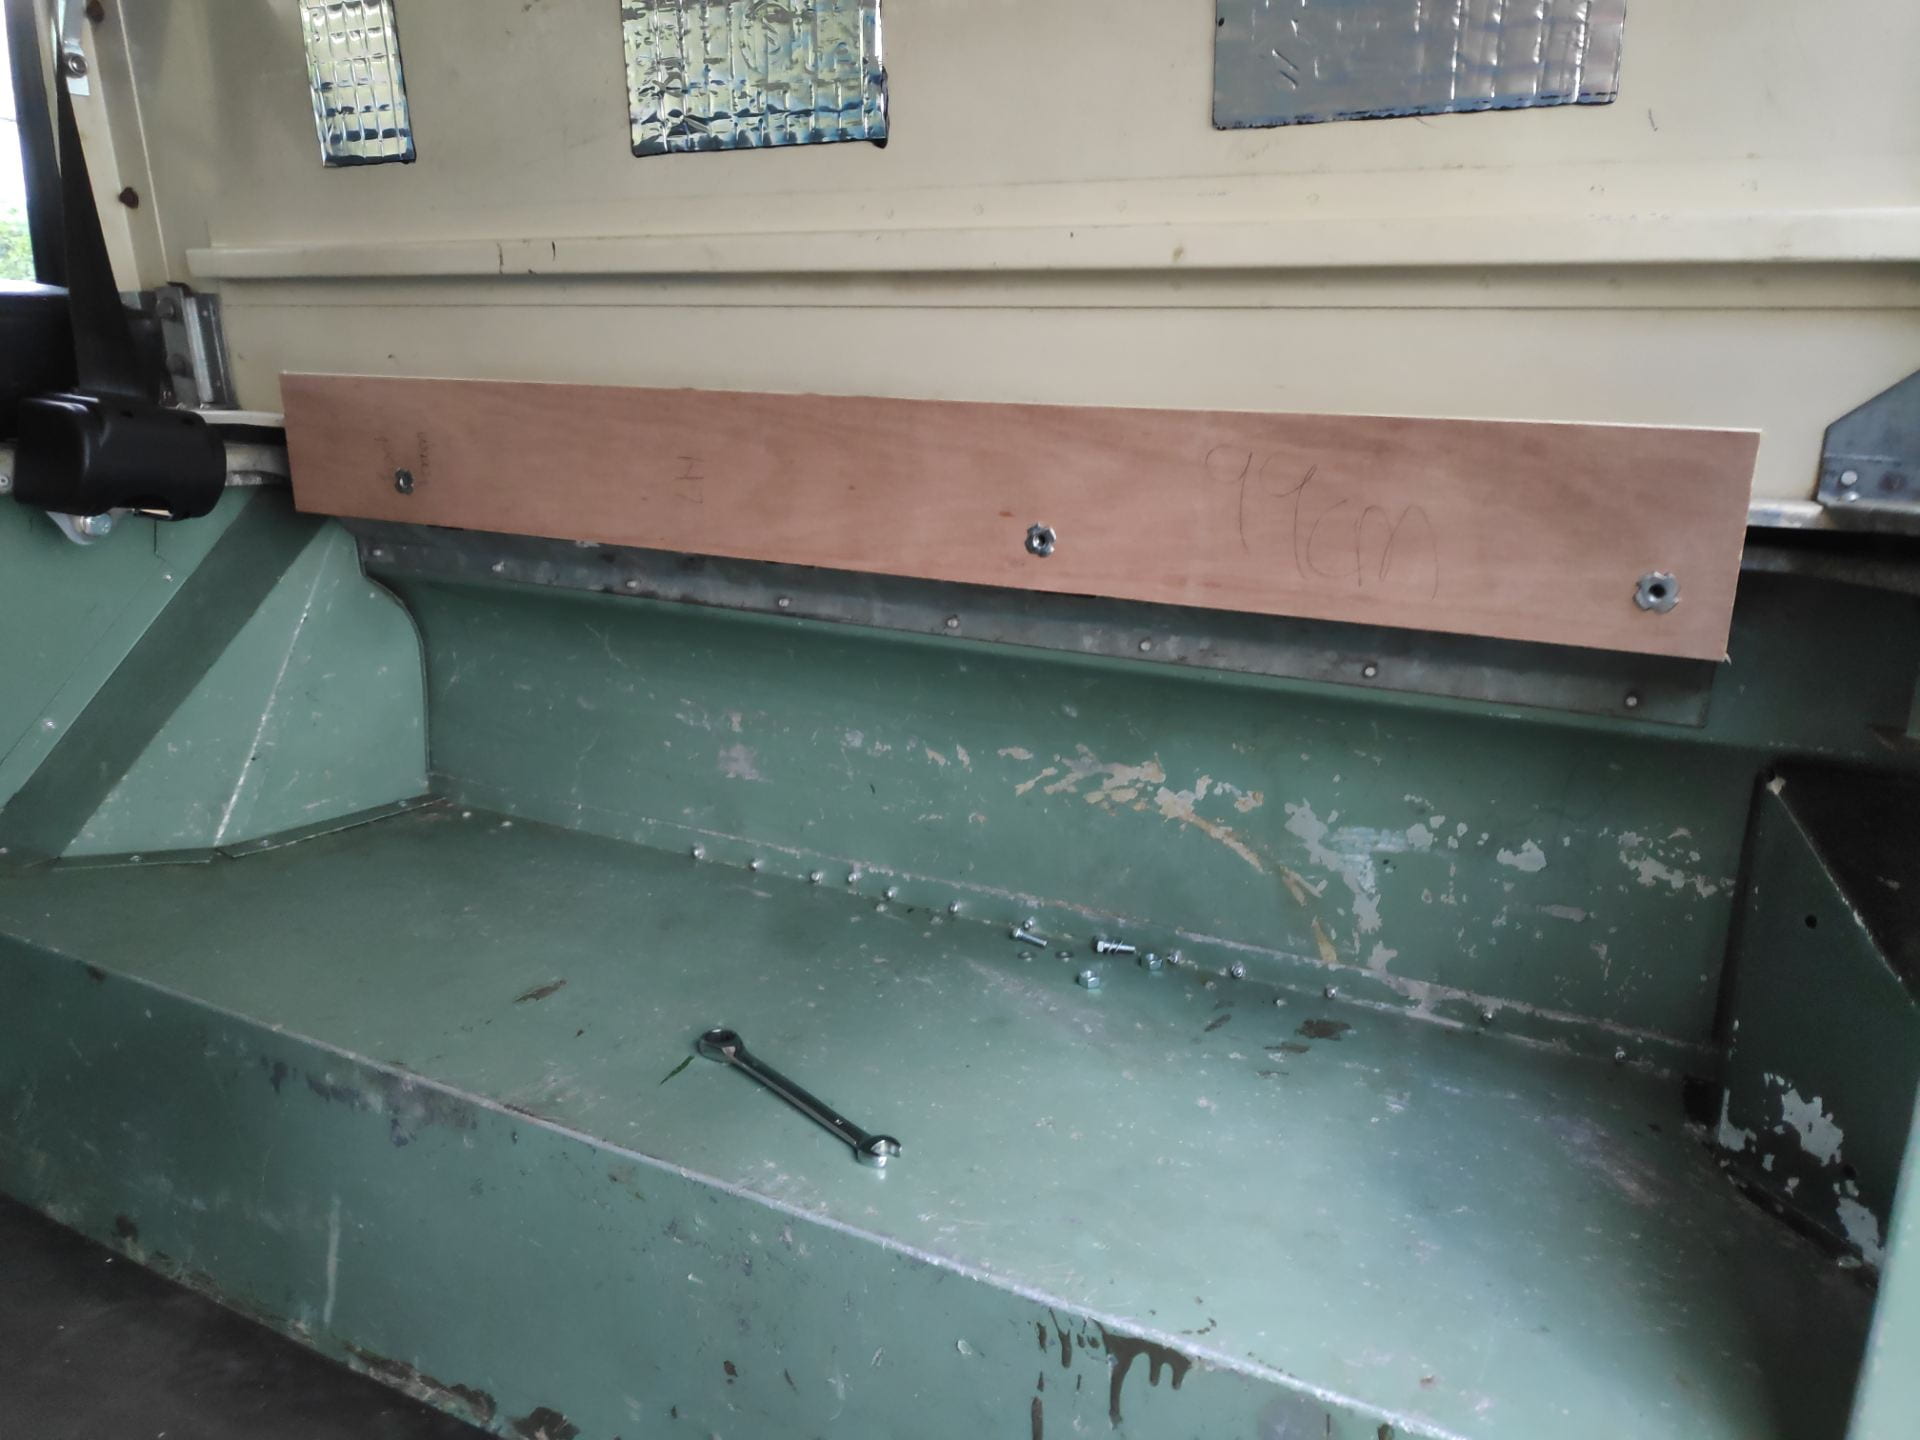
 Still a work in progress but they will be covered in the same material as the dashboard, with a stockinette underneath.
