
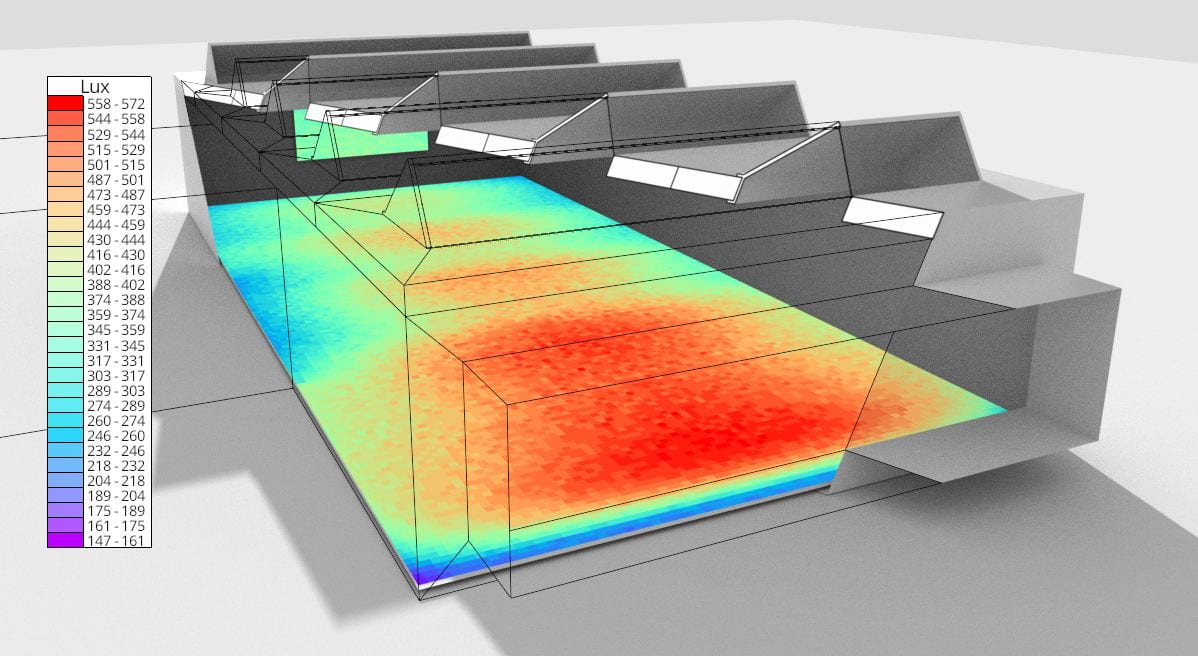
Cutaway of a saw-tooth roof and lux simulation
Hello.
I have now uploaded a video tutorial covering the basics of Radiance simulation with the LiVi component of the VI-Suite. The video concentrates on the options within the relevant nodes and the Radiance material options. One thing I should probably reiterate is that a single Blender object can have more than one Radiance material attached as Blender allows you to associated materials with each individual face. The example below shows a red glass sphere with some blue plastic faces.
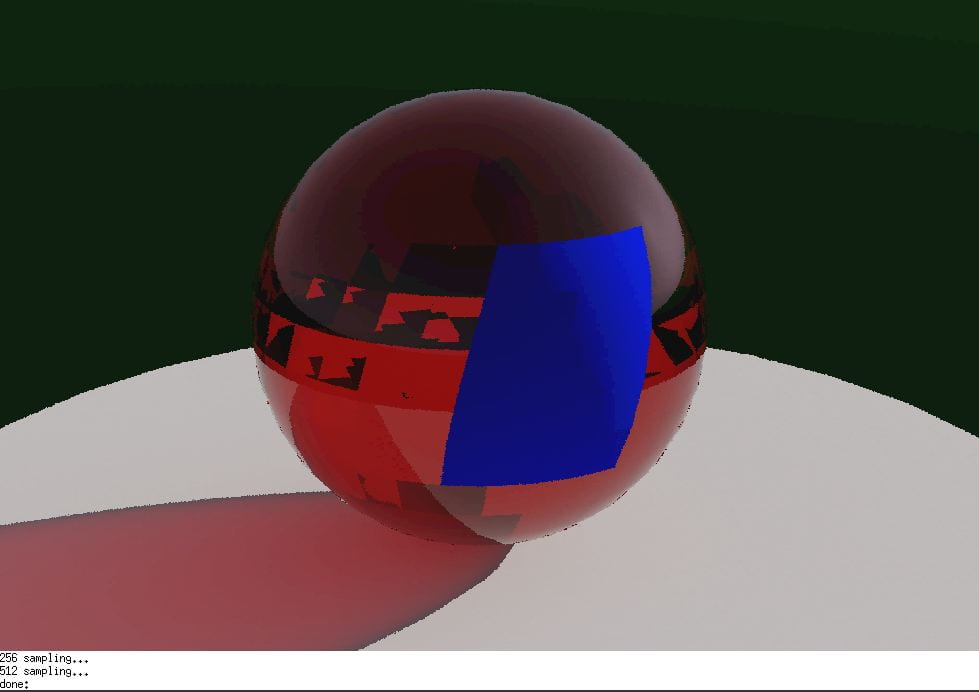
Radiance per face materials
Also a version from today or later should be used to correspond completely with the options I talk about.
Otherwise I think the video mentions everything else I wanted to say and, as ever, can be viewed below.
Good morning Ryan,
thanks for your great work with this new add-on!
I wanted to ask you if it is possible to add a kind of an UV map to imported objects. I have a jpg file with the texture map but I am not able to see the color map in the simulation rendering.
Thanks in advance!
Best
Chris
Hi Christian. Have you followed the instructions in this post?
https://blogs.brighton.ac.uk/visuite/2017/01/
Dear Ryan,
thanks for your kind help. I tried to follow the instructions but still not working. The cycles render looks showing correctly the object with the UV map on top of it, but when I run the simulation, I am seeing only the color of the plastic material of the VI node. Even if the the textured toggle is ticked.
My blender version is 2.83.7 if it can help.
Thanks again
Chris
Problem solved:
Material in Blender was not set properly to Diffuse BSDF. Now everything works perfectly.
Thanks again.
Greetings
Christian