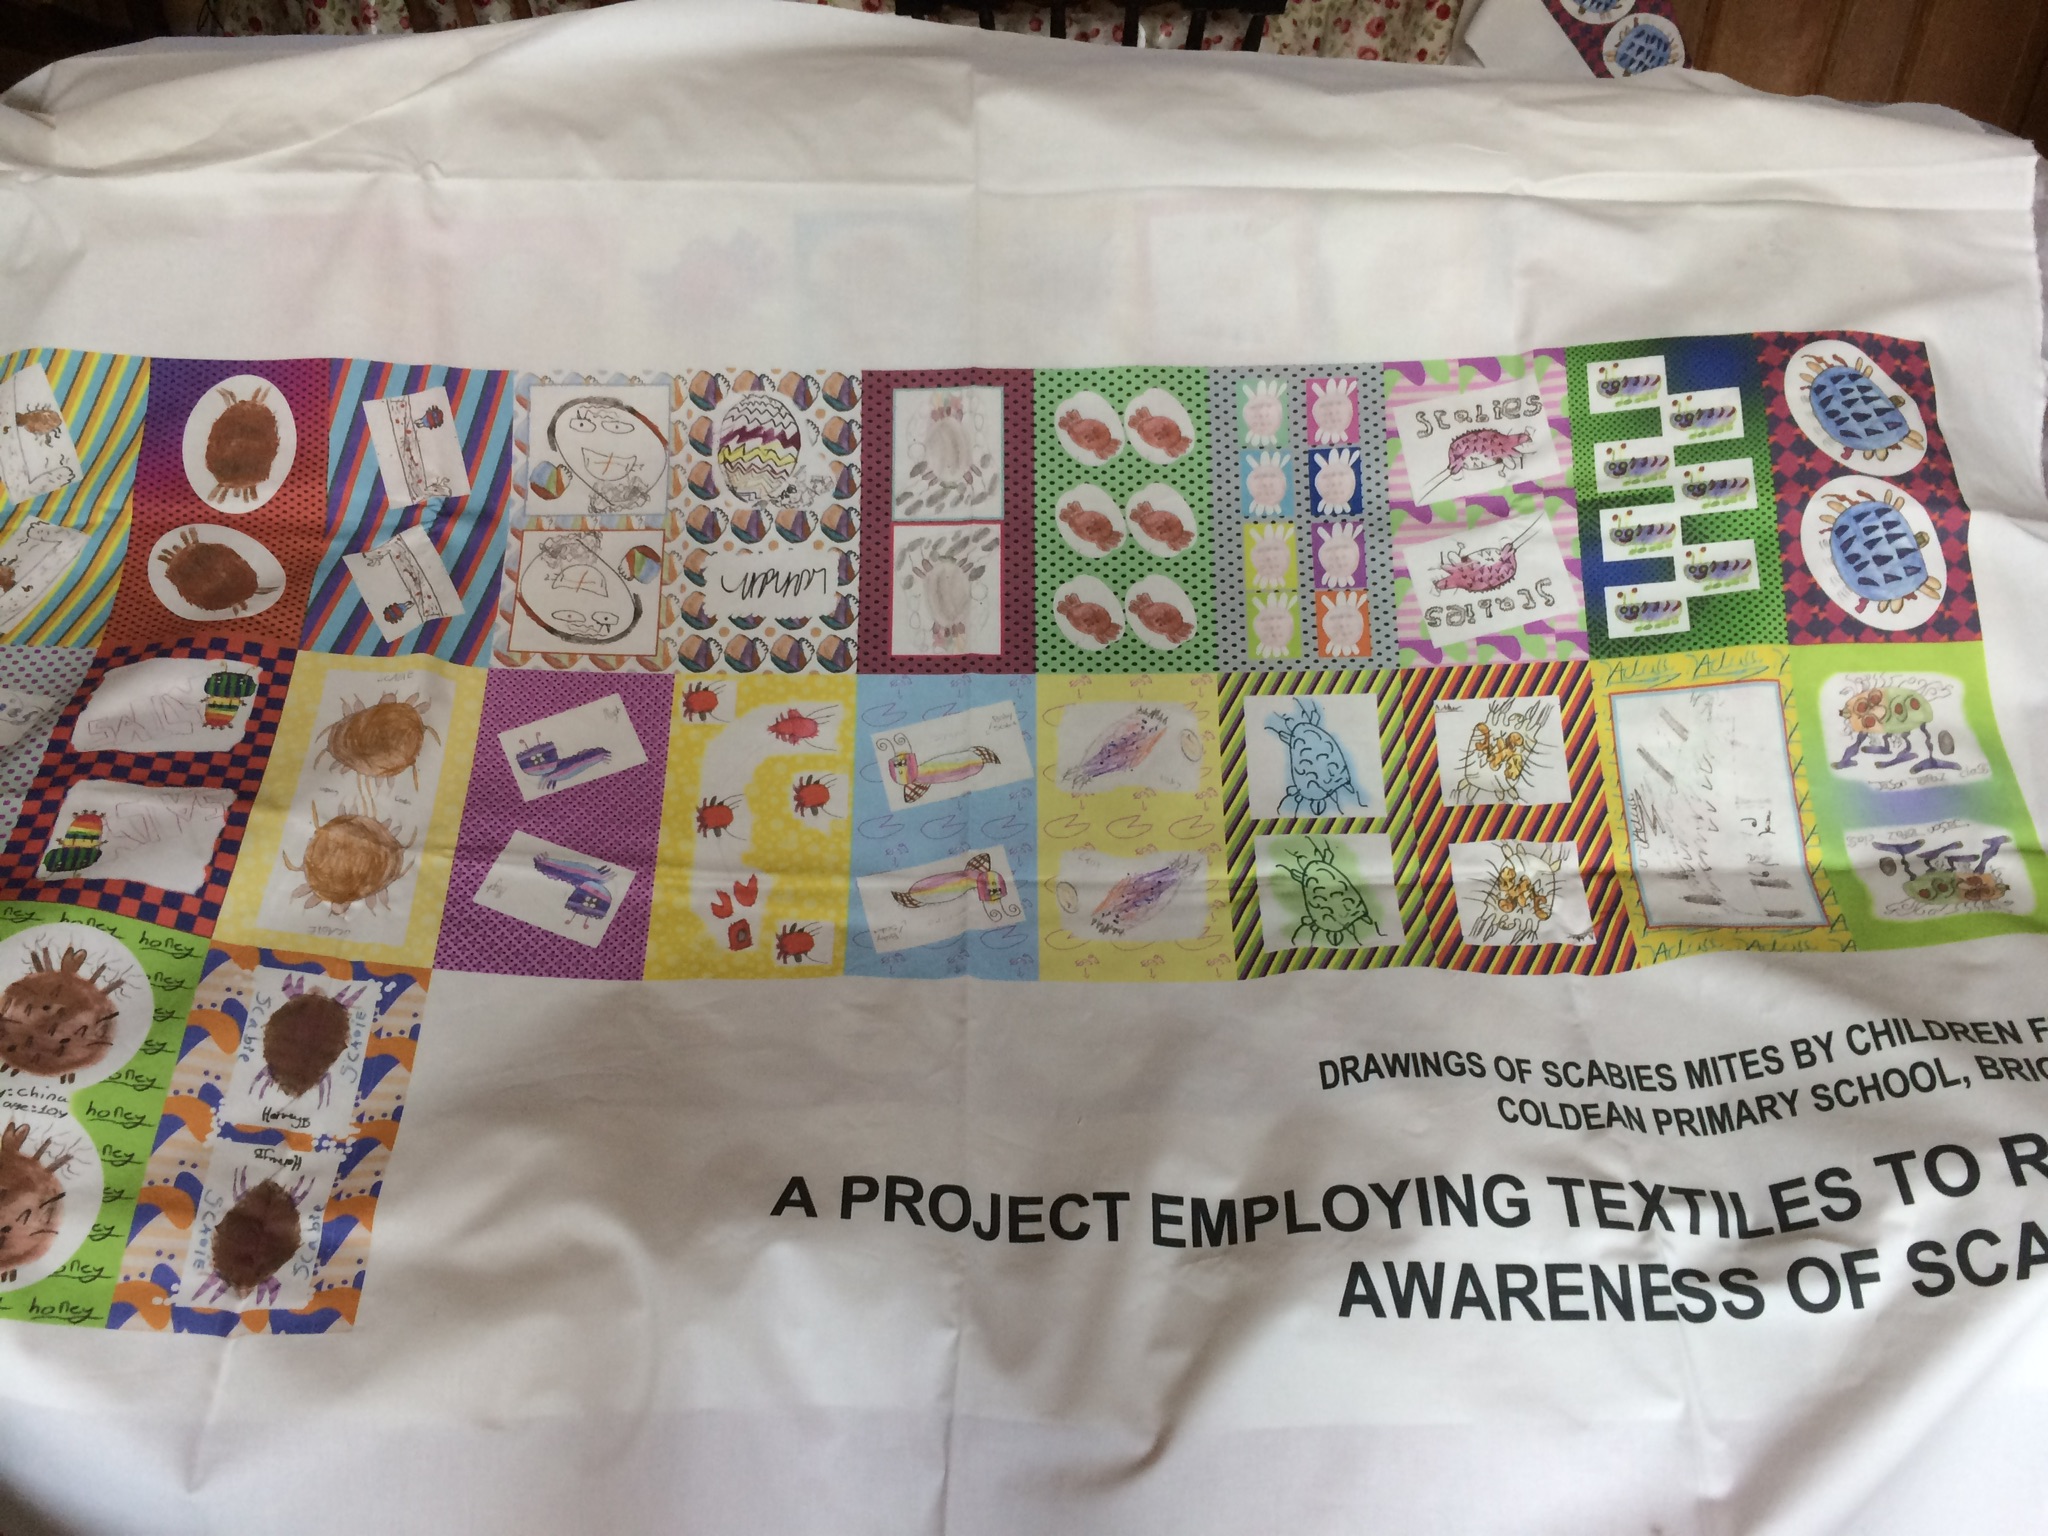
A selection of the children’s drawings, beanbags, mites and other work from the project has been on display in the School of Art in Brighton during October 2018.
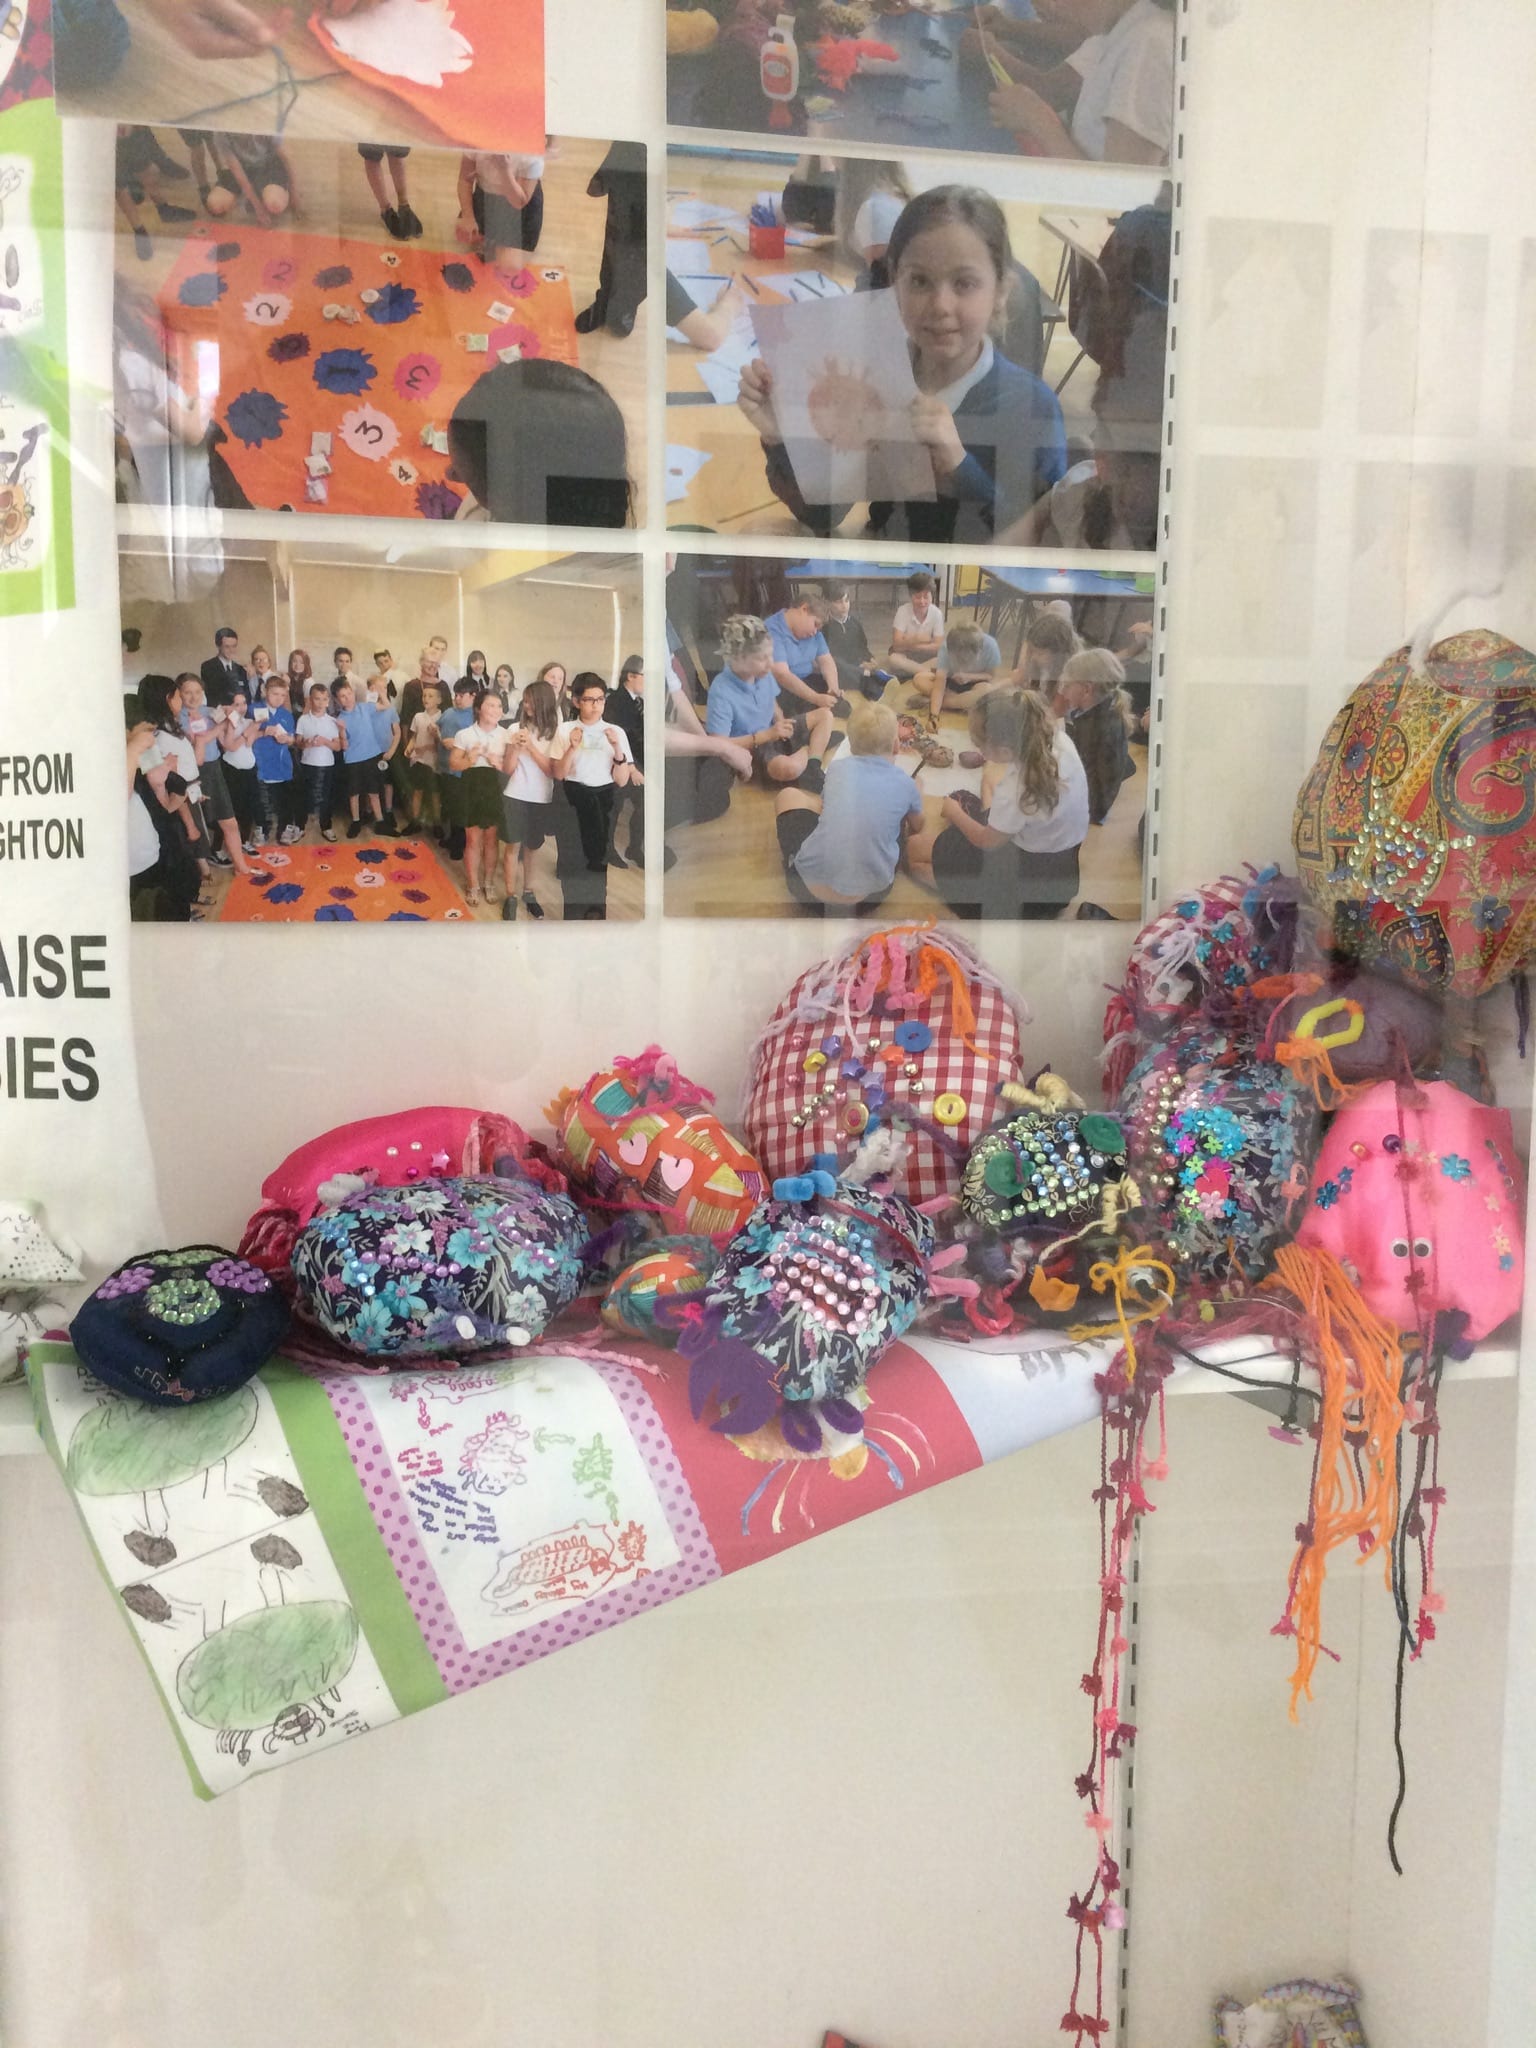
Exhibition of work at the School of Art, October 2018
A selection of the children’s drawings, beanbags, mites and other work from the project has been on display in the School of Art in Brighton during October 2018.
Exhibition of work at the School of Art, October 2018
Stef had done a great job of organising rooms and providing snacks and drinks. She had also planned a varied and exciting agenda. The classes were divided into three groups, orange, purple and green, and rotated through activities which included:
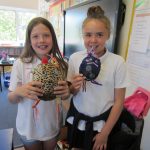
The students from Seahaven Academy joined us for the latter part of the afternoon, and we all attended the premiere of the animations,;Mafia Mites, Love at first Mite, and Lady Jusy Burrowing-Down. Red carpets for all the mites!

The children arrive. Helpers in the foreground getting ready for hard work
it was a hot day, and the children had walked from Coldean to Falmer, so they needed a bit of a rest before starting.
It was lovely that towards picking-up time, parents arrived. The children enjoyed showing them pictures of the workshops, and the textile mites and beanbags they had made.
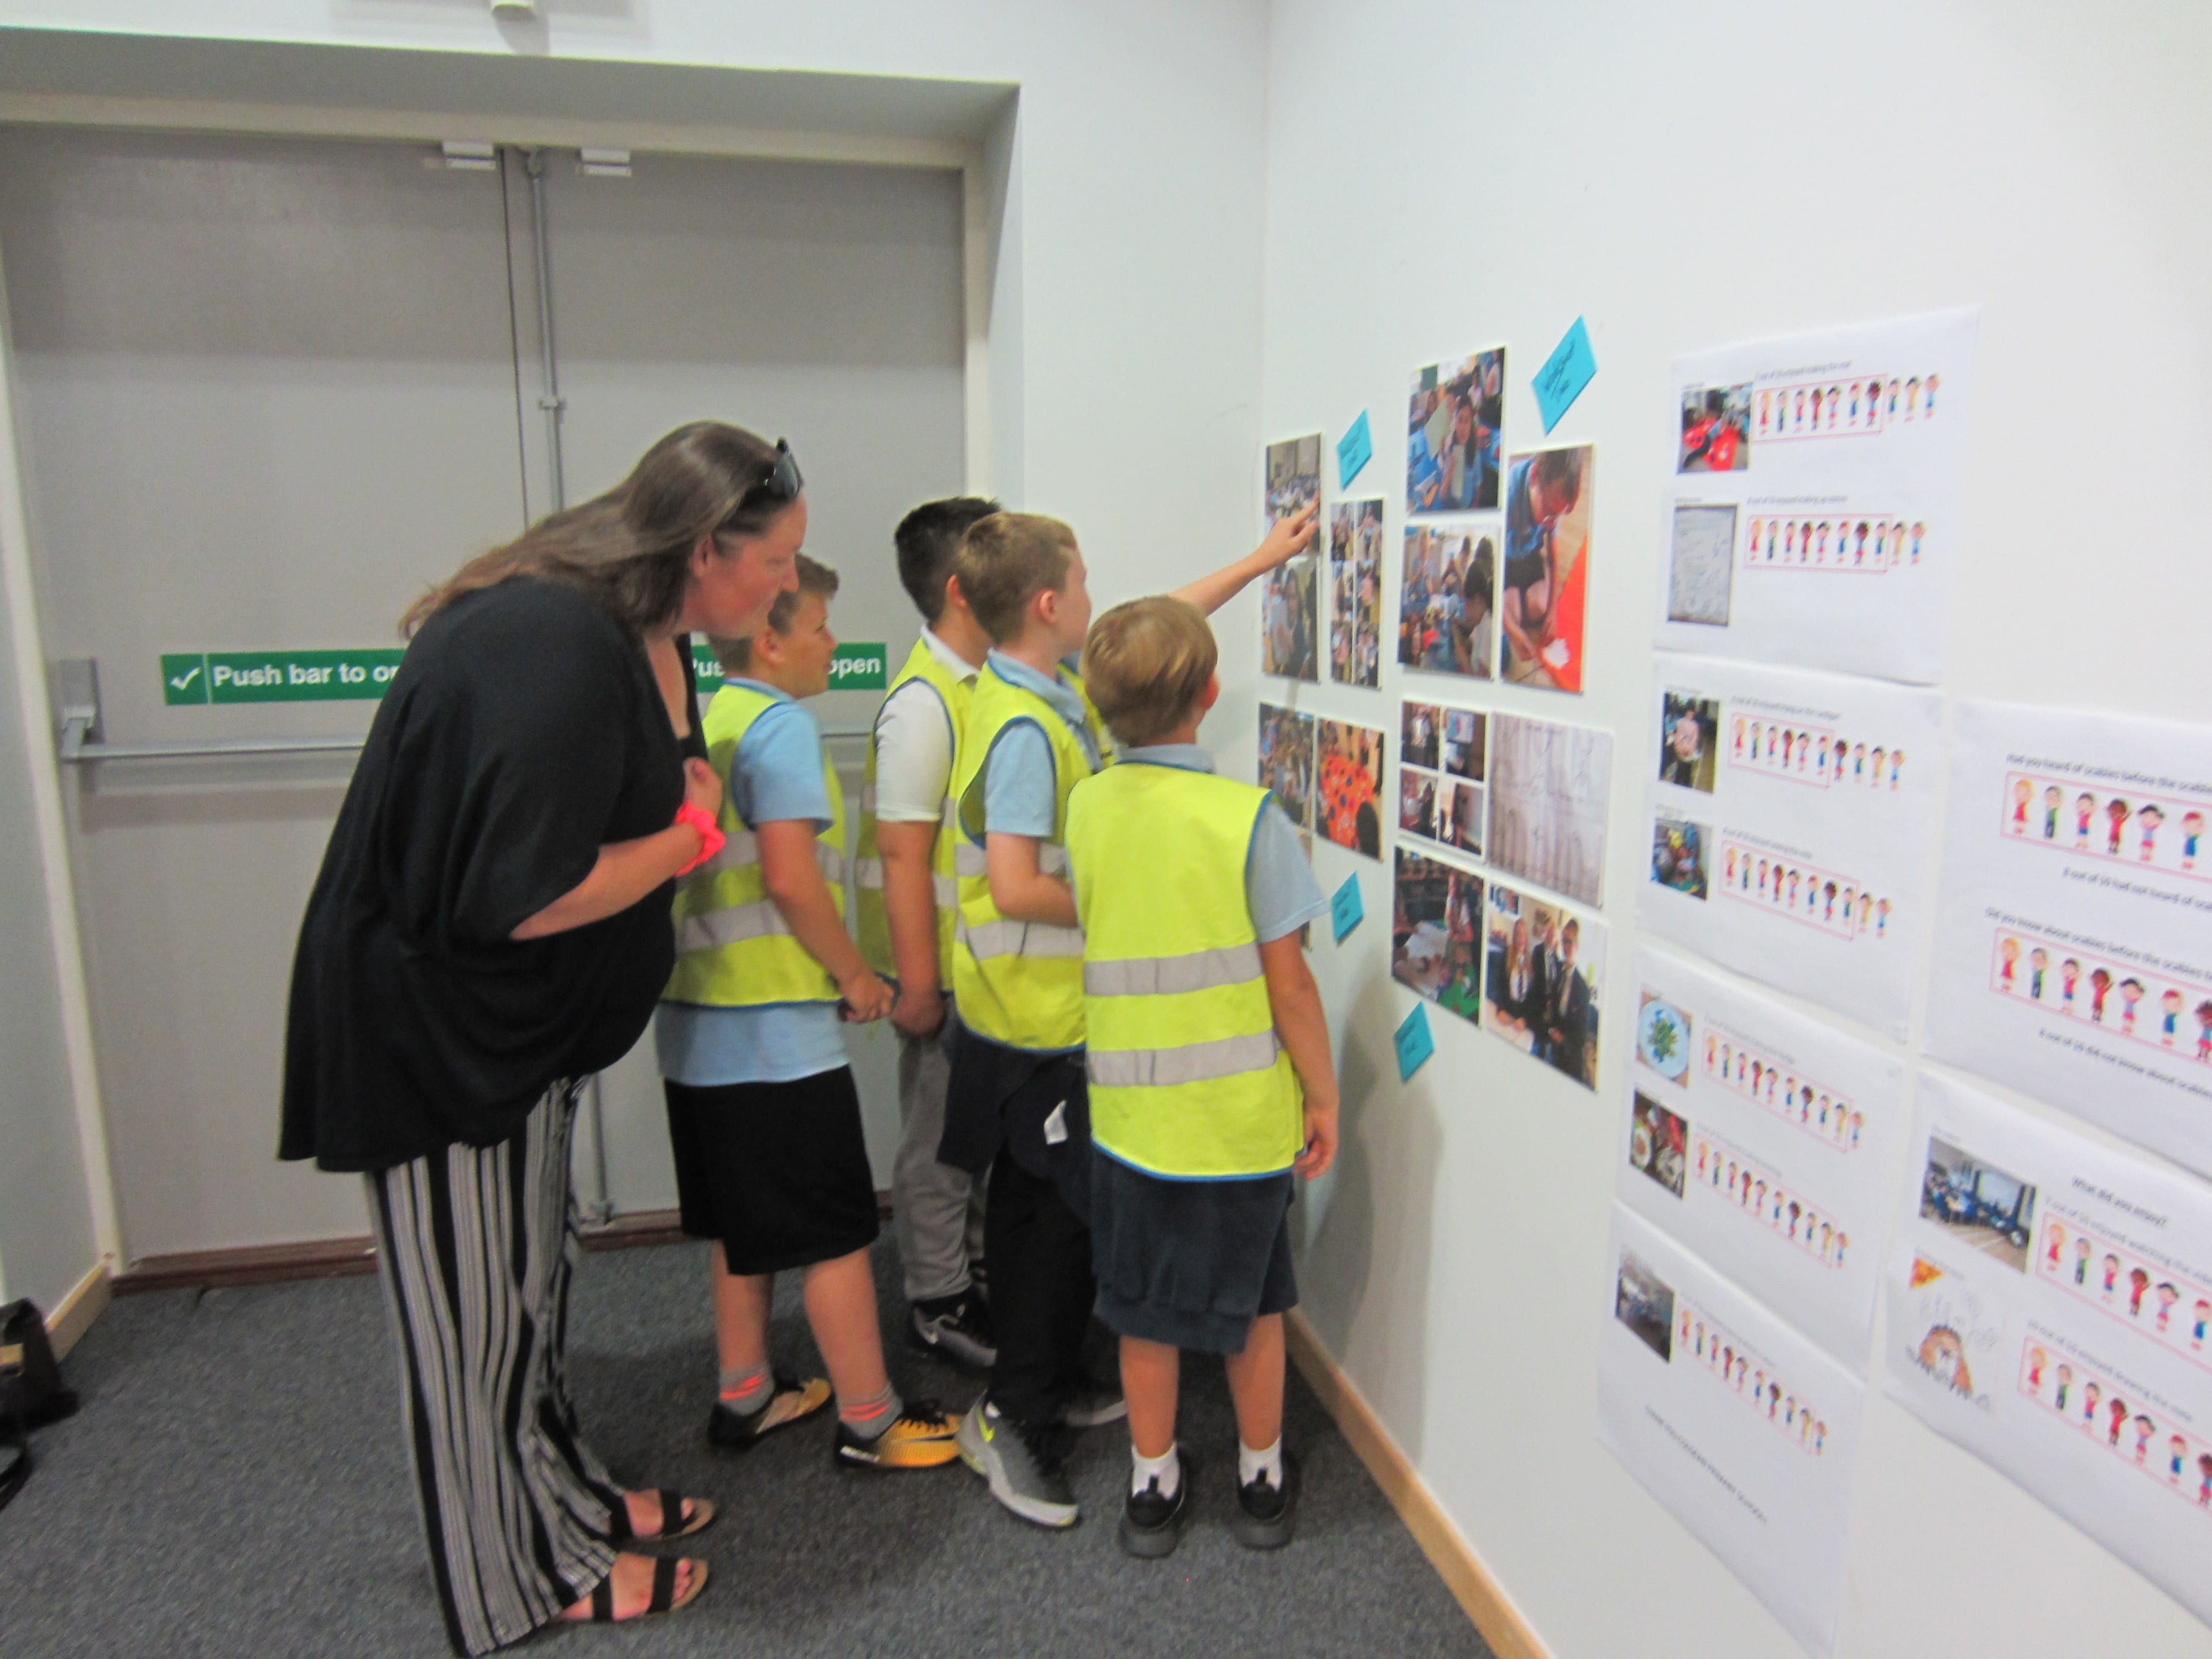
Parents came to see what the children had been doing in the project

Playing Scabies Scramble
The high point of the afternoon was the premiere of the animations that all the participants, mites included had contributed to.

watching the animations
After this there was a vote for the best animation, and a prize for the group from Seahaven Academy who had taken the photographs and worked on the story.
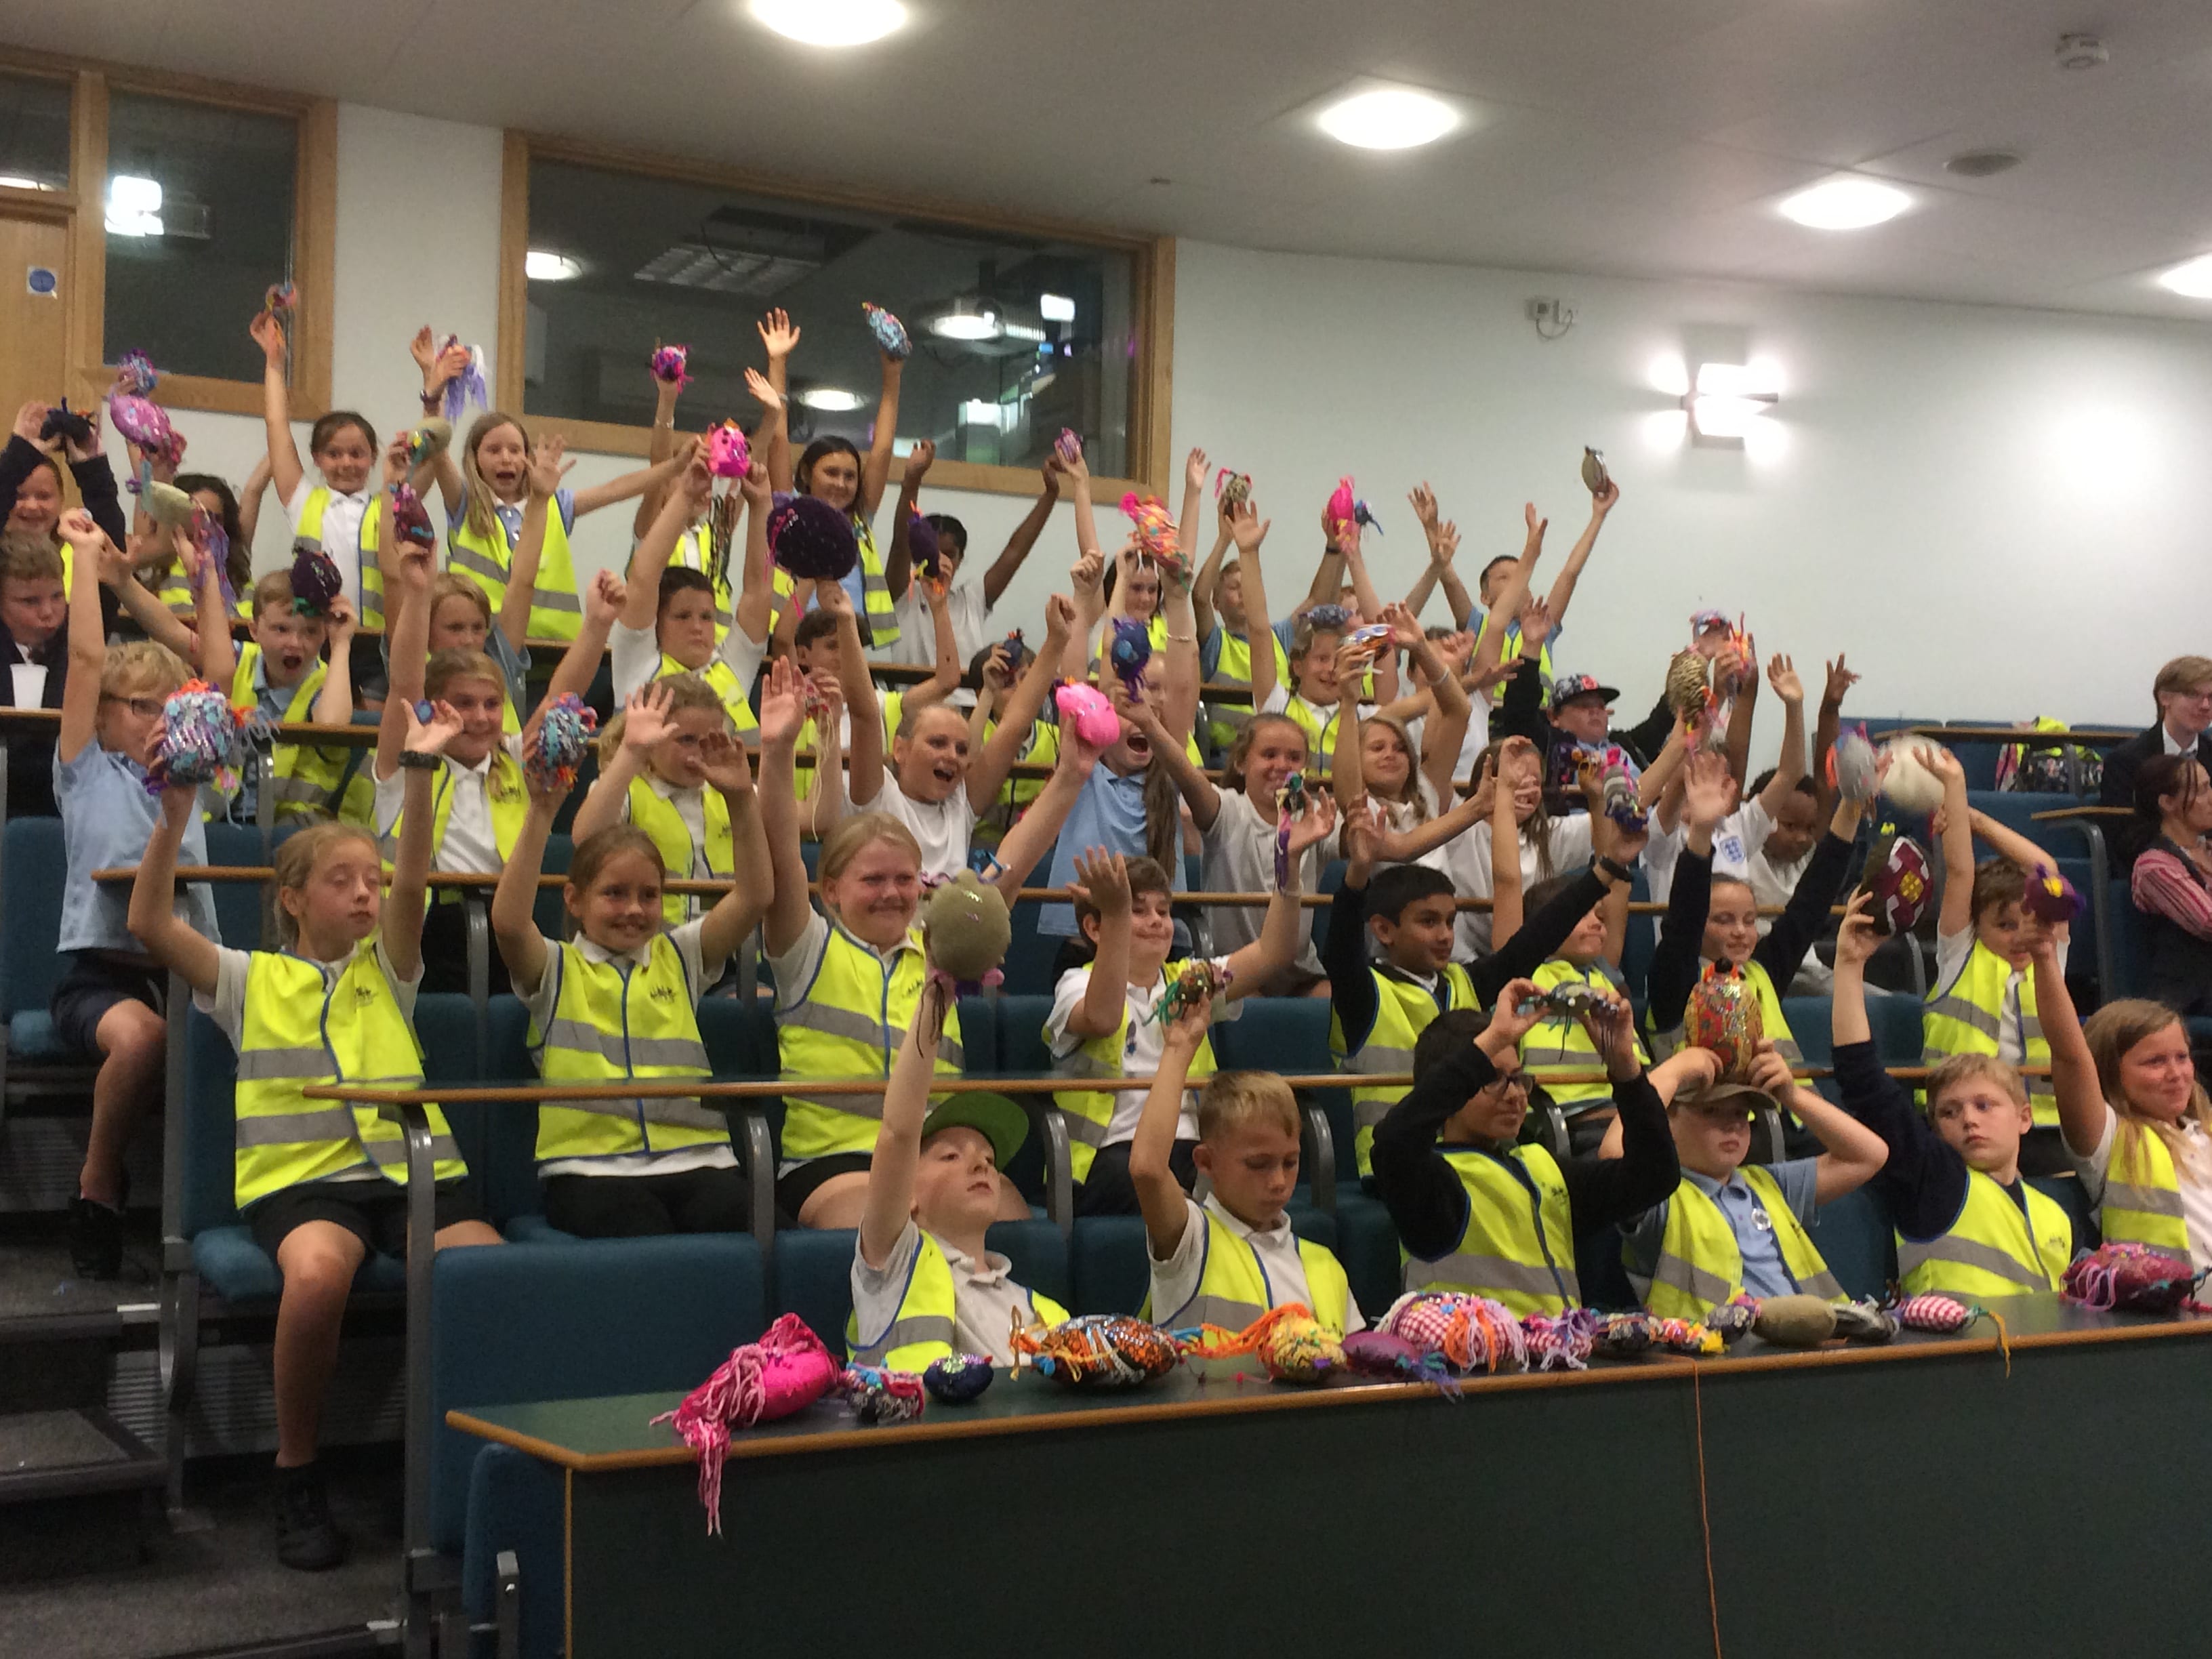
A gorup photo of all the children with their scabies mites
The animations will be posted on here once they have been finalised.
The mites resting between activities.
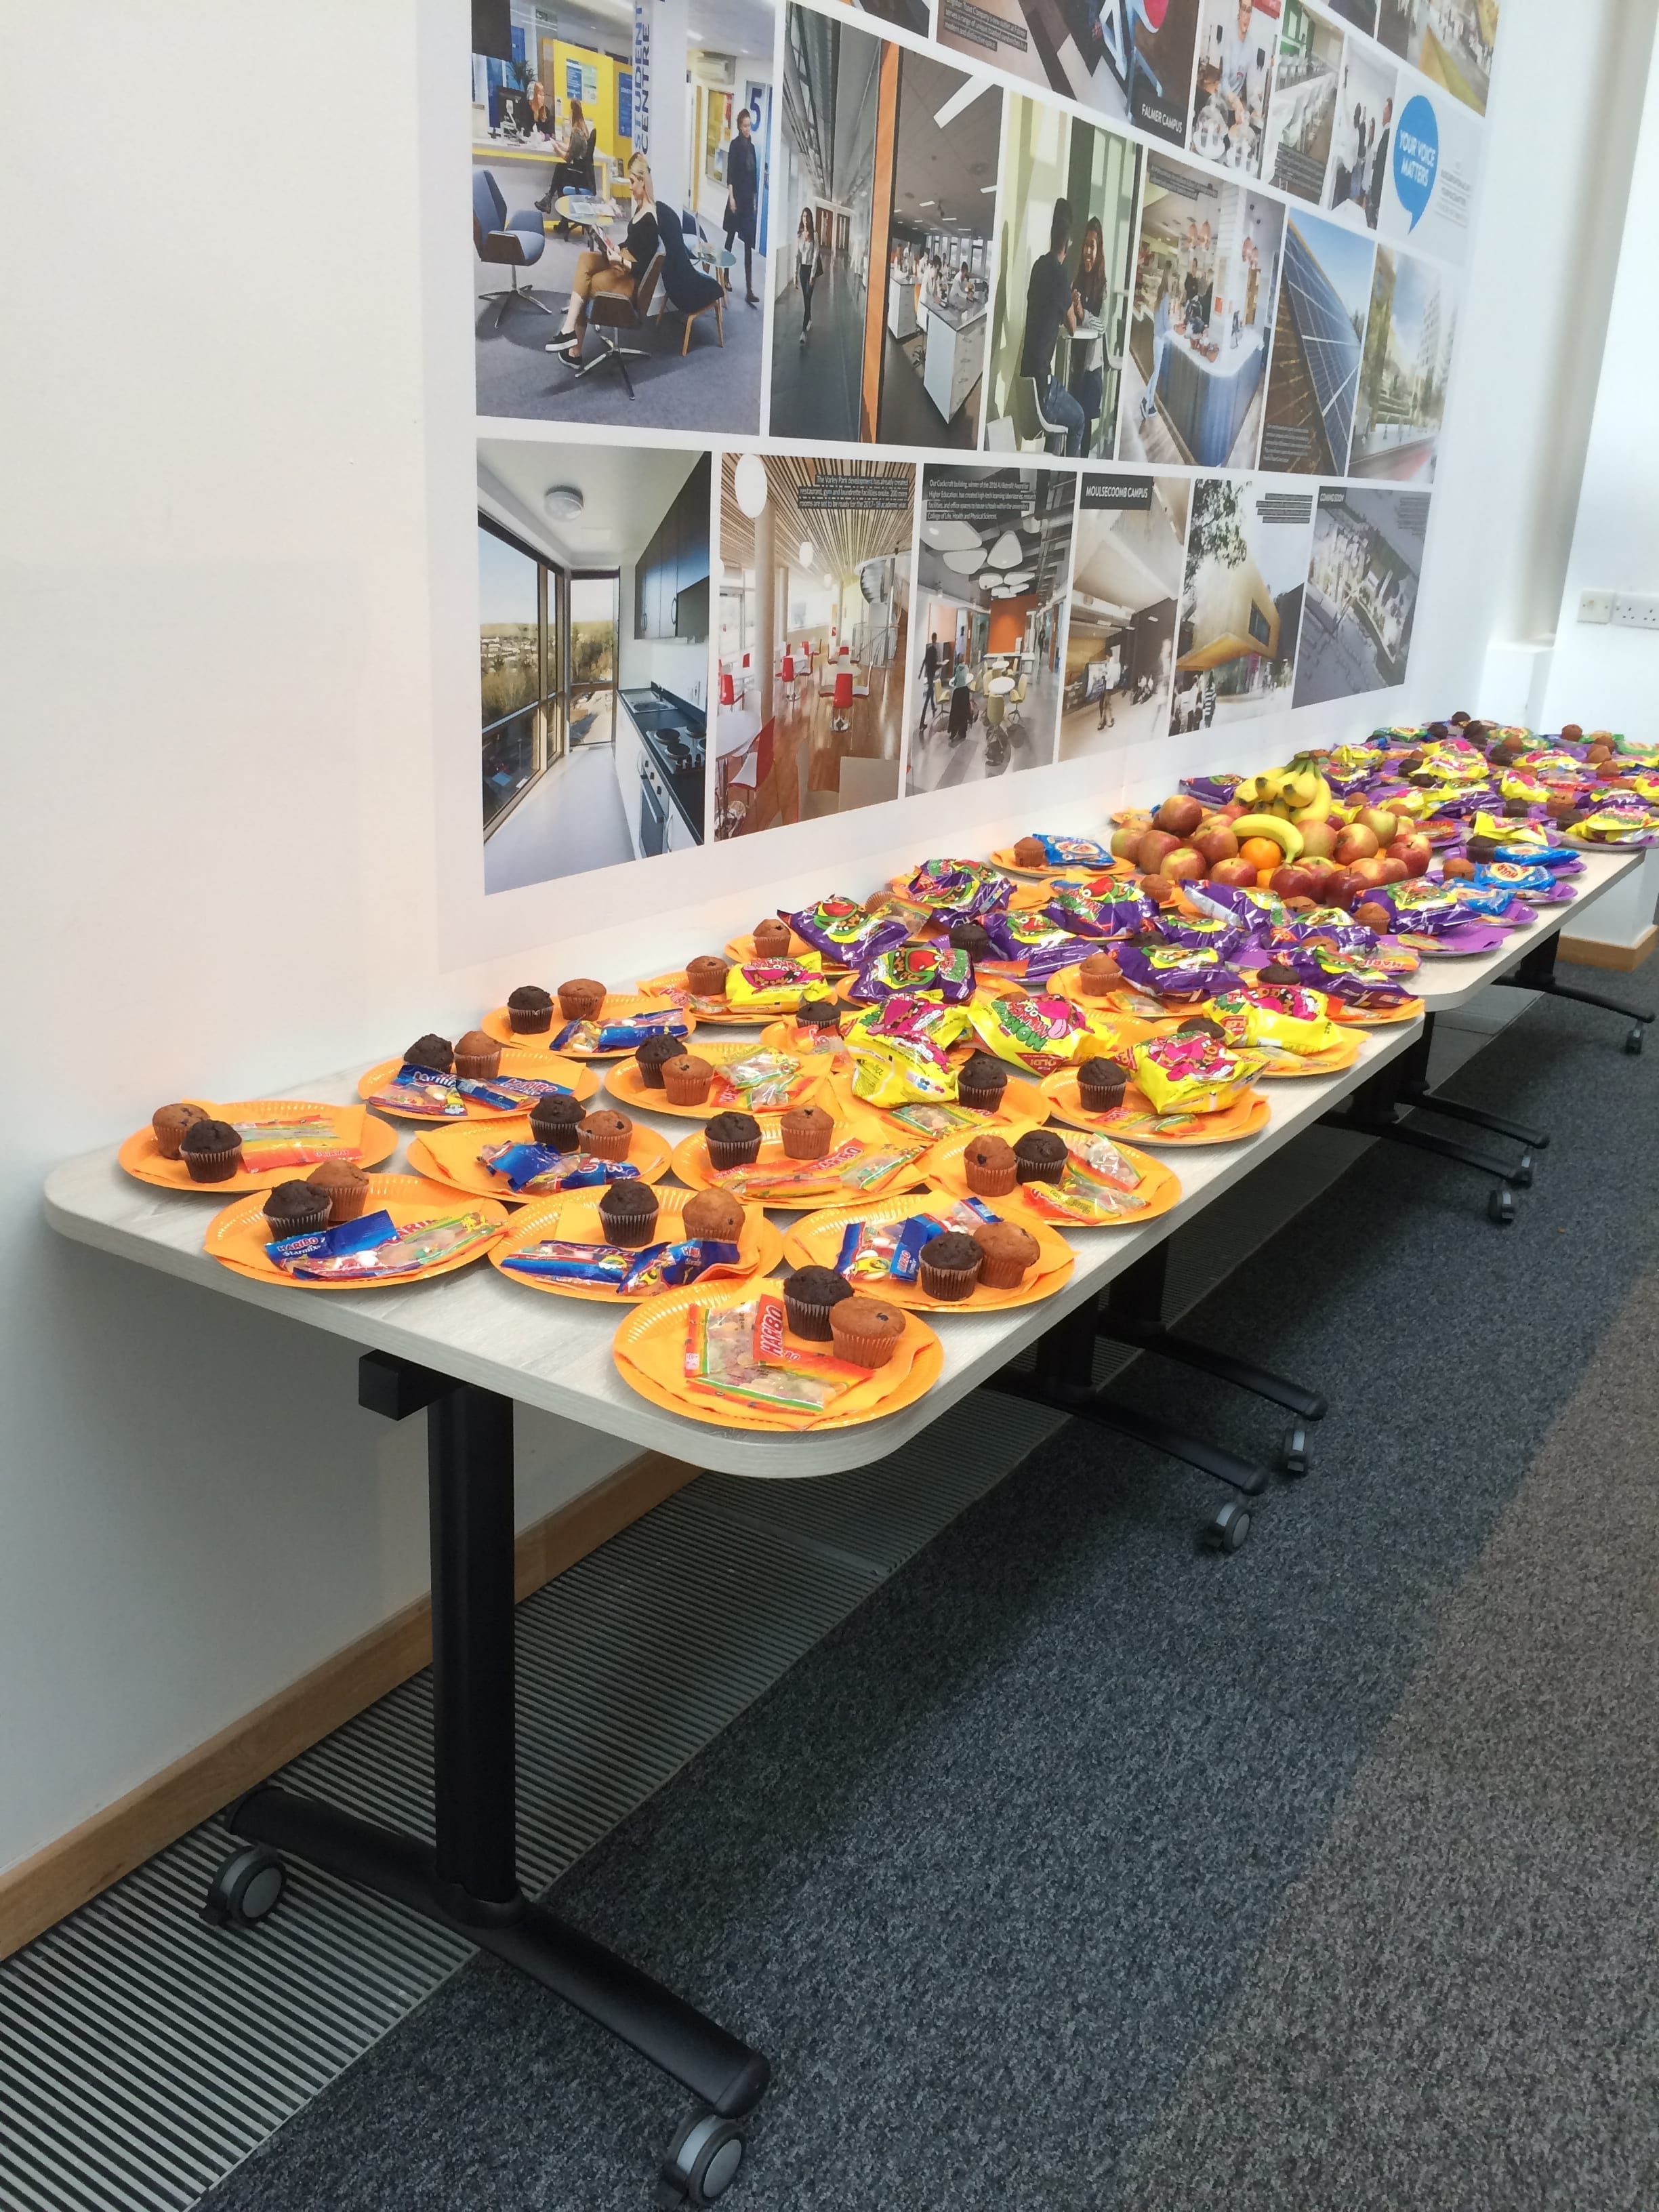
Yummy refreshments ready for hungry children

Uncut beanbag fabric makes a nice banner over the drinks
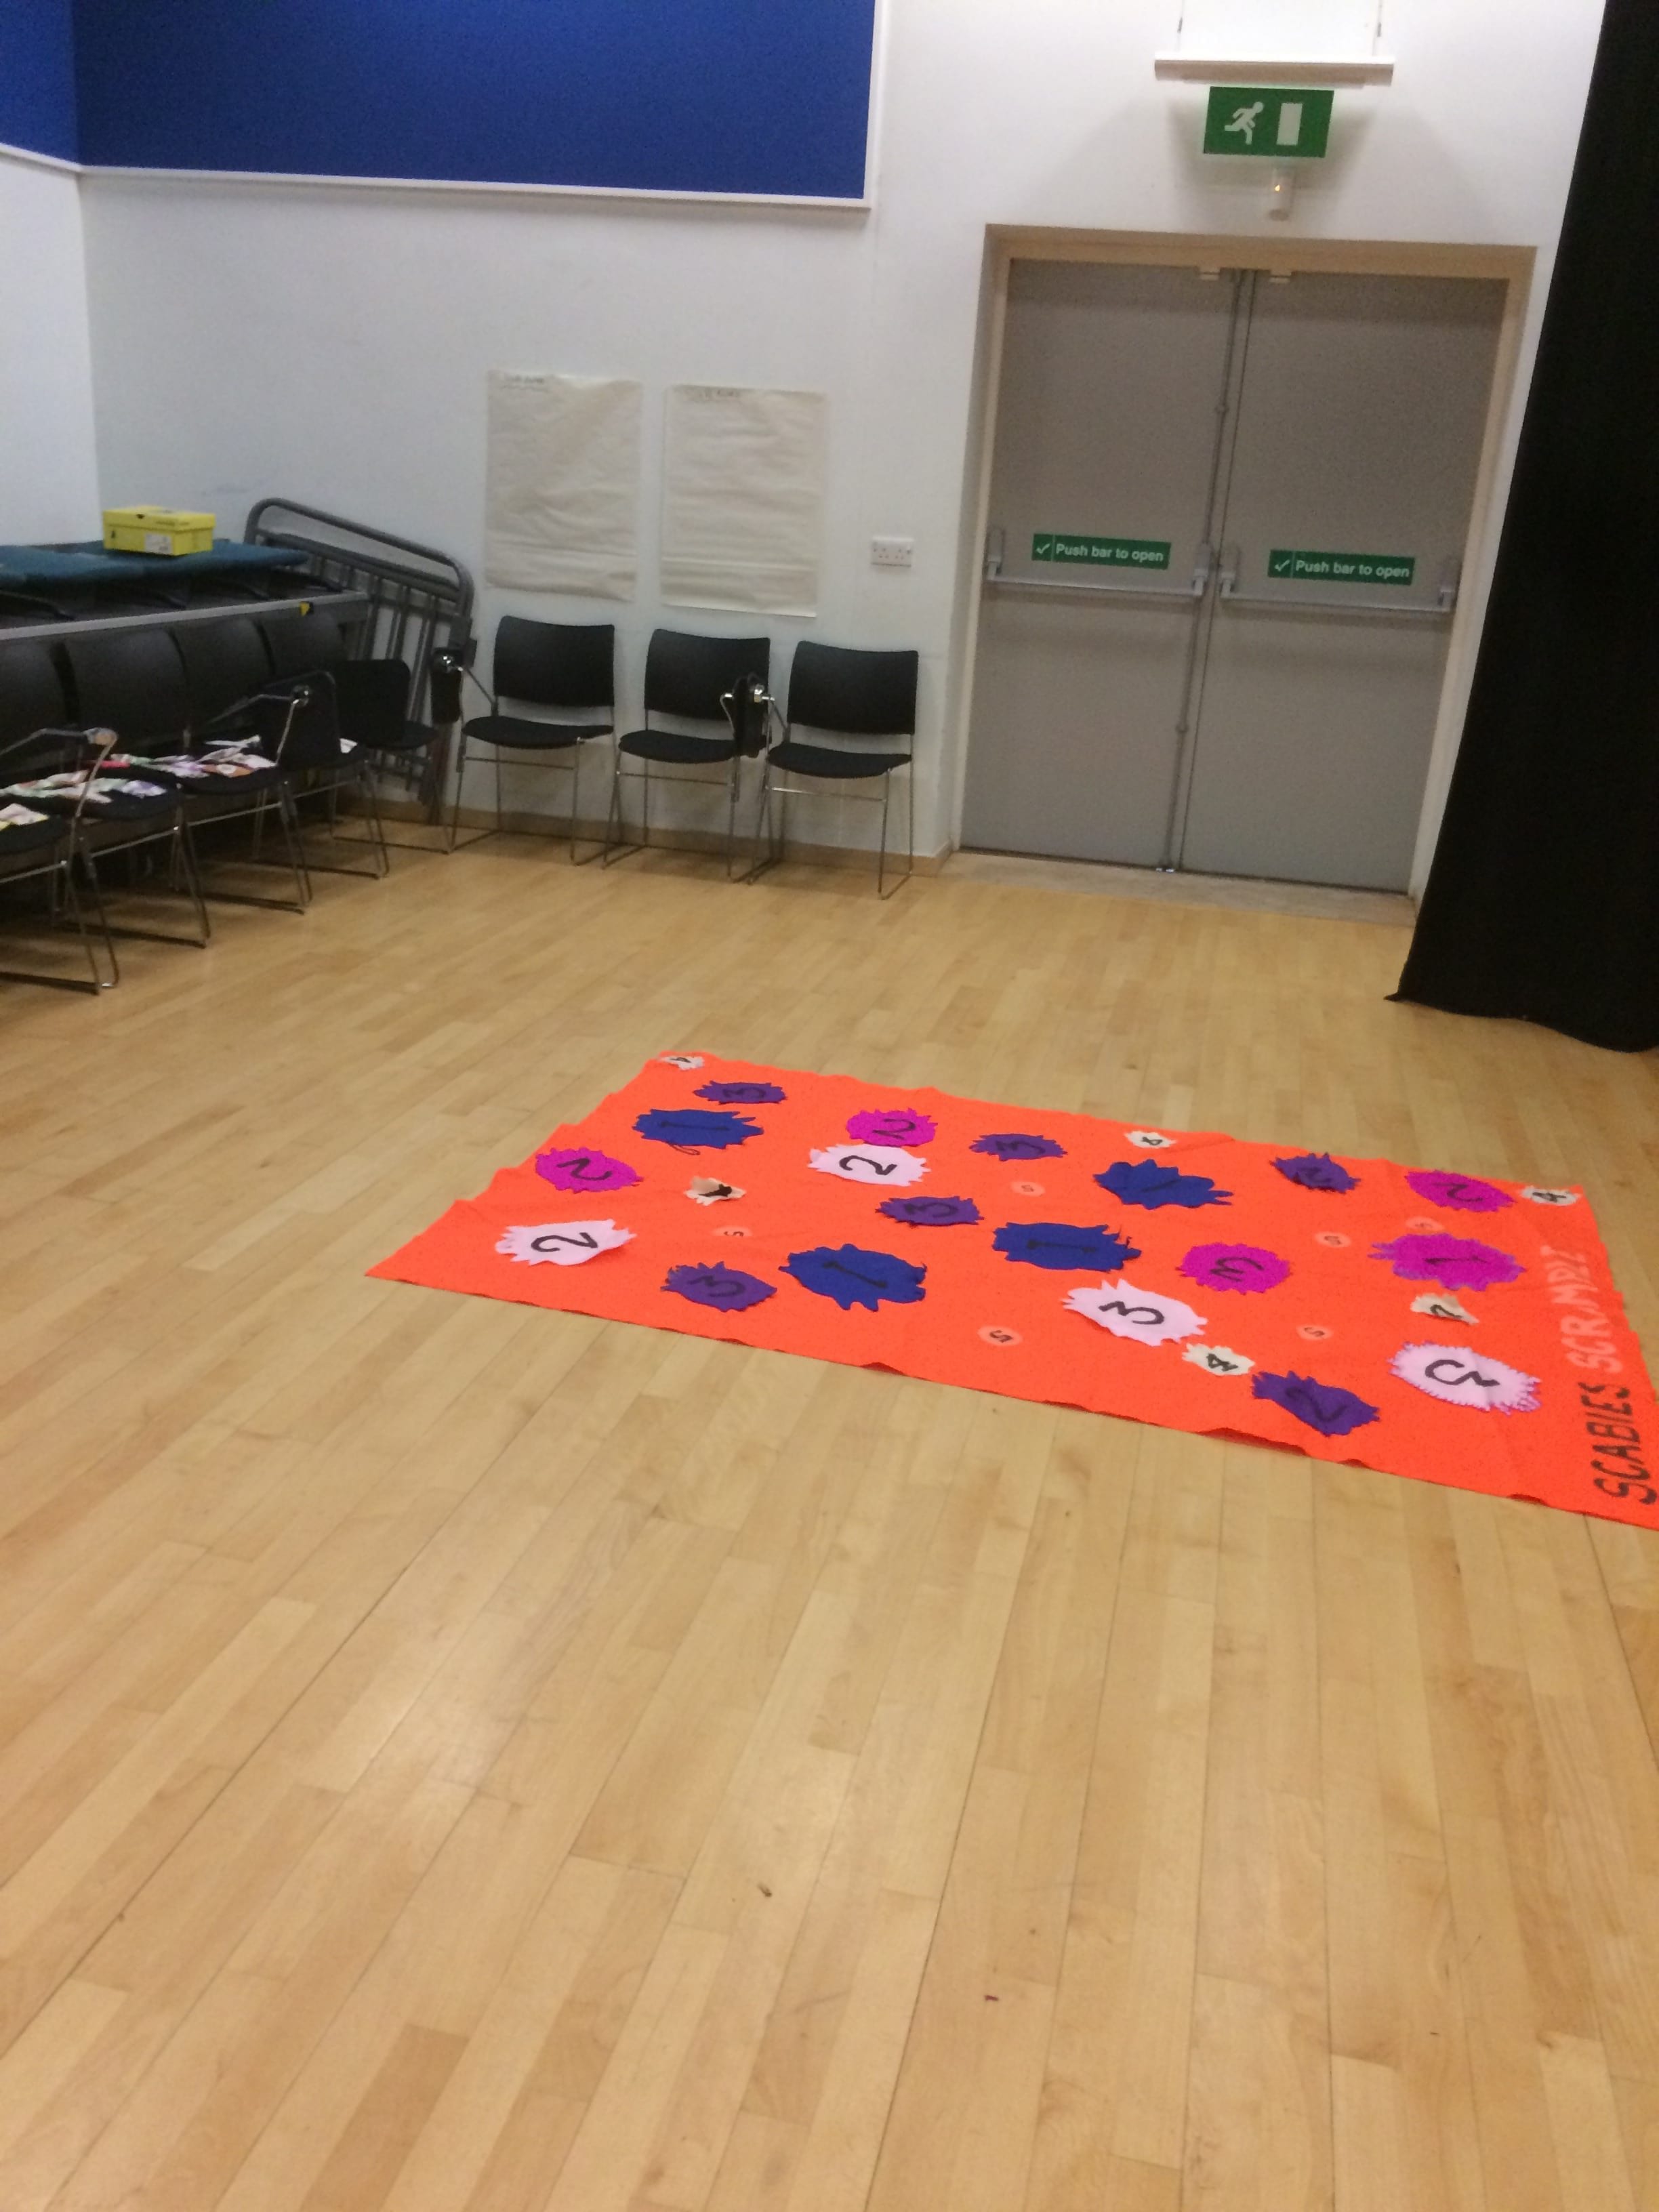
The Scabies Scramble games mat waiting to be brought to life
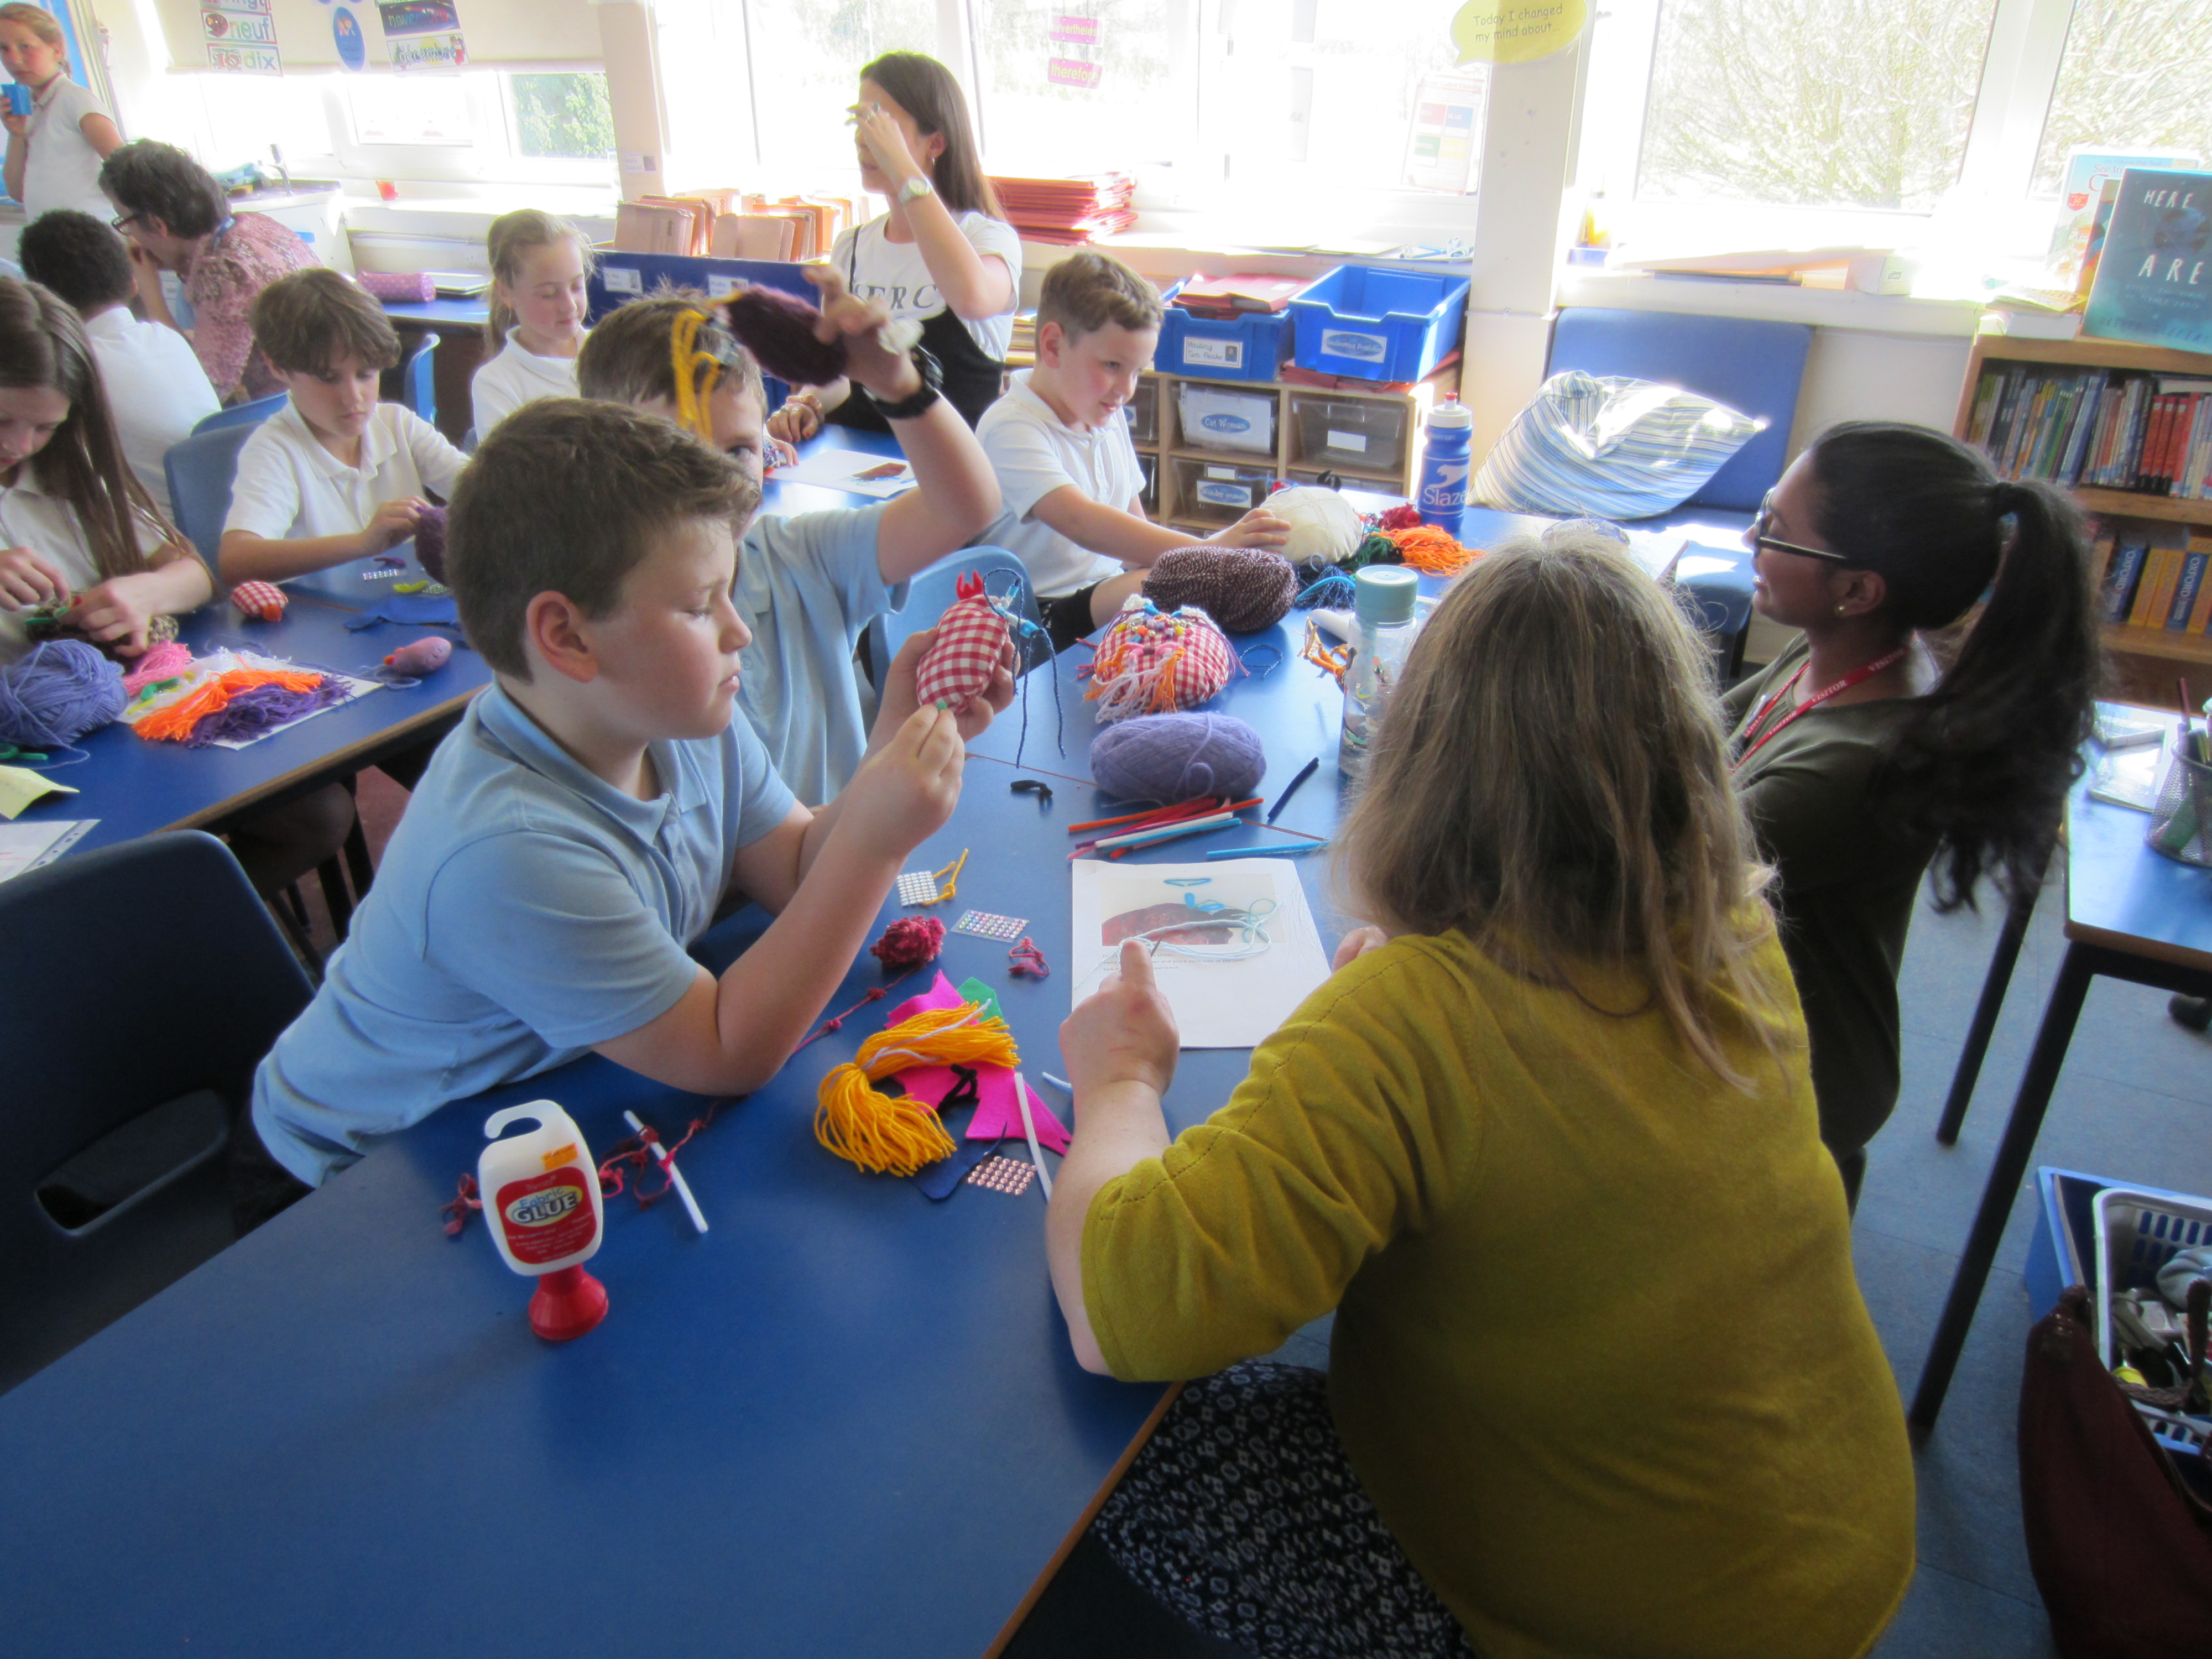
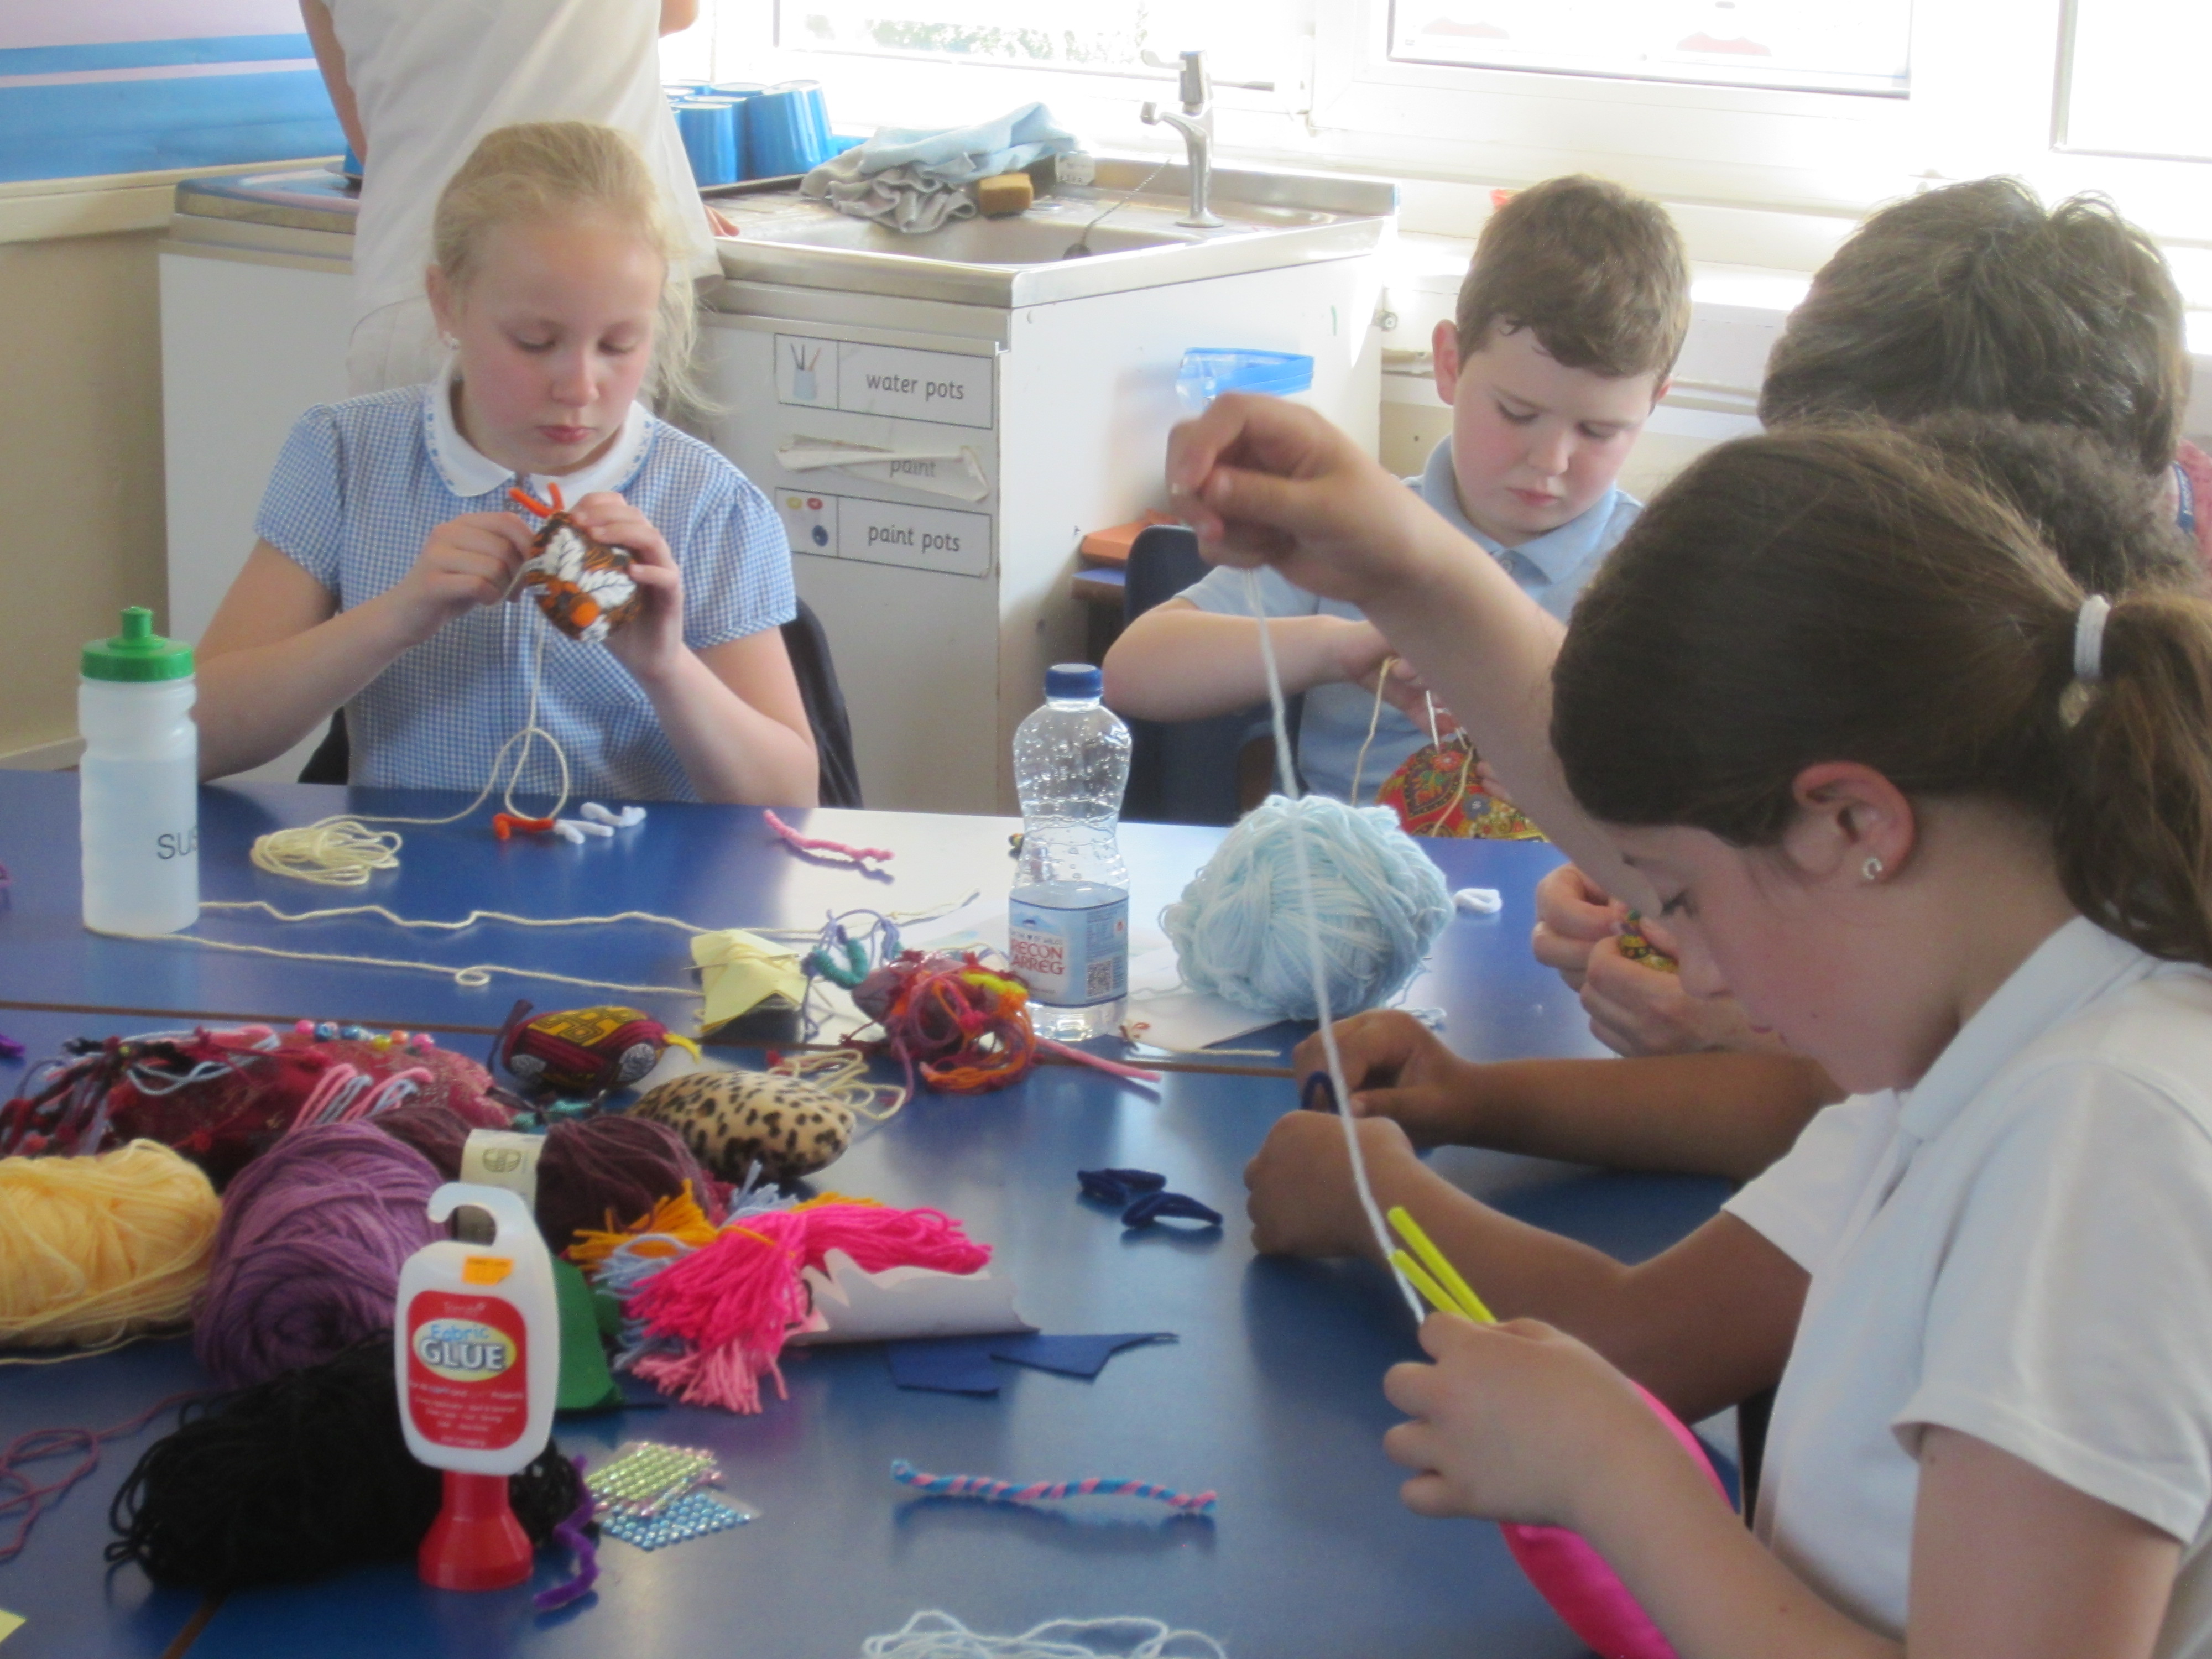
This was the last workshop at the school, and alongside the planned activities it provided the opportunity for those children who hadn’t done so earlier to finish their mites and complete their badges.
Twelve students from Seahaven Academy who are studying GCSE photography joined us for the workshop to meet the younger children, learn about scabies and the project, and take photos and videos in preparation for their own workshop later on, in June.
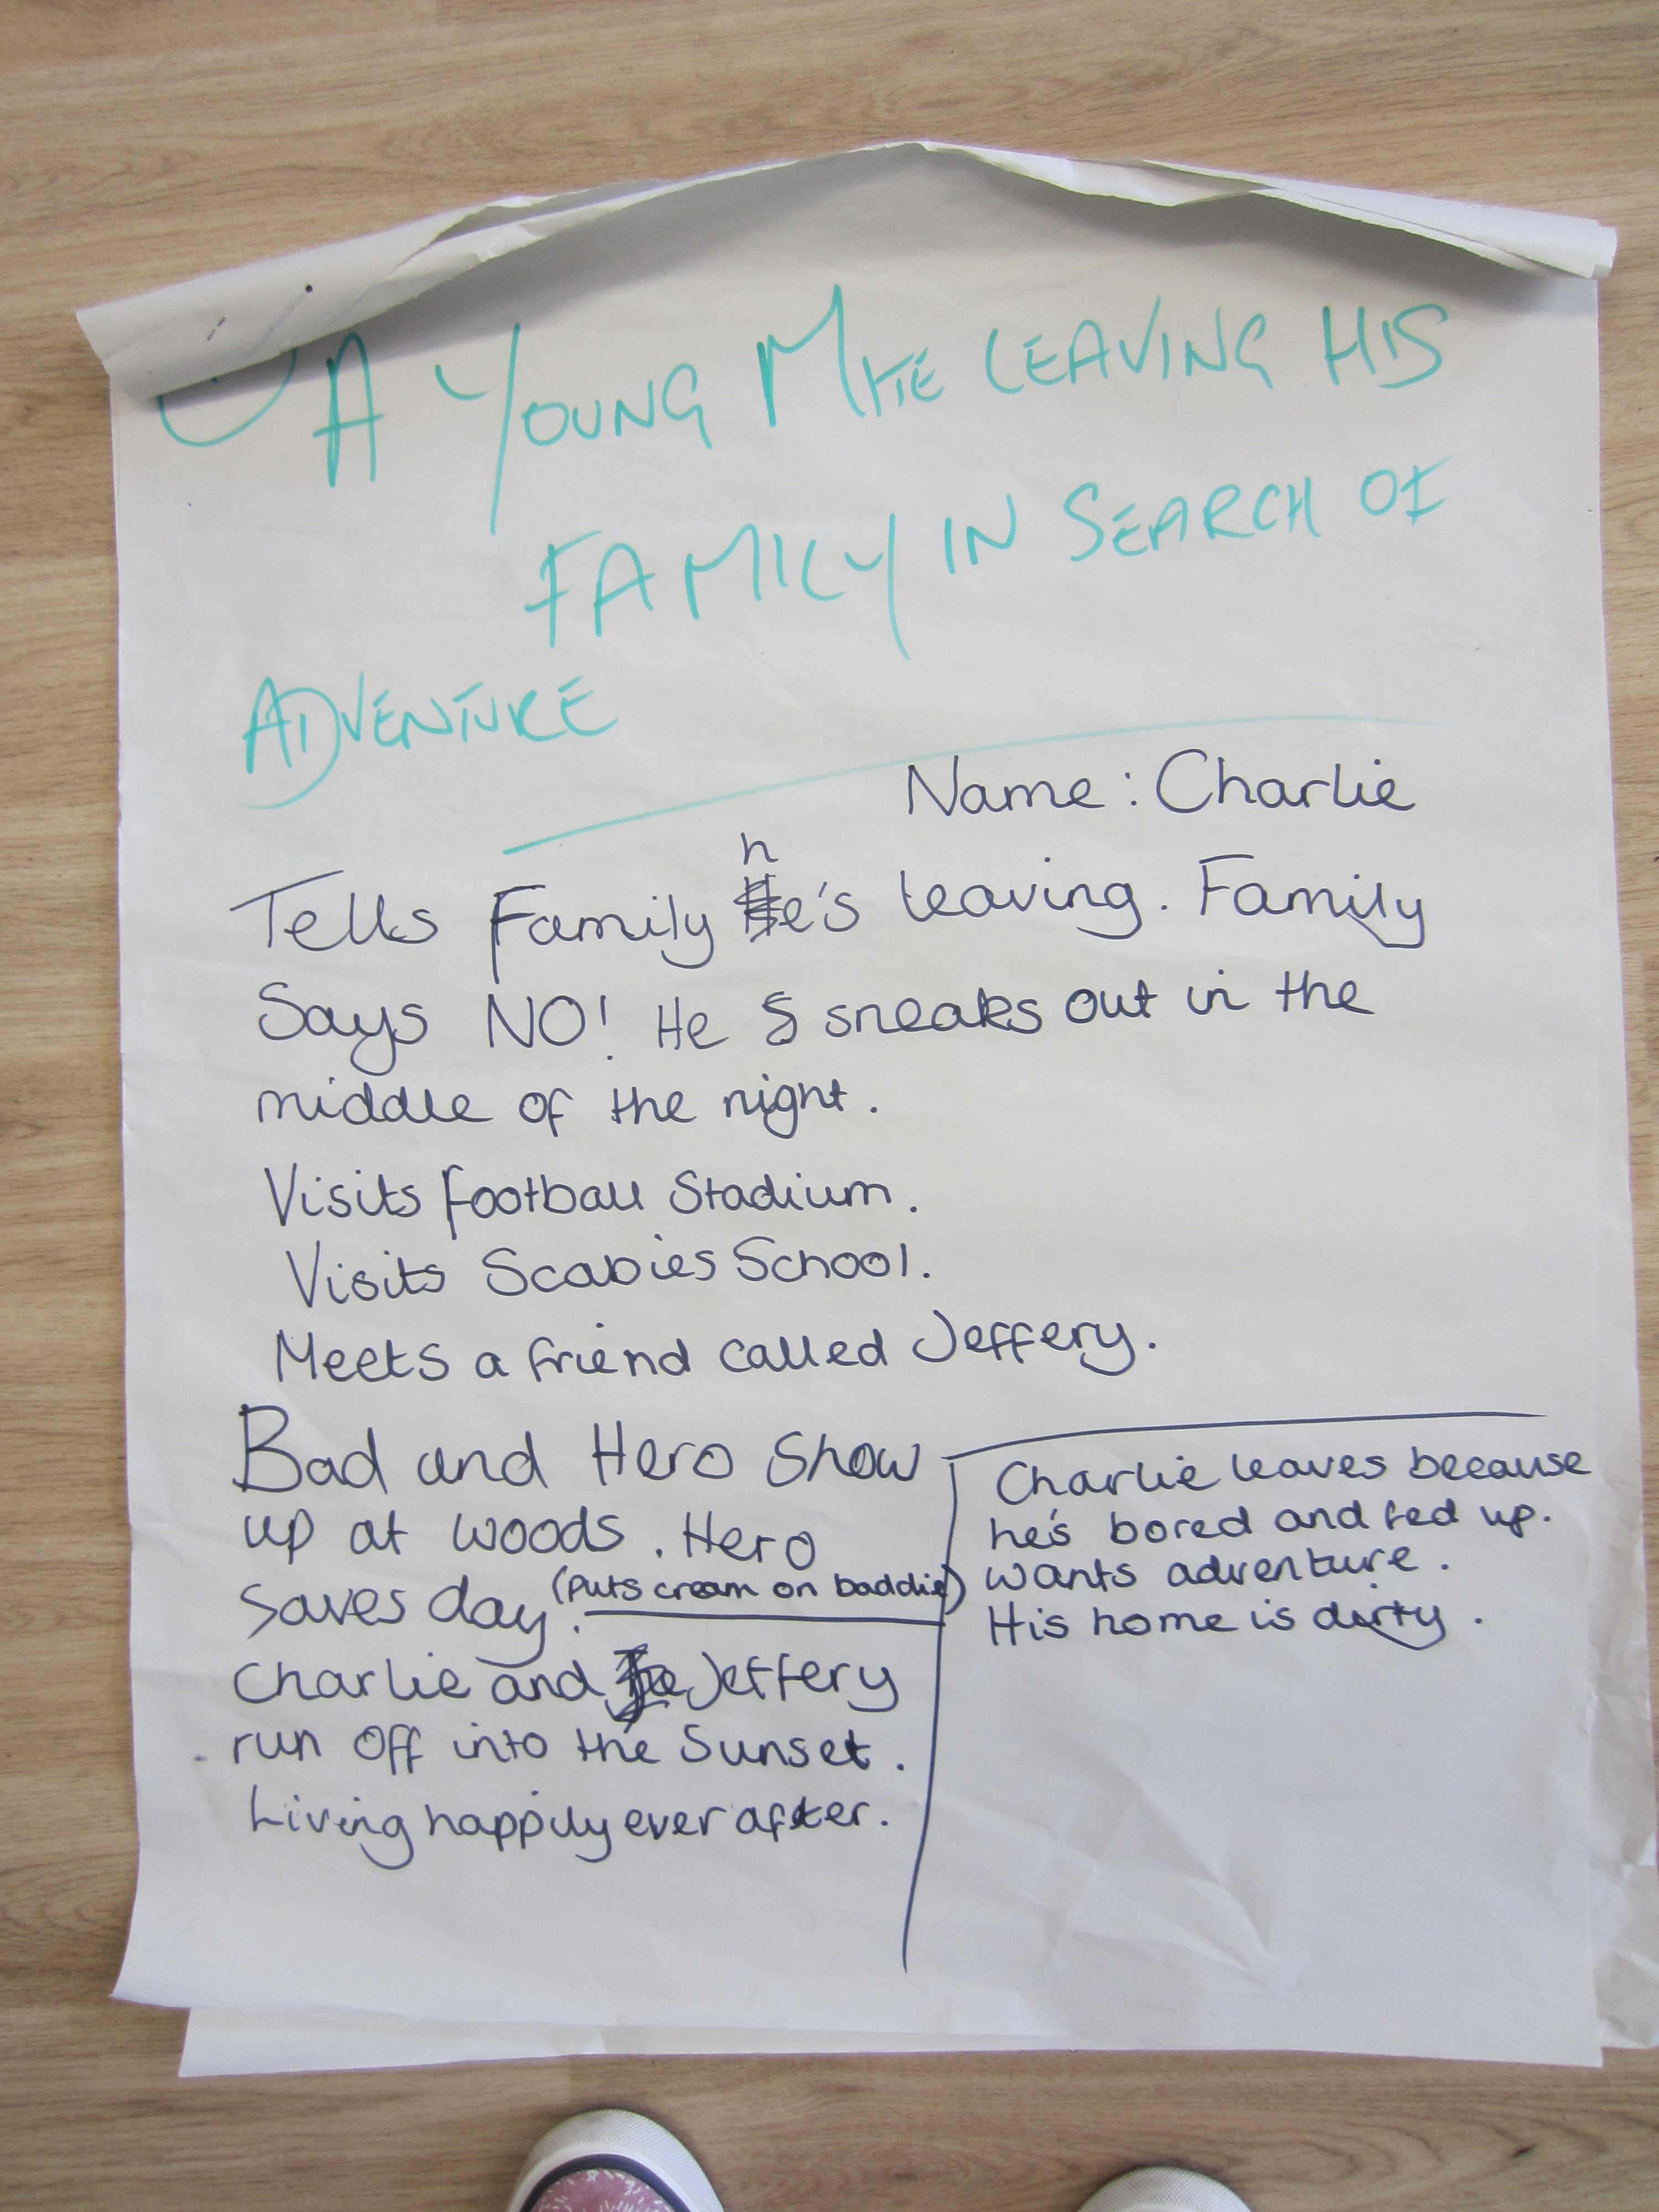
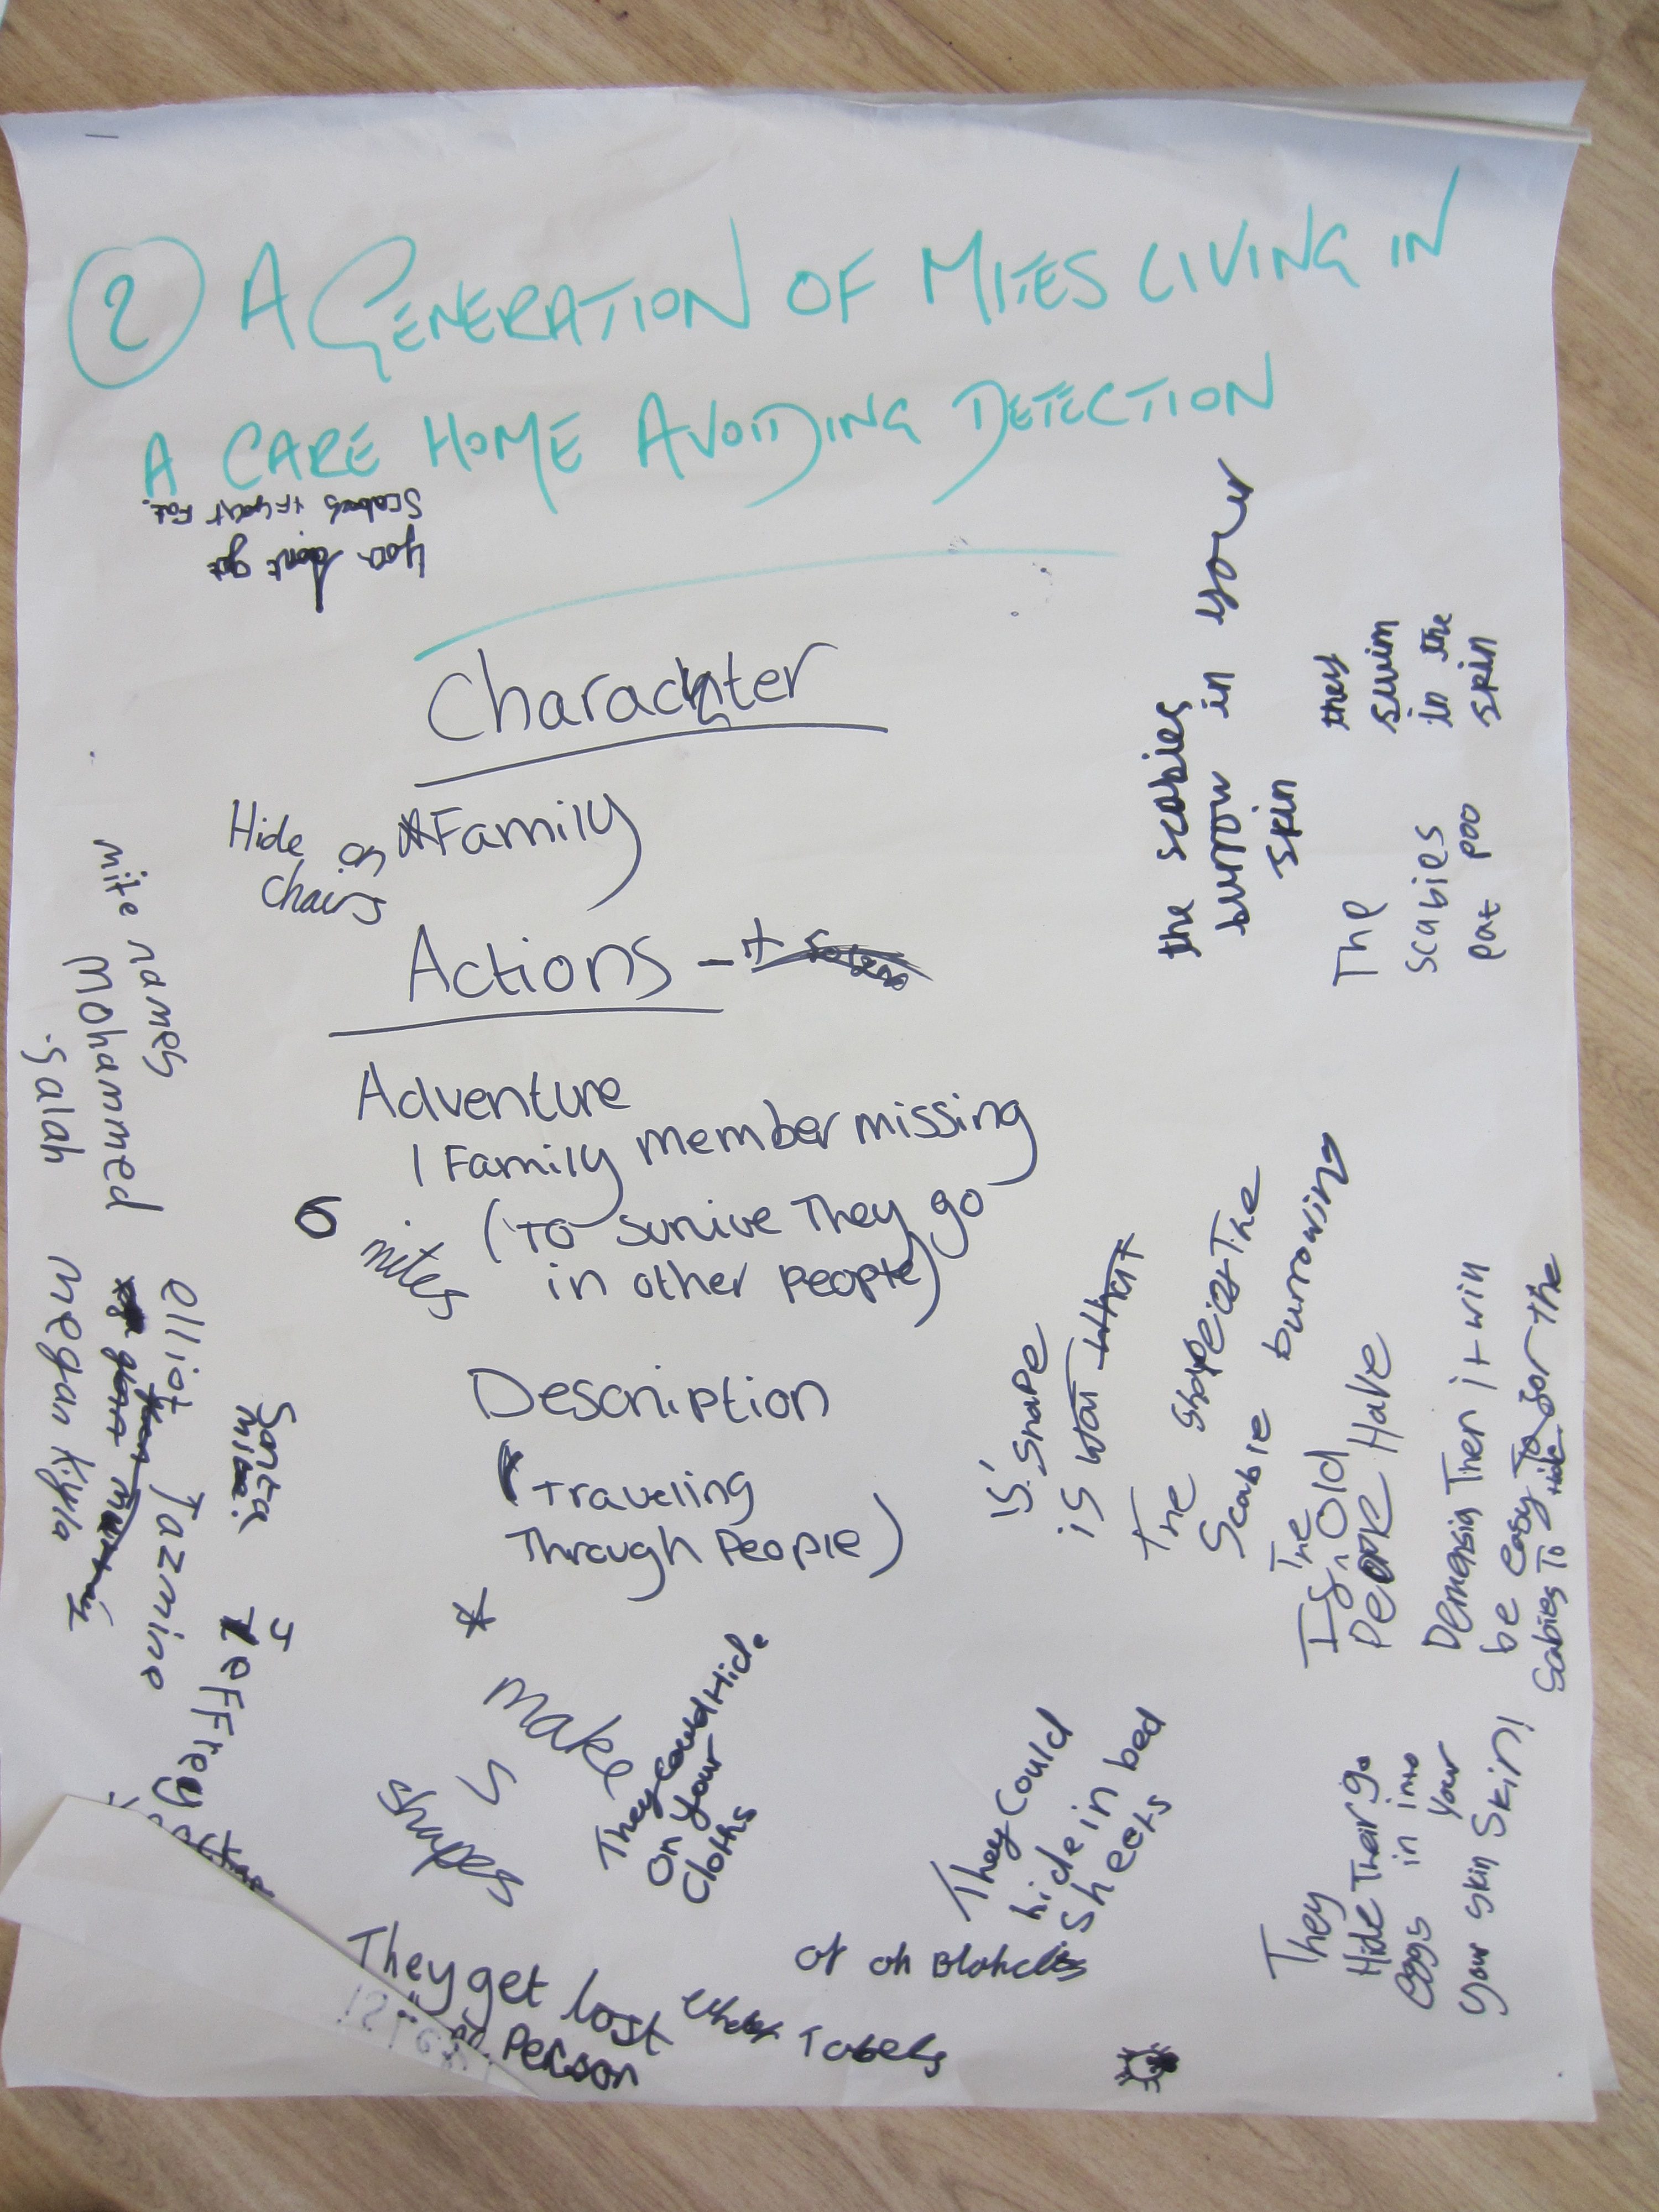
Julie Middleton was the storytelling facilitator, and did a marvelous job, despite the incredible noise levels – note to self, if I do this again, spread the groups across two or three rooms!
Julie had organised three story lines that the groups to develop, and these are shown below.

Meanwhile the late-finishers were beavering away at their mites next door. Lots of glue was used, so it was necessary to take some home and add a few helpful stitches to the larger beads.


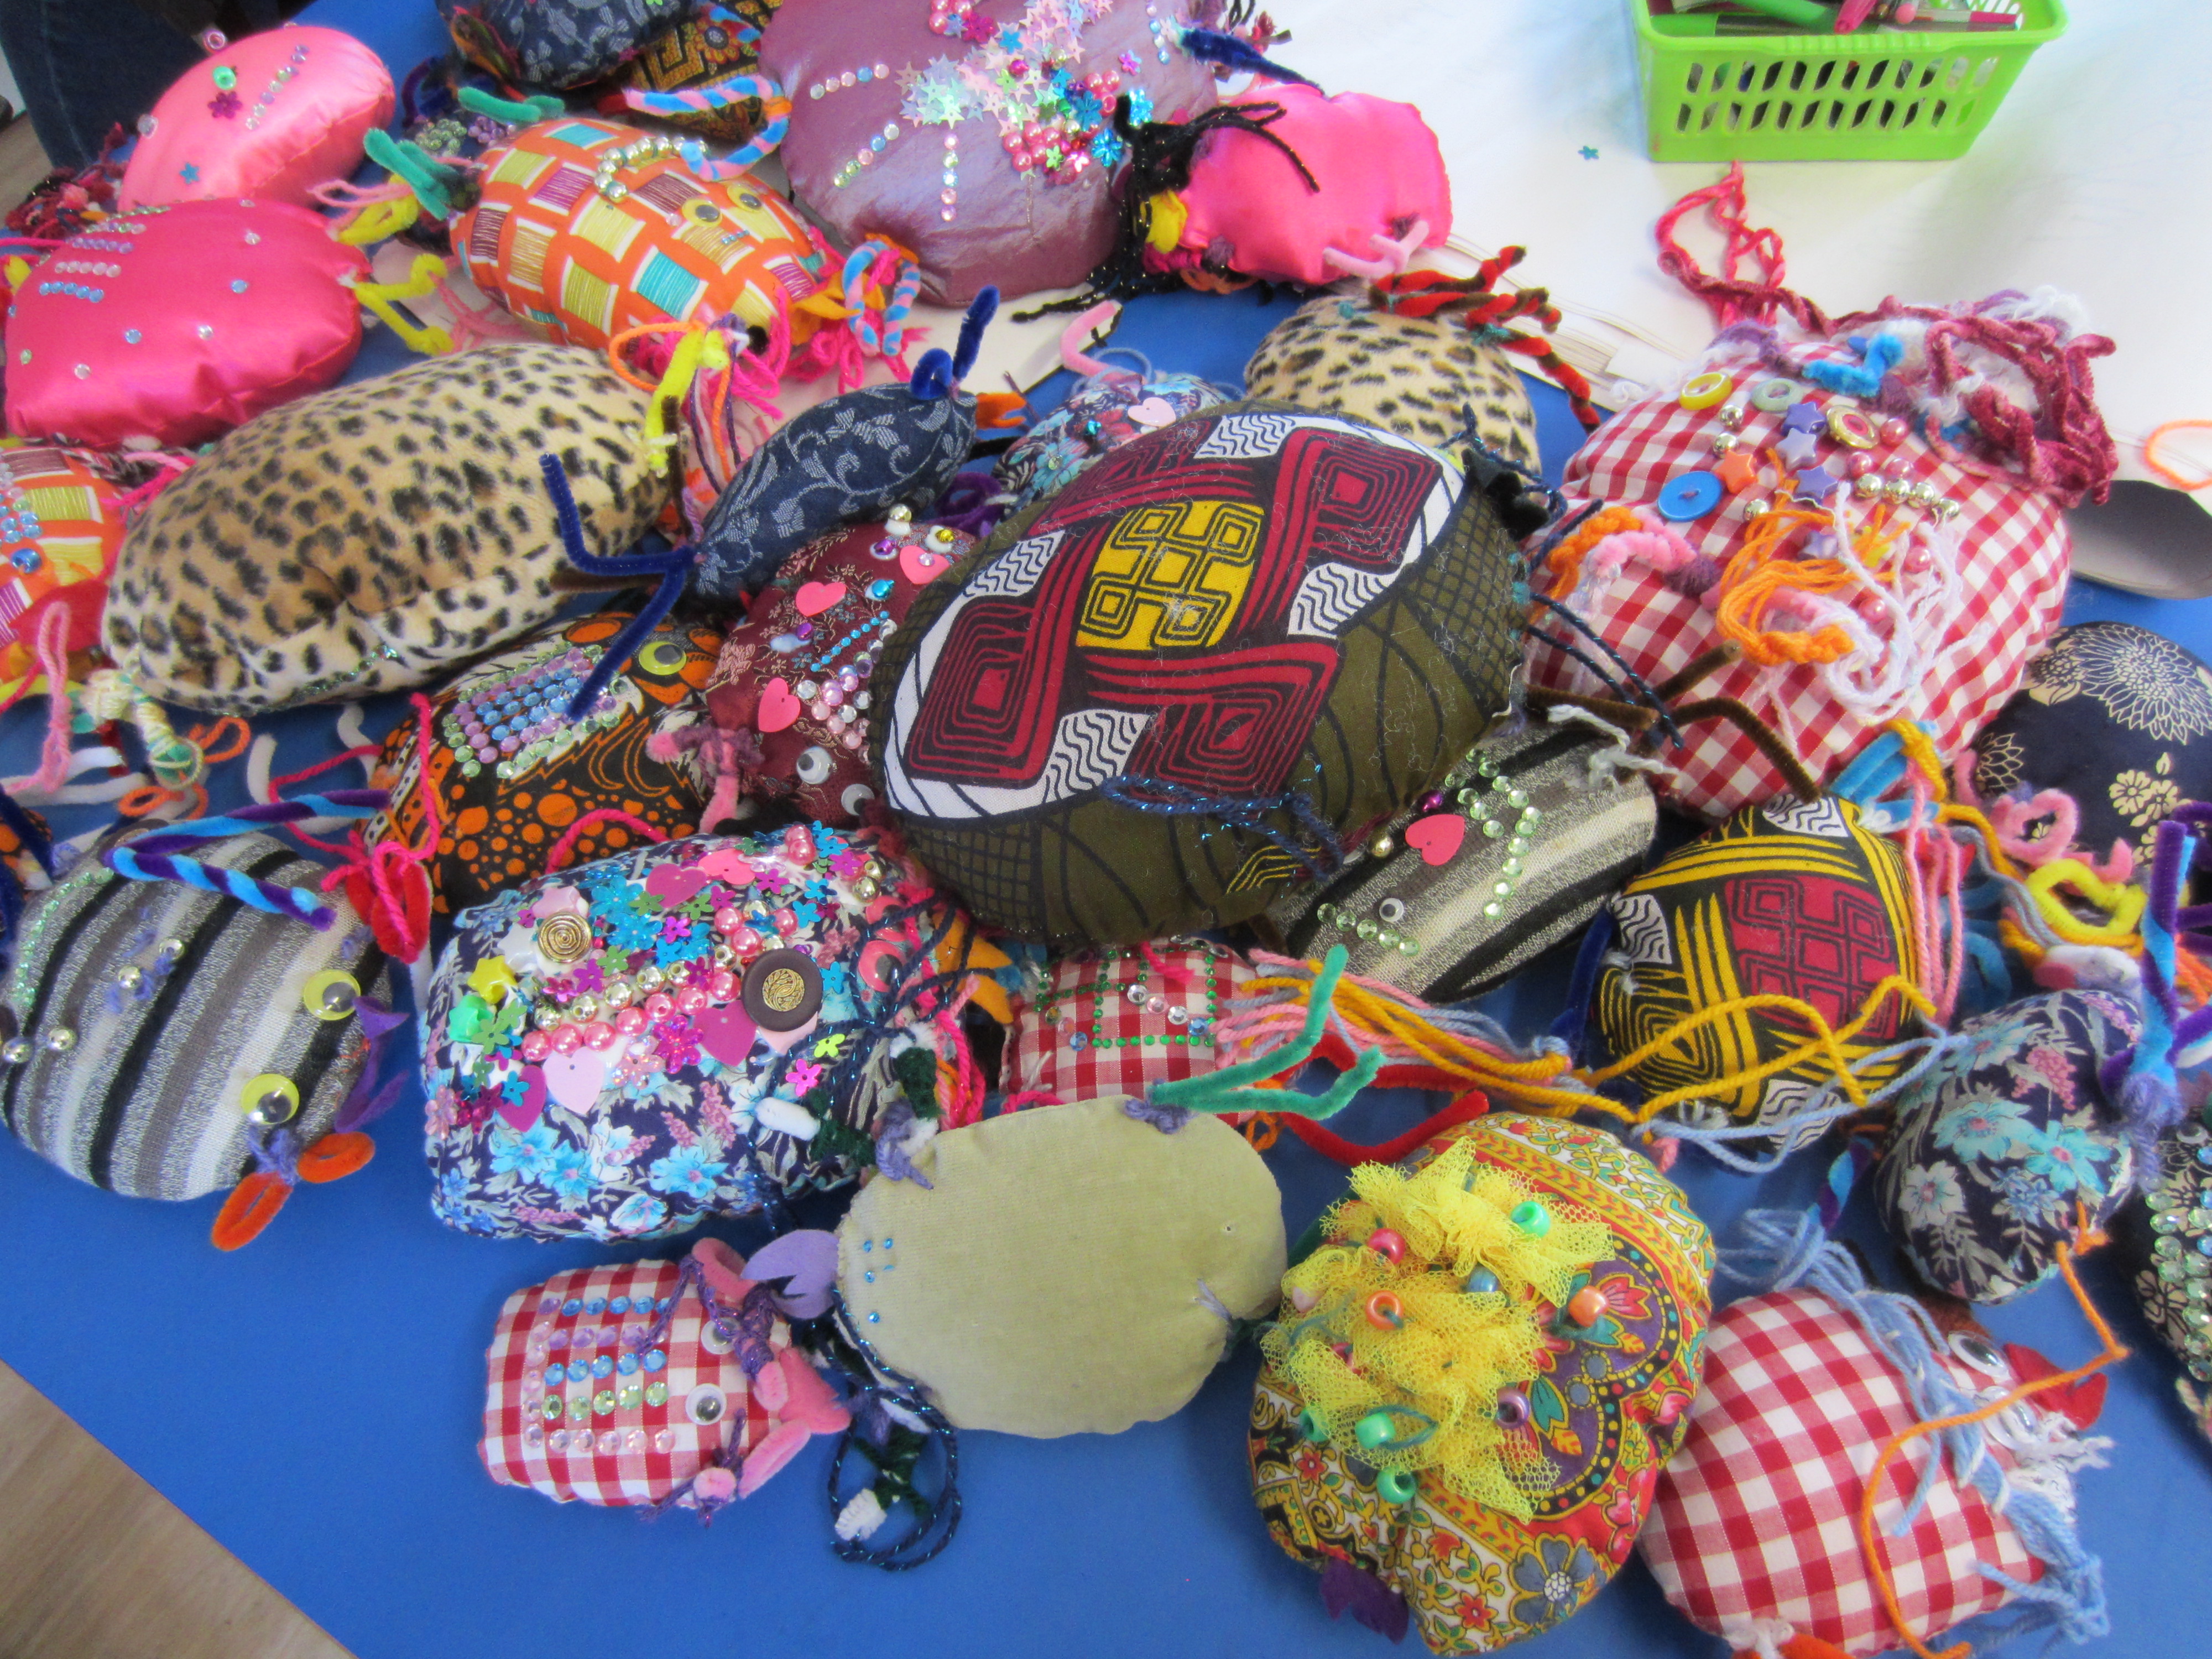
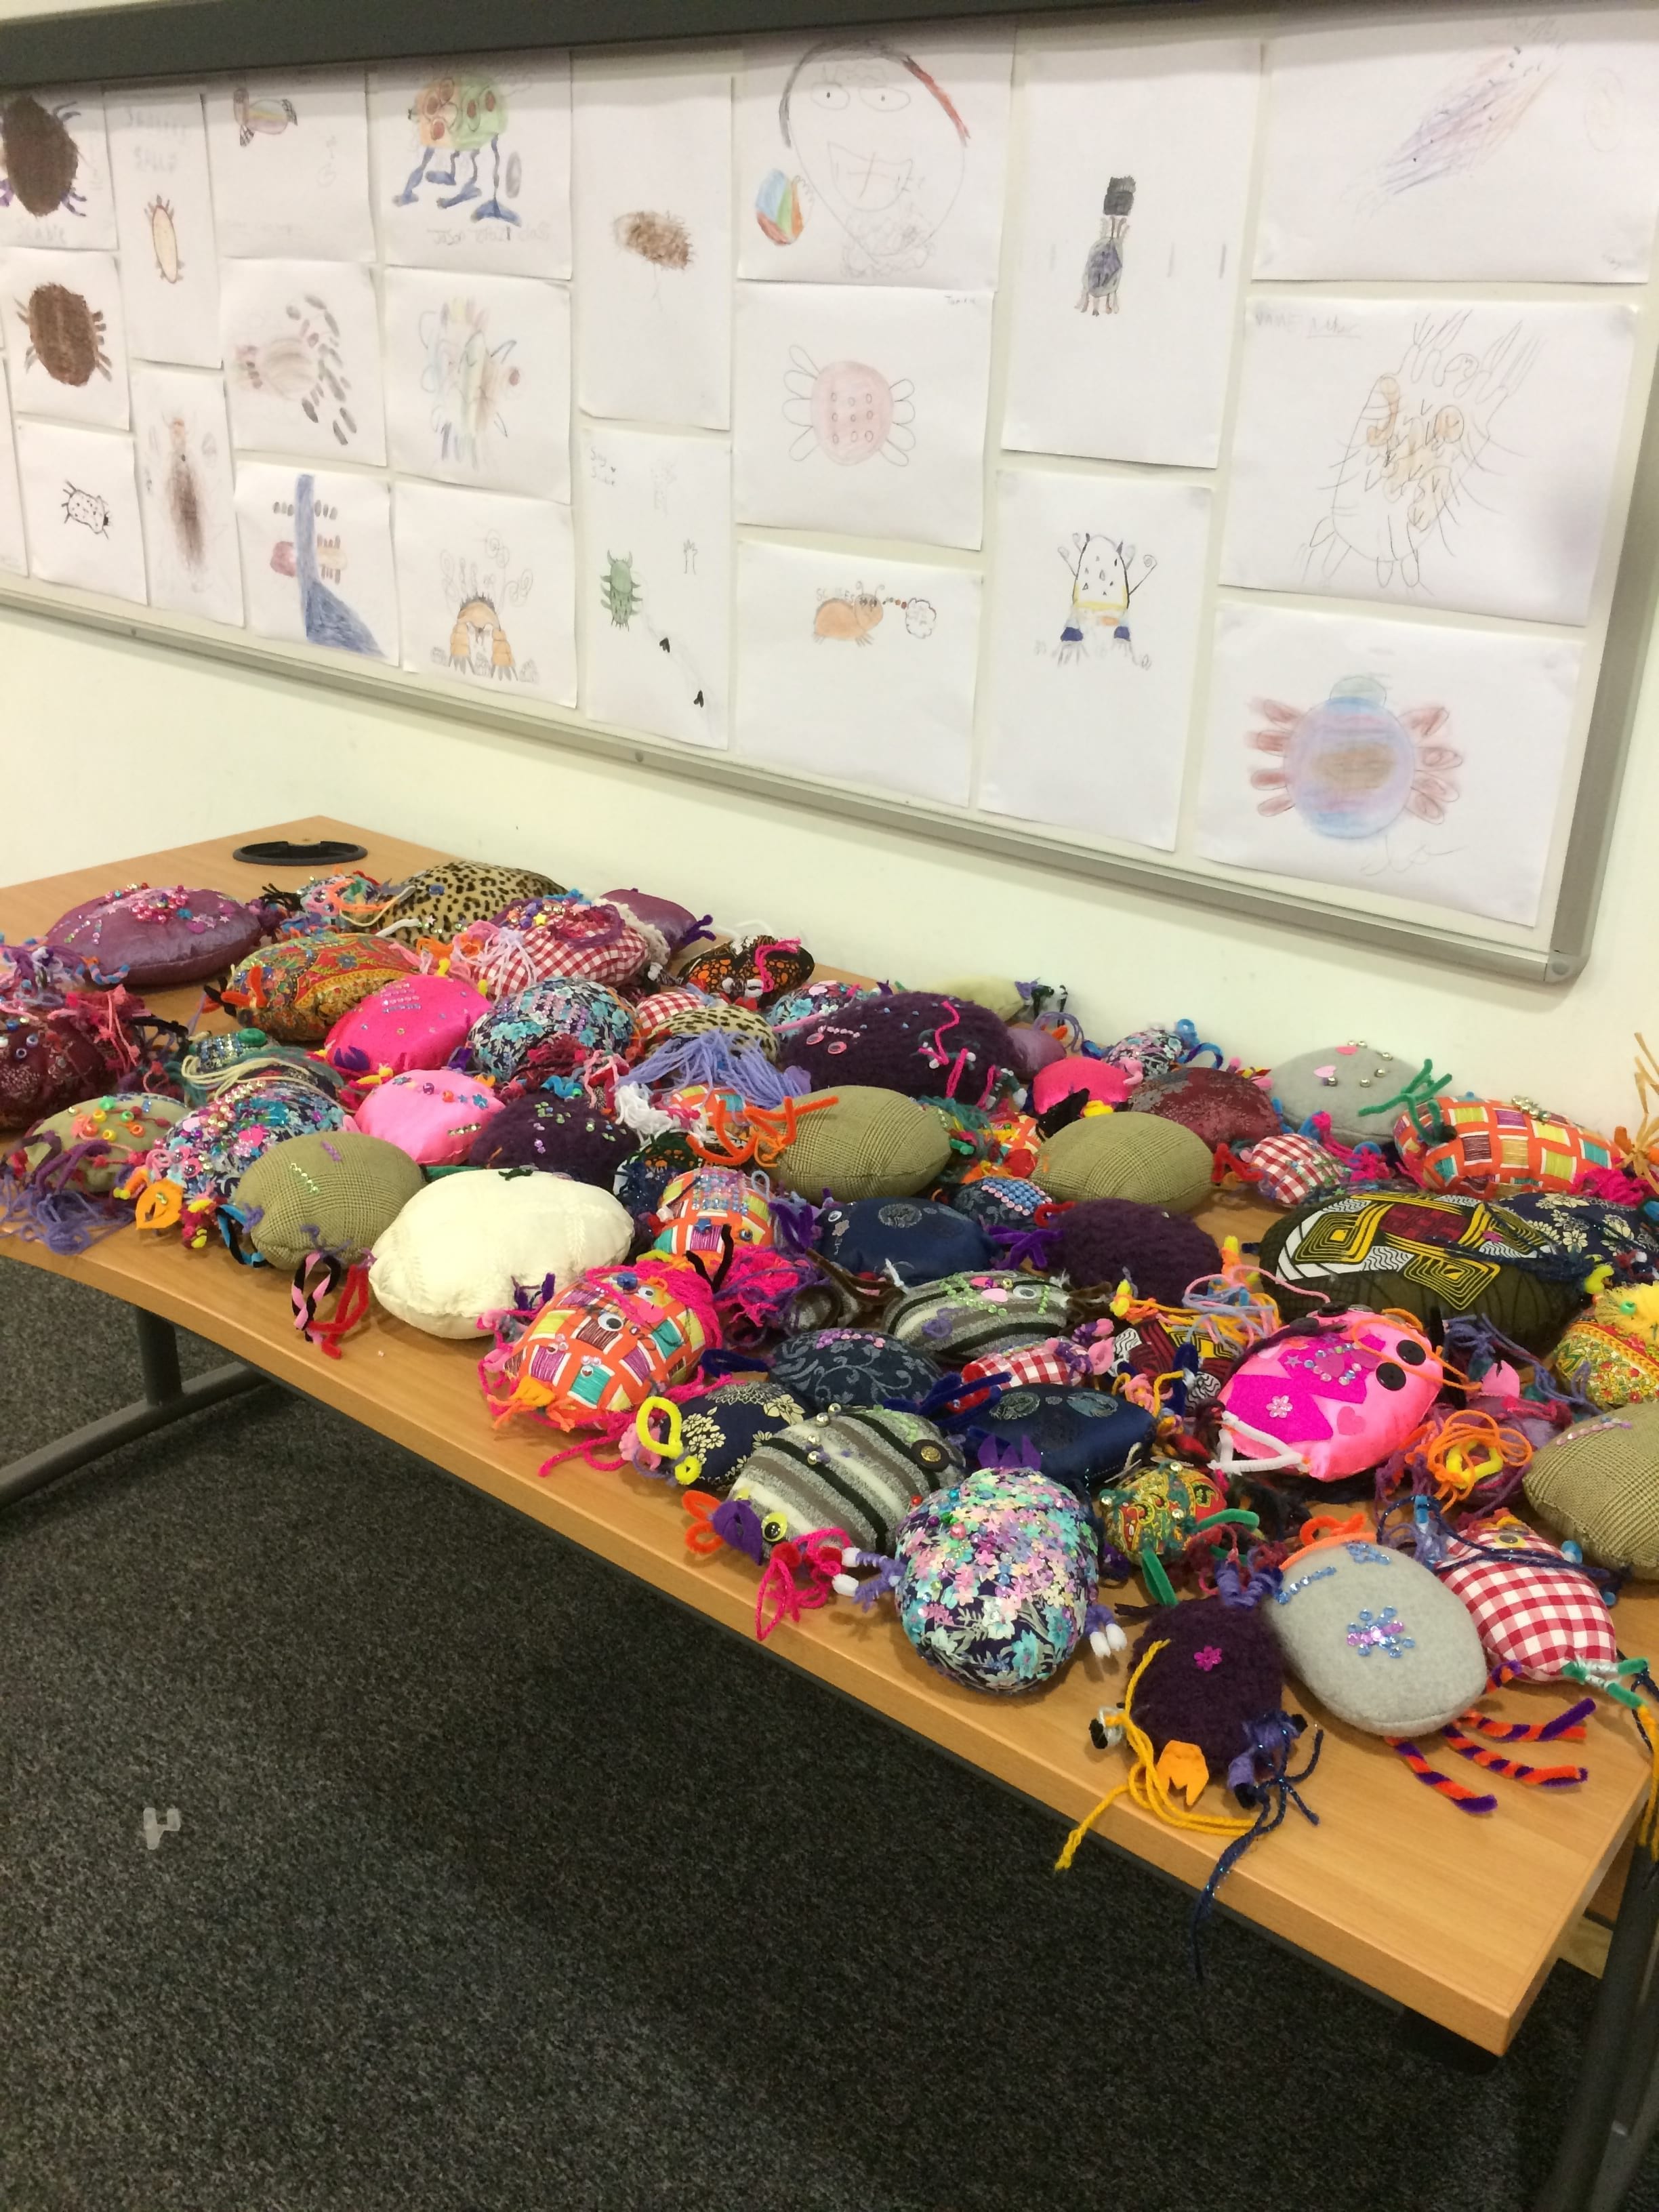
Piles of scabies mites, they look so amazing
Towards the end, the children played Scabies Scramble with their lovely beanbags.
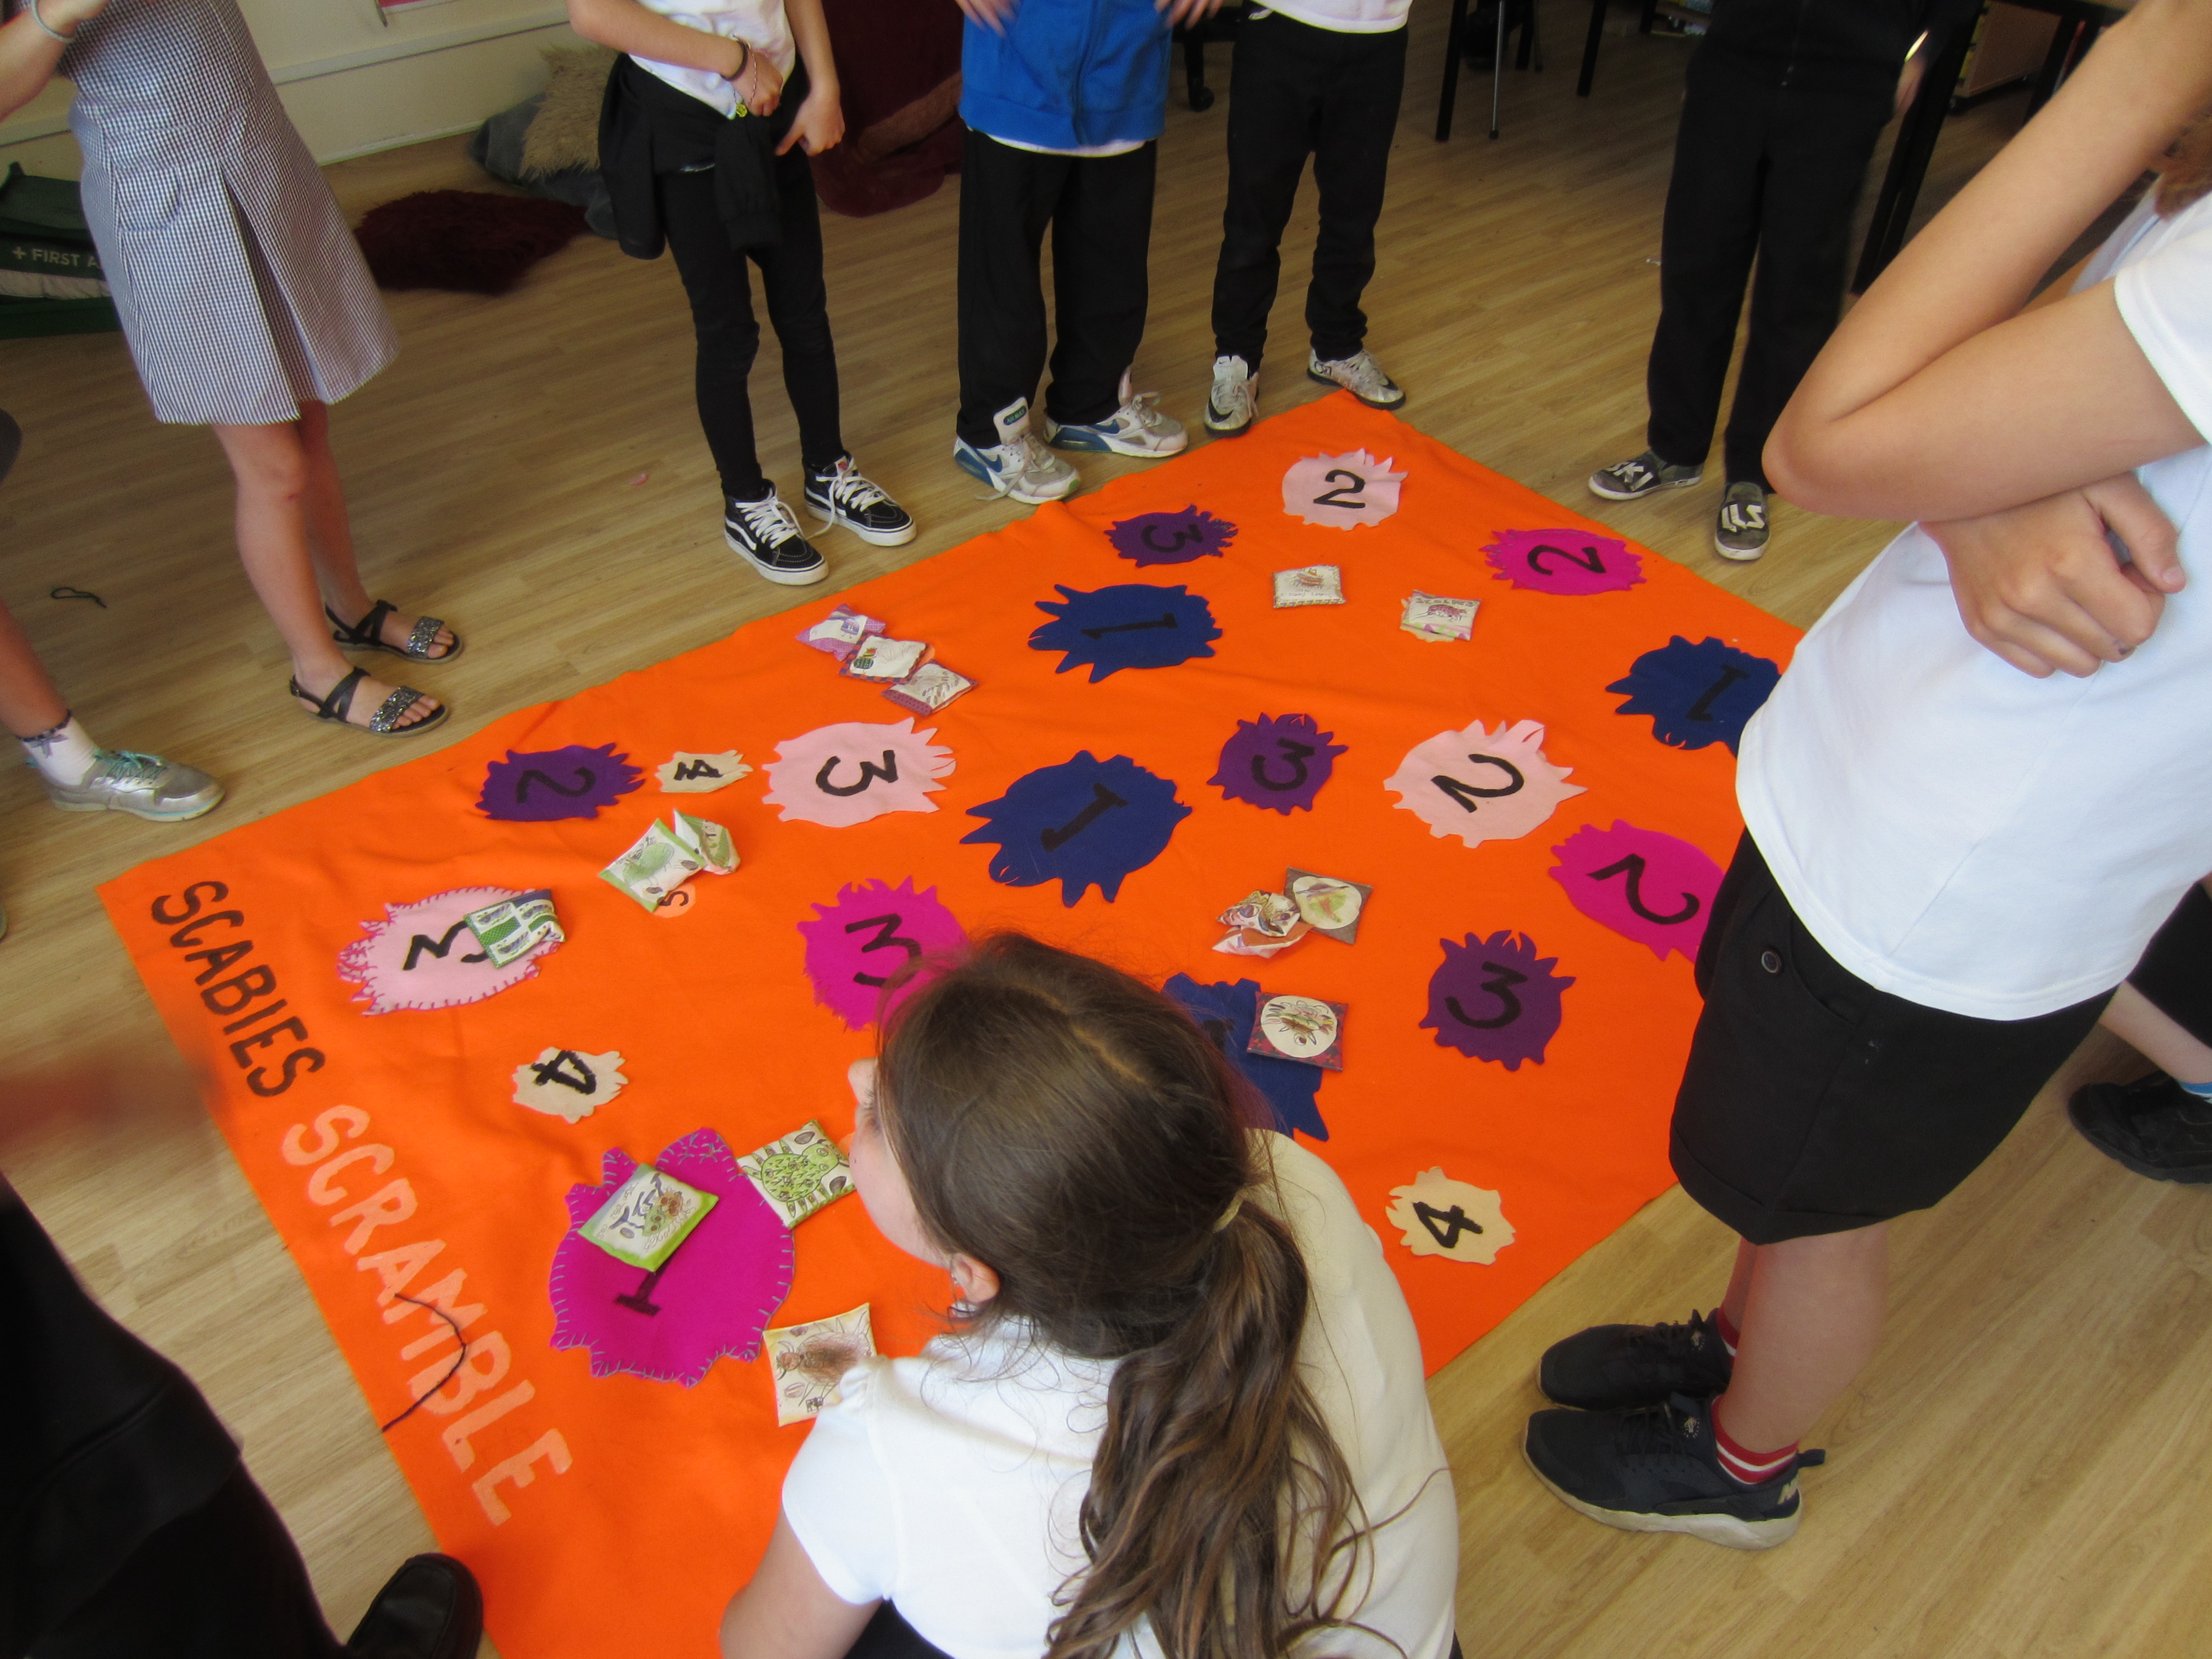
Scabies Scramble mid-game
The weather was so lovely, it seemed a shame to sit inside sewing. So this was an evening job.

Digital printed fabric unfurled before cutting
Cutting the fabric is much easier using a rotary cutter on a self healing mat. Make sure the blade is nice and sharp; I started with a rather blunt one, and realised I hadn’t changed the blade for quite a while. It cuts SO much better now.
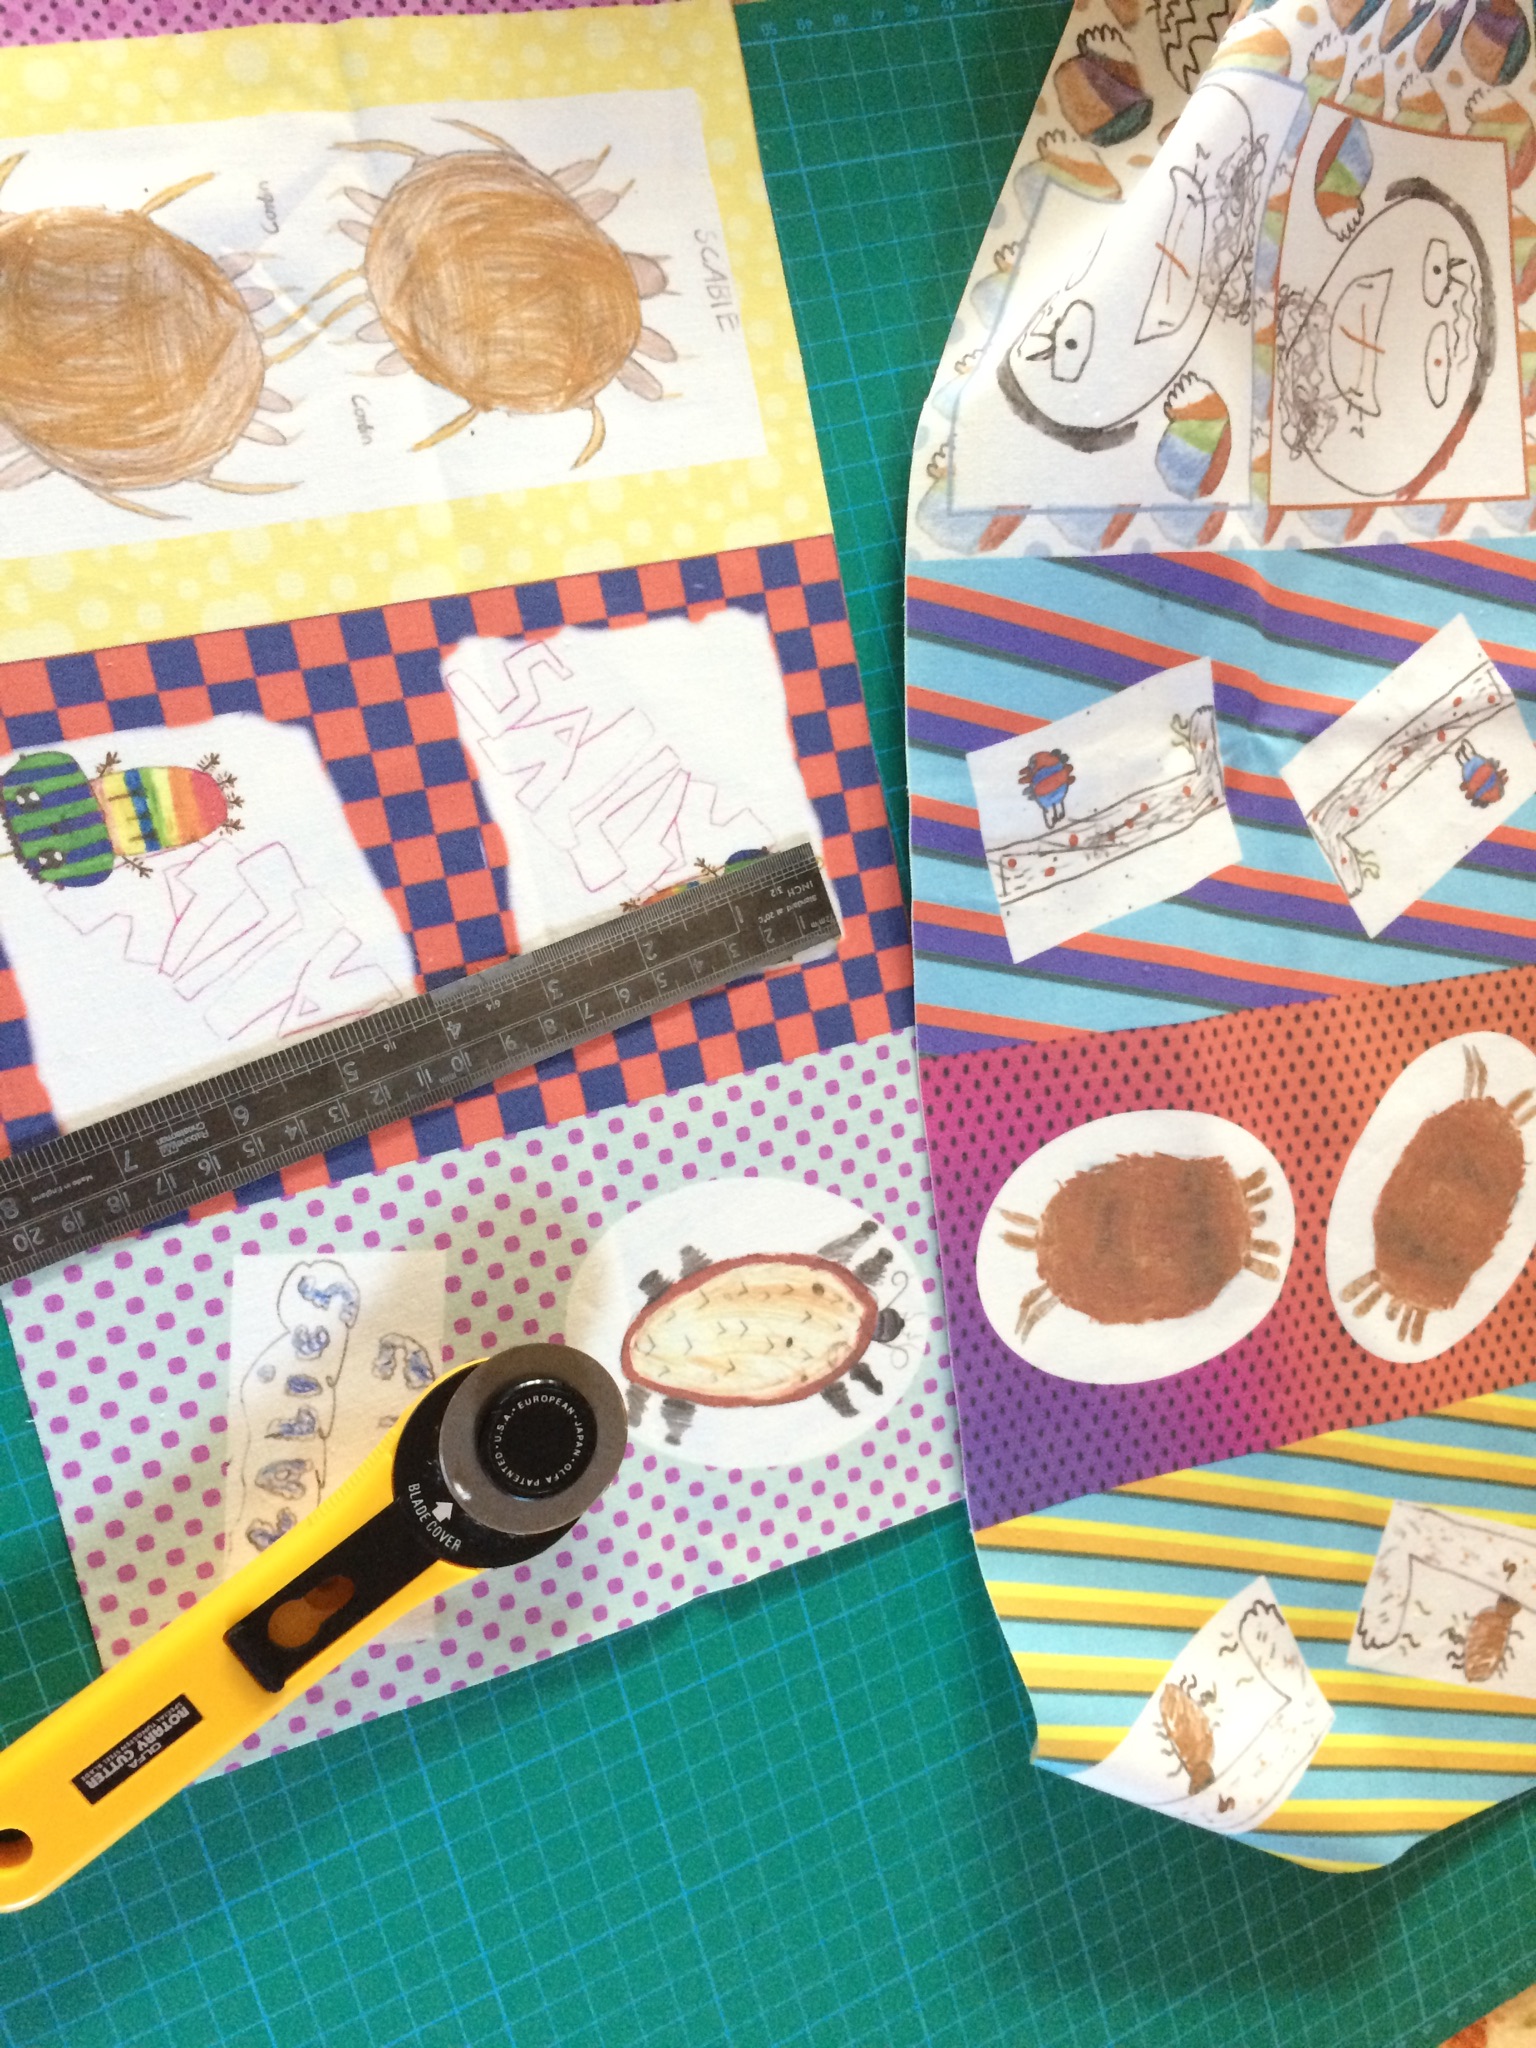
Cutting with a rotary cutter is the easiest way to get neat edges
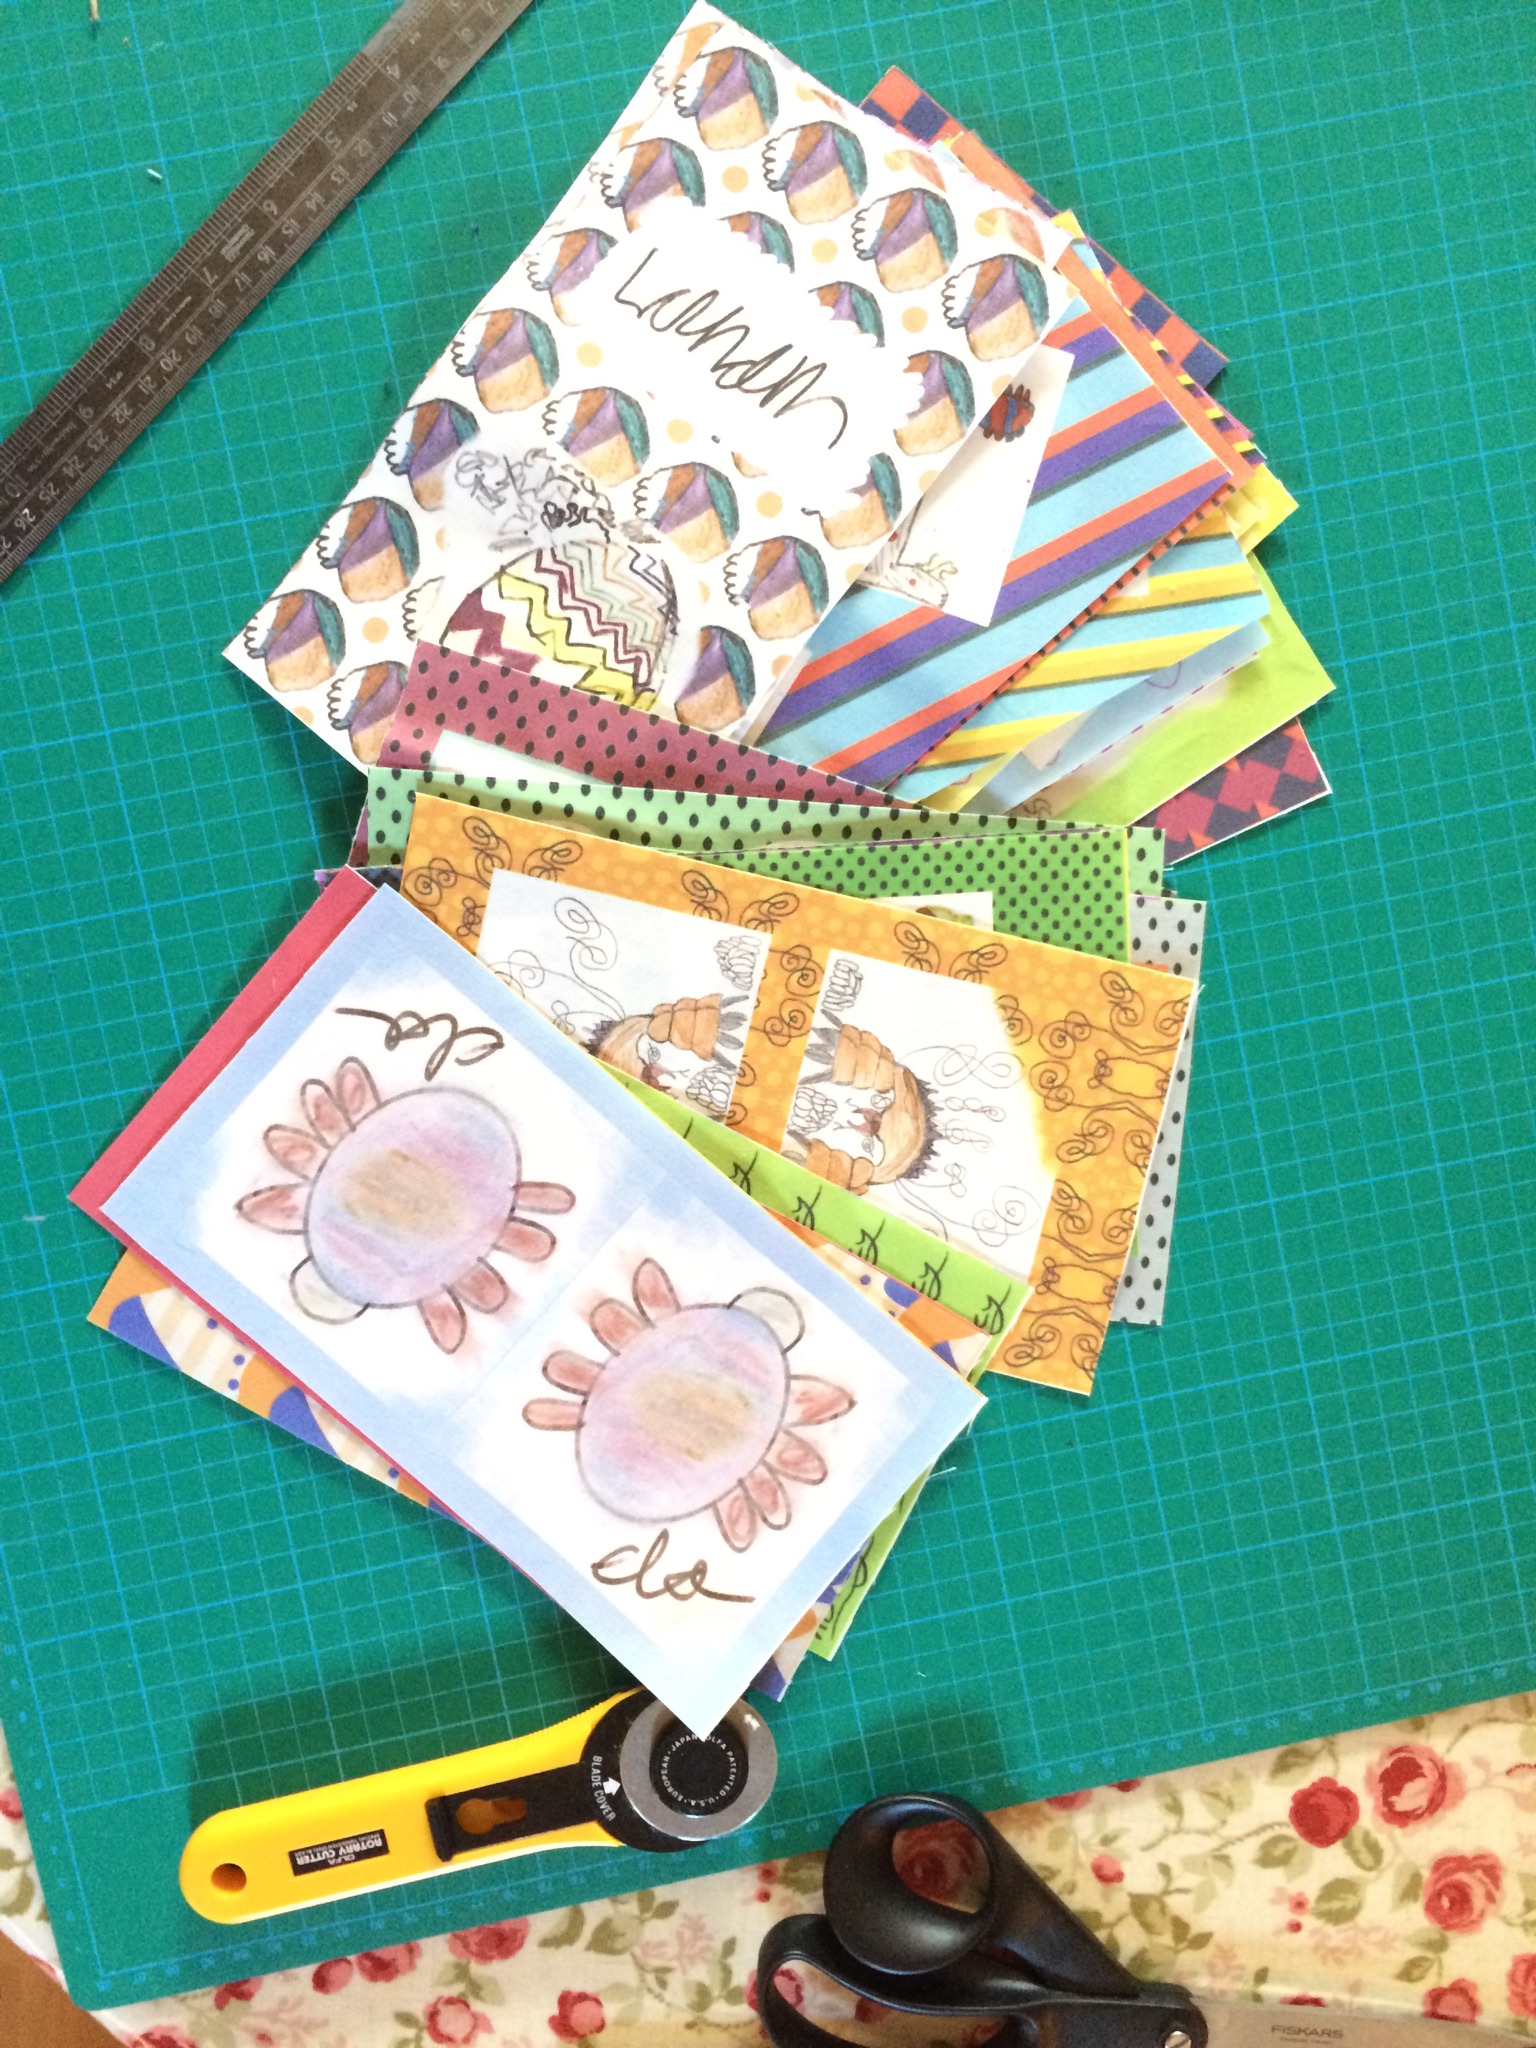
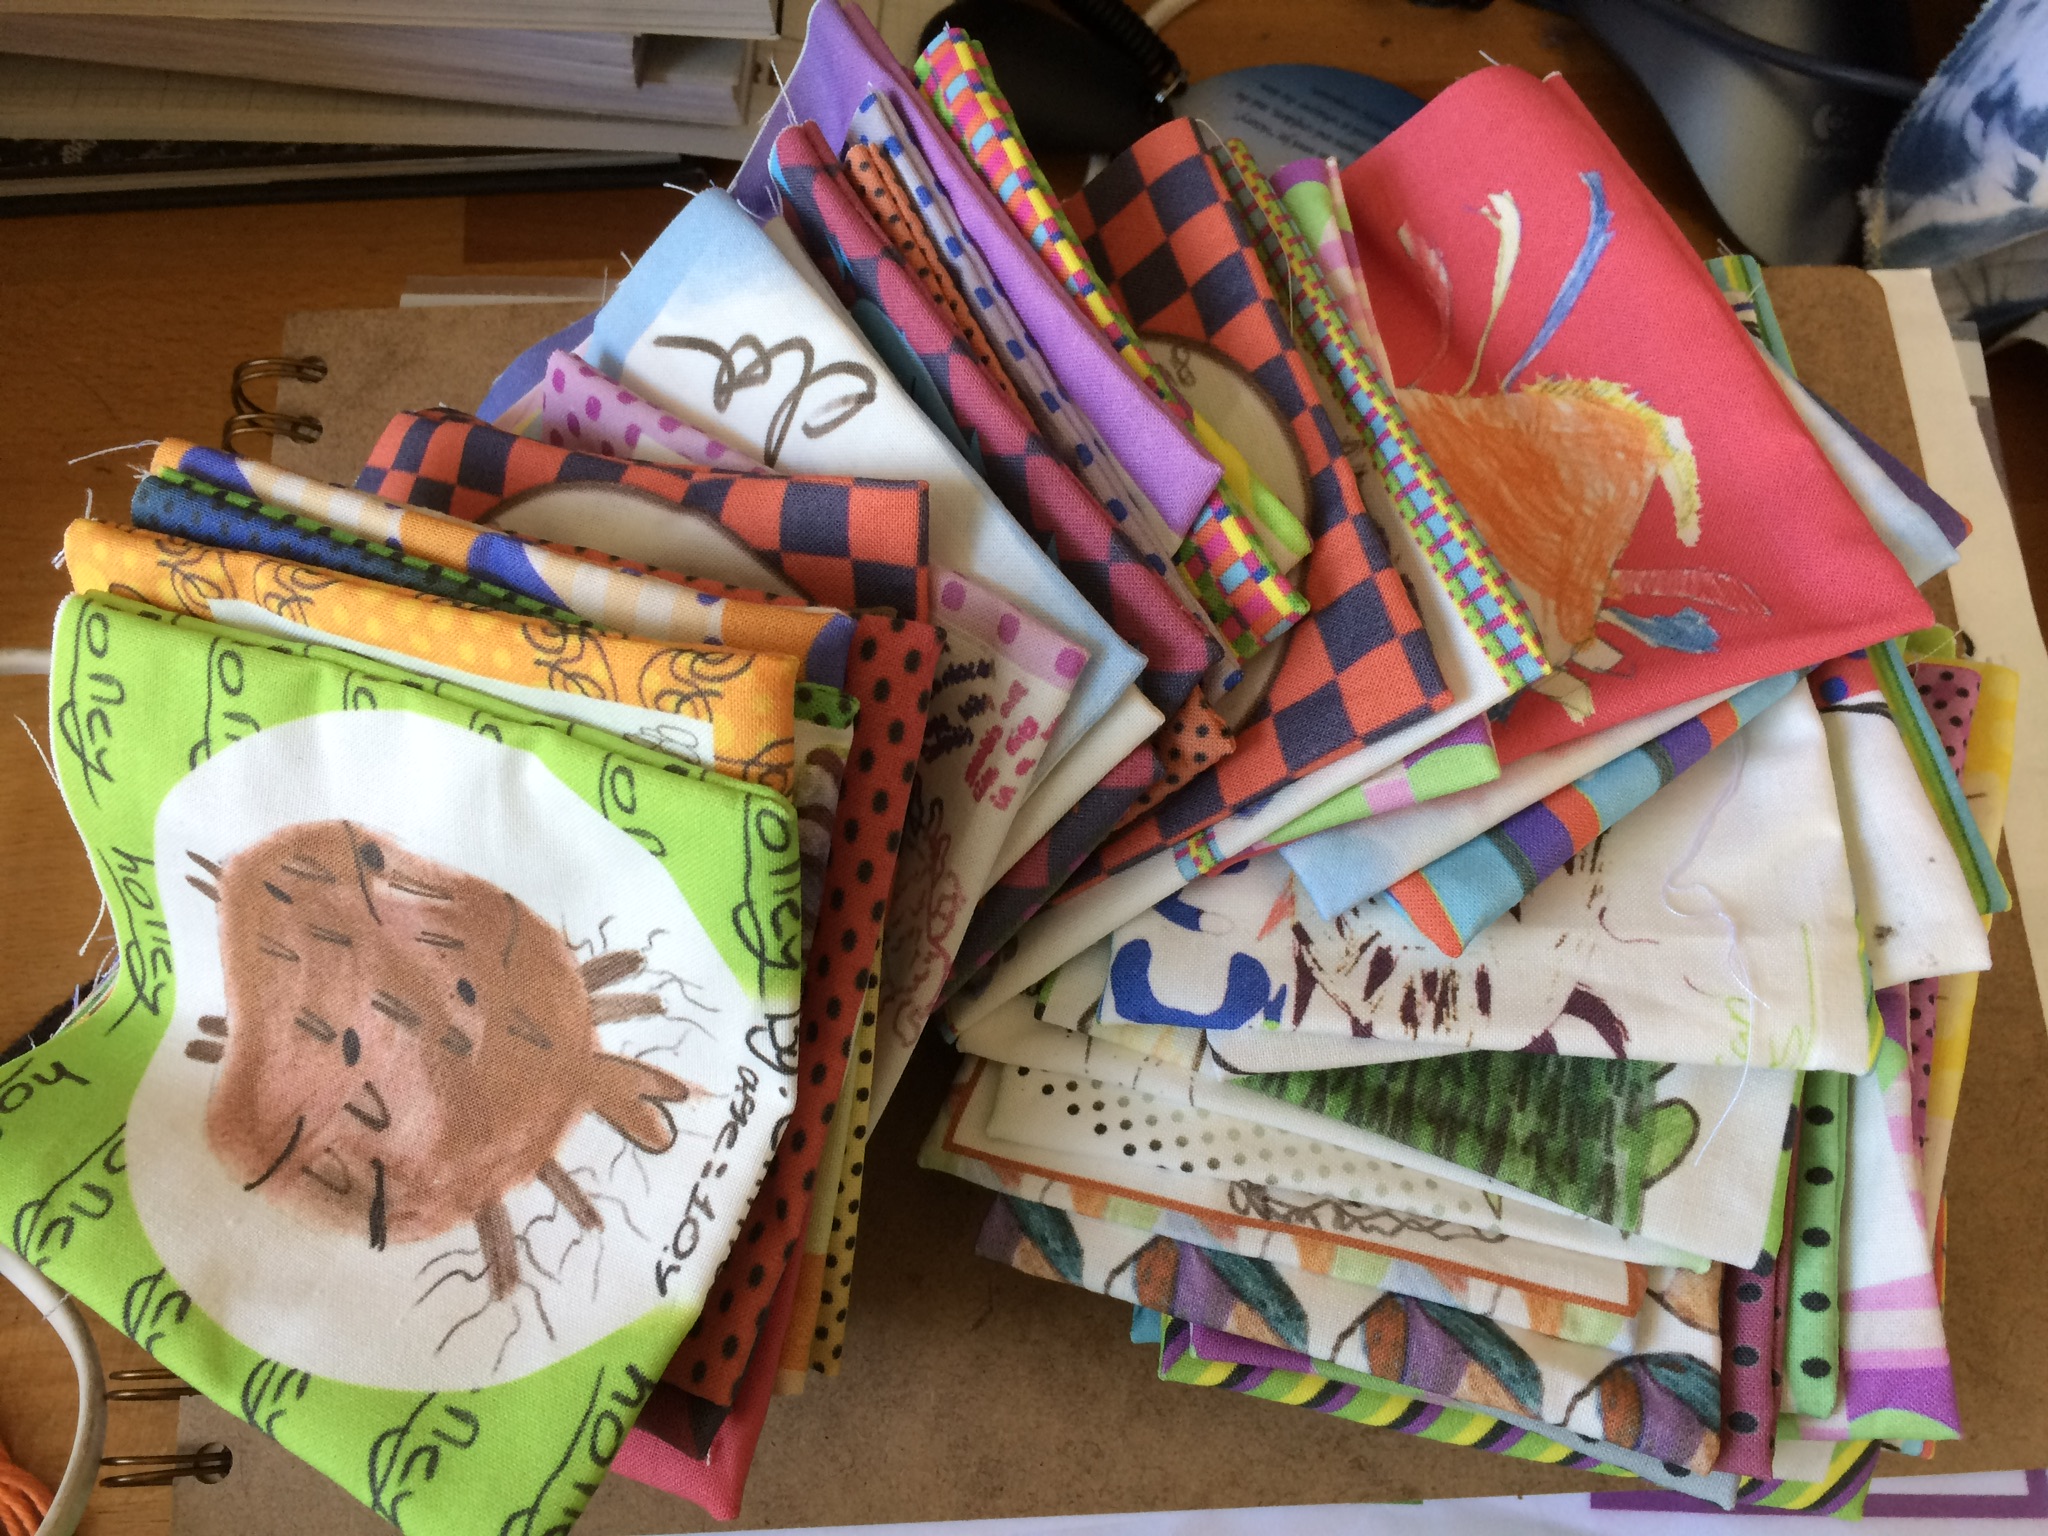
Neatly cut beanbag blanks
I worked out a quick method to sew them without cutting the thread each time, but of course they have to be separated at some point.
Video to follow…
Turning them inside out was a bit of a chore, but when done whilst watching The Woman in White, it was bearable. Using a collar turner to pocke the corners helped to make these crisp.
Turned beanbags ready for filling – thanks to Wilkie Collins for the entertainment
The next workshop will concentrate on storytelling – with our lovely storytelling facilitator Julie. Half the group will do this, whilst the other group will fill and sew closed the beanbags decorated with prints of their own drawings.
I filled my trial beanbags with out of date mung beans and wheat grain that I had in the cupboard. I am a little reluctant to use mung beans, as they are a food crop, but then wheat is as well! I know some people use rice, so I may choose that instead… perhaps I will let the price decide.
Whilst there will be a chance to finish off their mites, I really want the story telling to take precedence. Students from Seahaven Academy are coming to the workshop to work with the younger children to draw storyboards and take photos of them telling the stories with their mites. If the mites aren’t completed at this point I don’t think this is a real problem, as the stories will still work.
The final workshop will be at Seahaven Academy when one or two digital media professionals will work with the GCSE students to create ‘multi-media collages’ of their photos and videos based on the storyboards from Workshop III.
All very exciting.
Despite the heat, or maybe because of it, everyone was in a happy mood today. I arrived late because my satnav took me to the wrong entrance, but I don’t seem to be able to find the school by my own navigation either; I have got lost each time!

Stef giving a short recap on a few points of information on scabies
So today was:
Time was a little short to complete all the tasks, so the children will be completing their wonderfully creative information sheets tomorrow. I hope to be able to share some of these with you next week when we get them from the school.
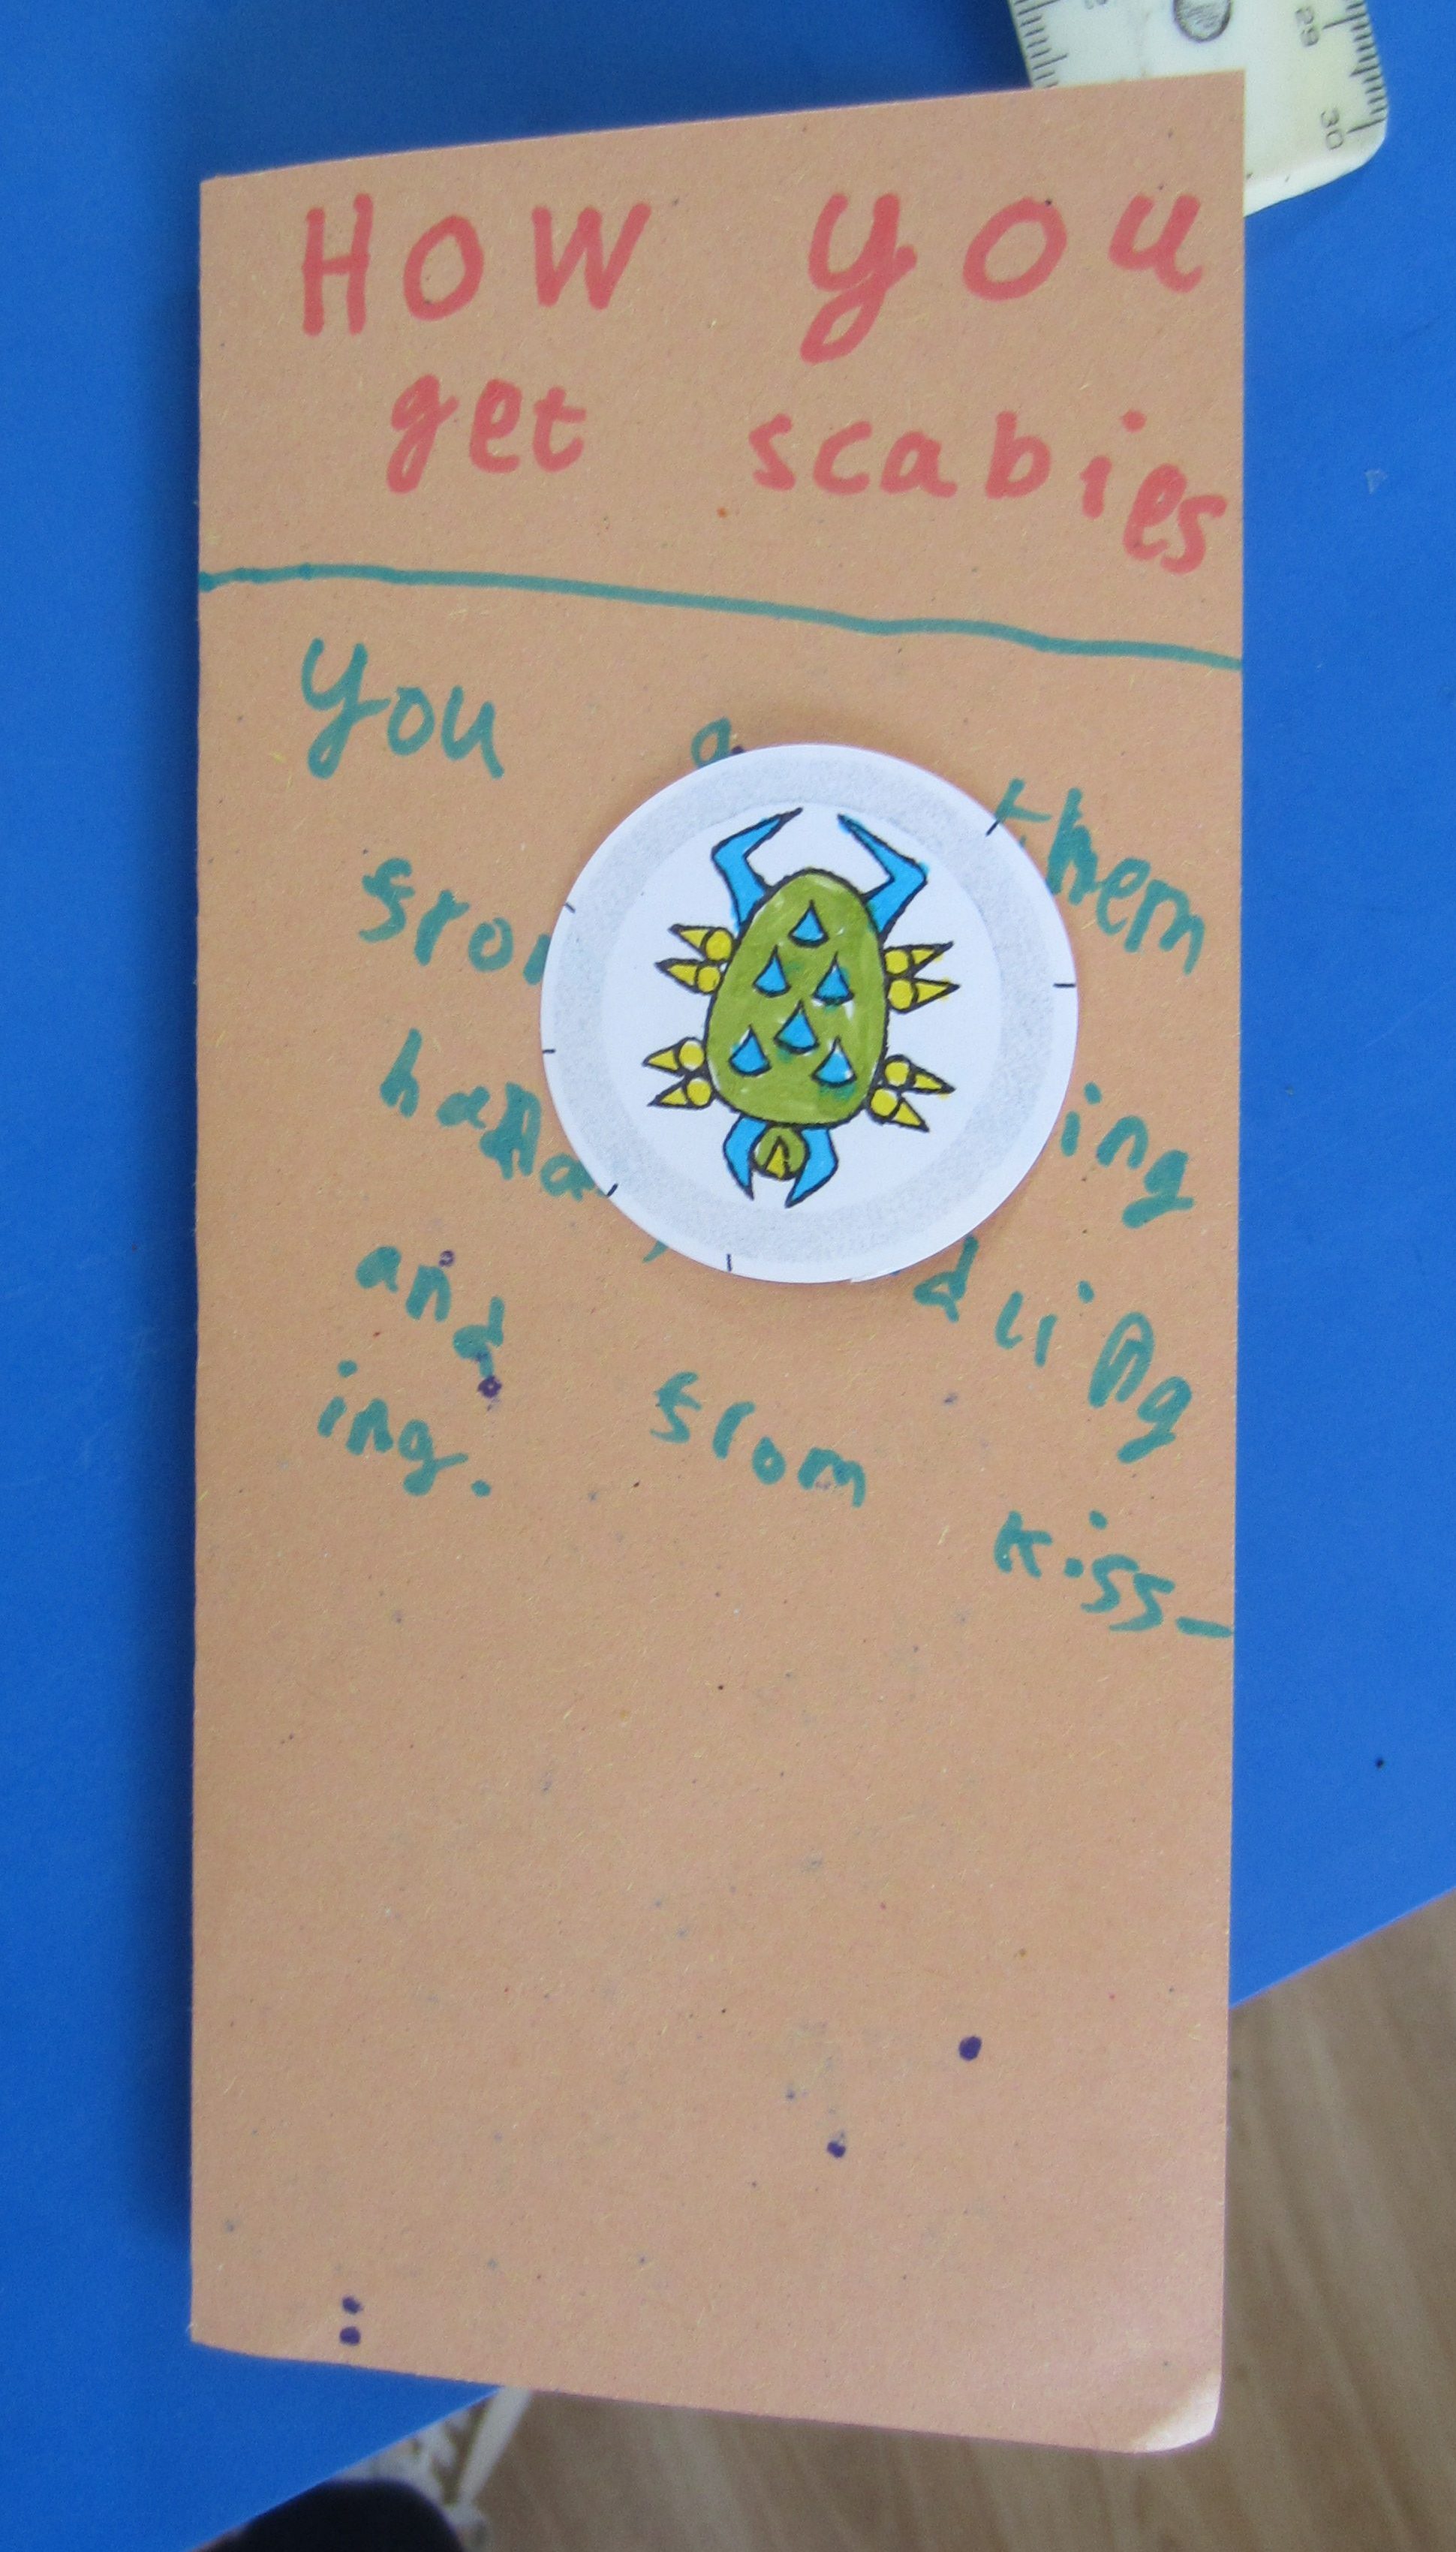
One of the completed information sheets

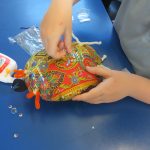
Mite decorating

Making the mat, four children opted to sew on the mites, others stuck them down
The games mats came on in leaps and bounds, with children both glueing and sewing the mites down.

It was so exciting that the children wanted to sew
The workshop required considerable concentration
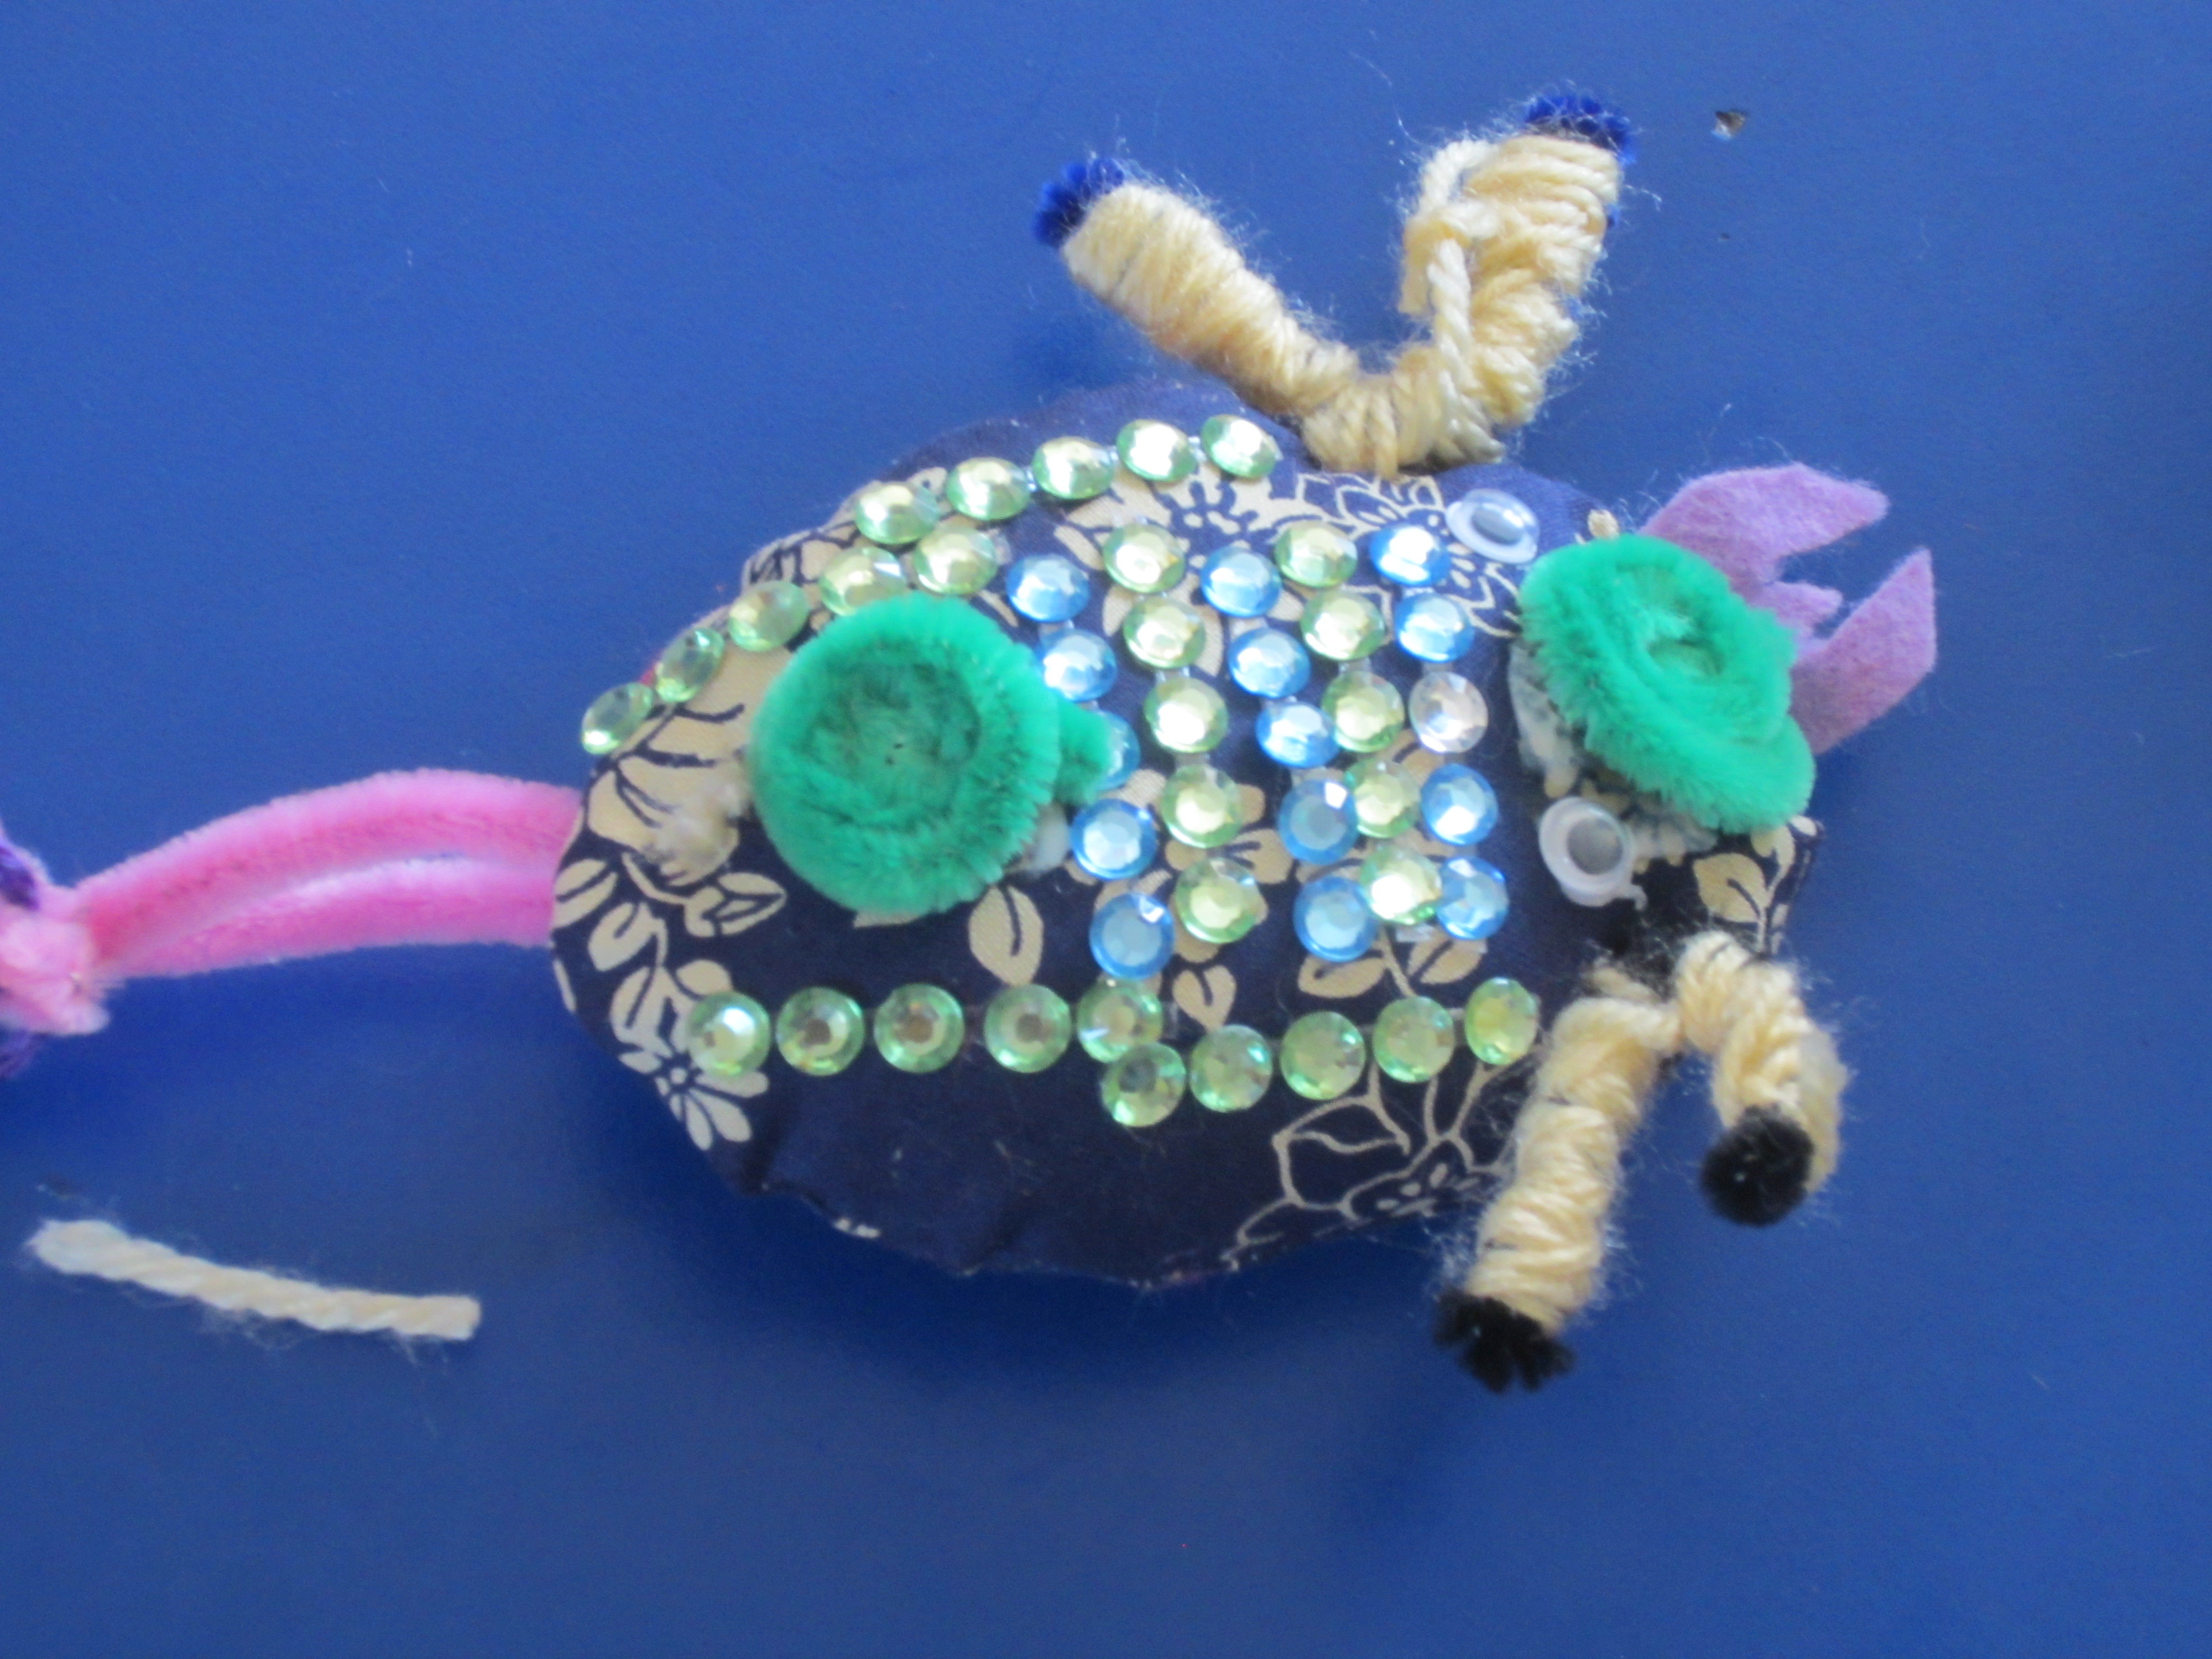
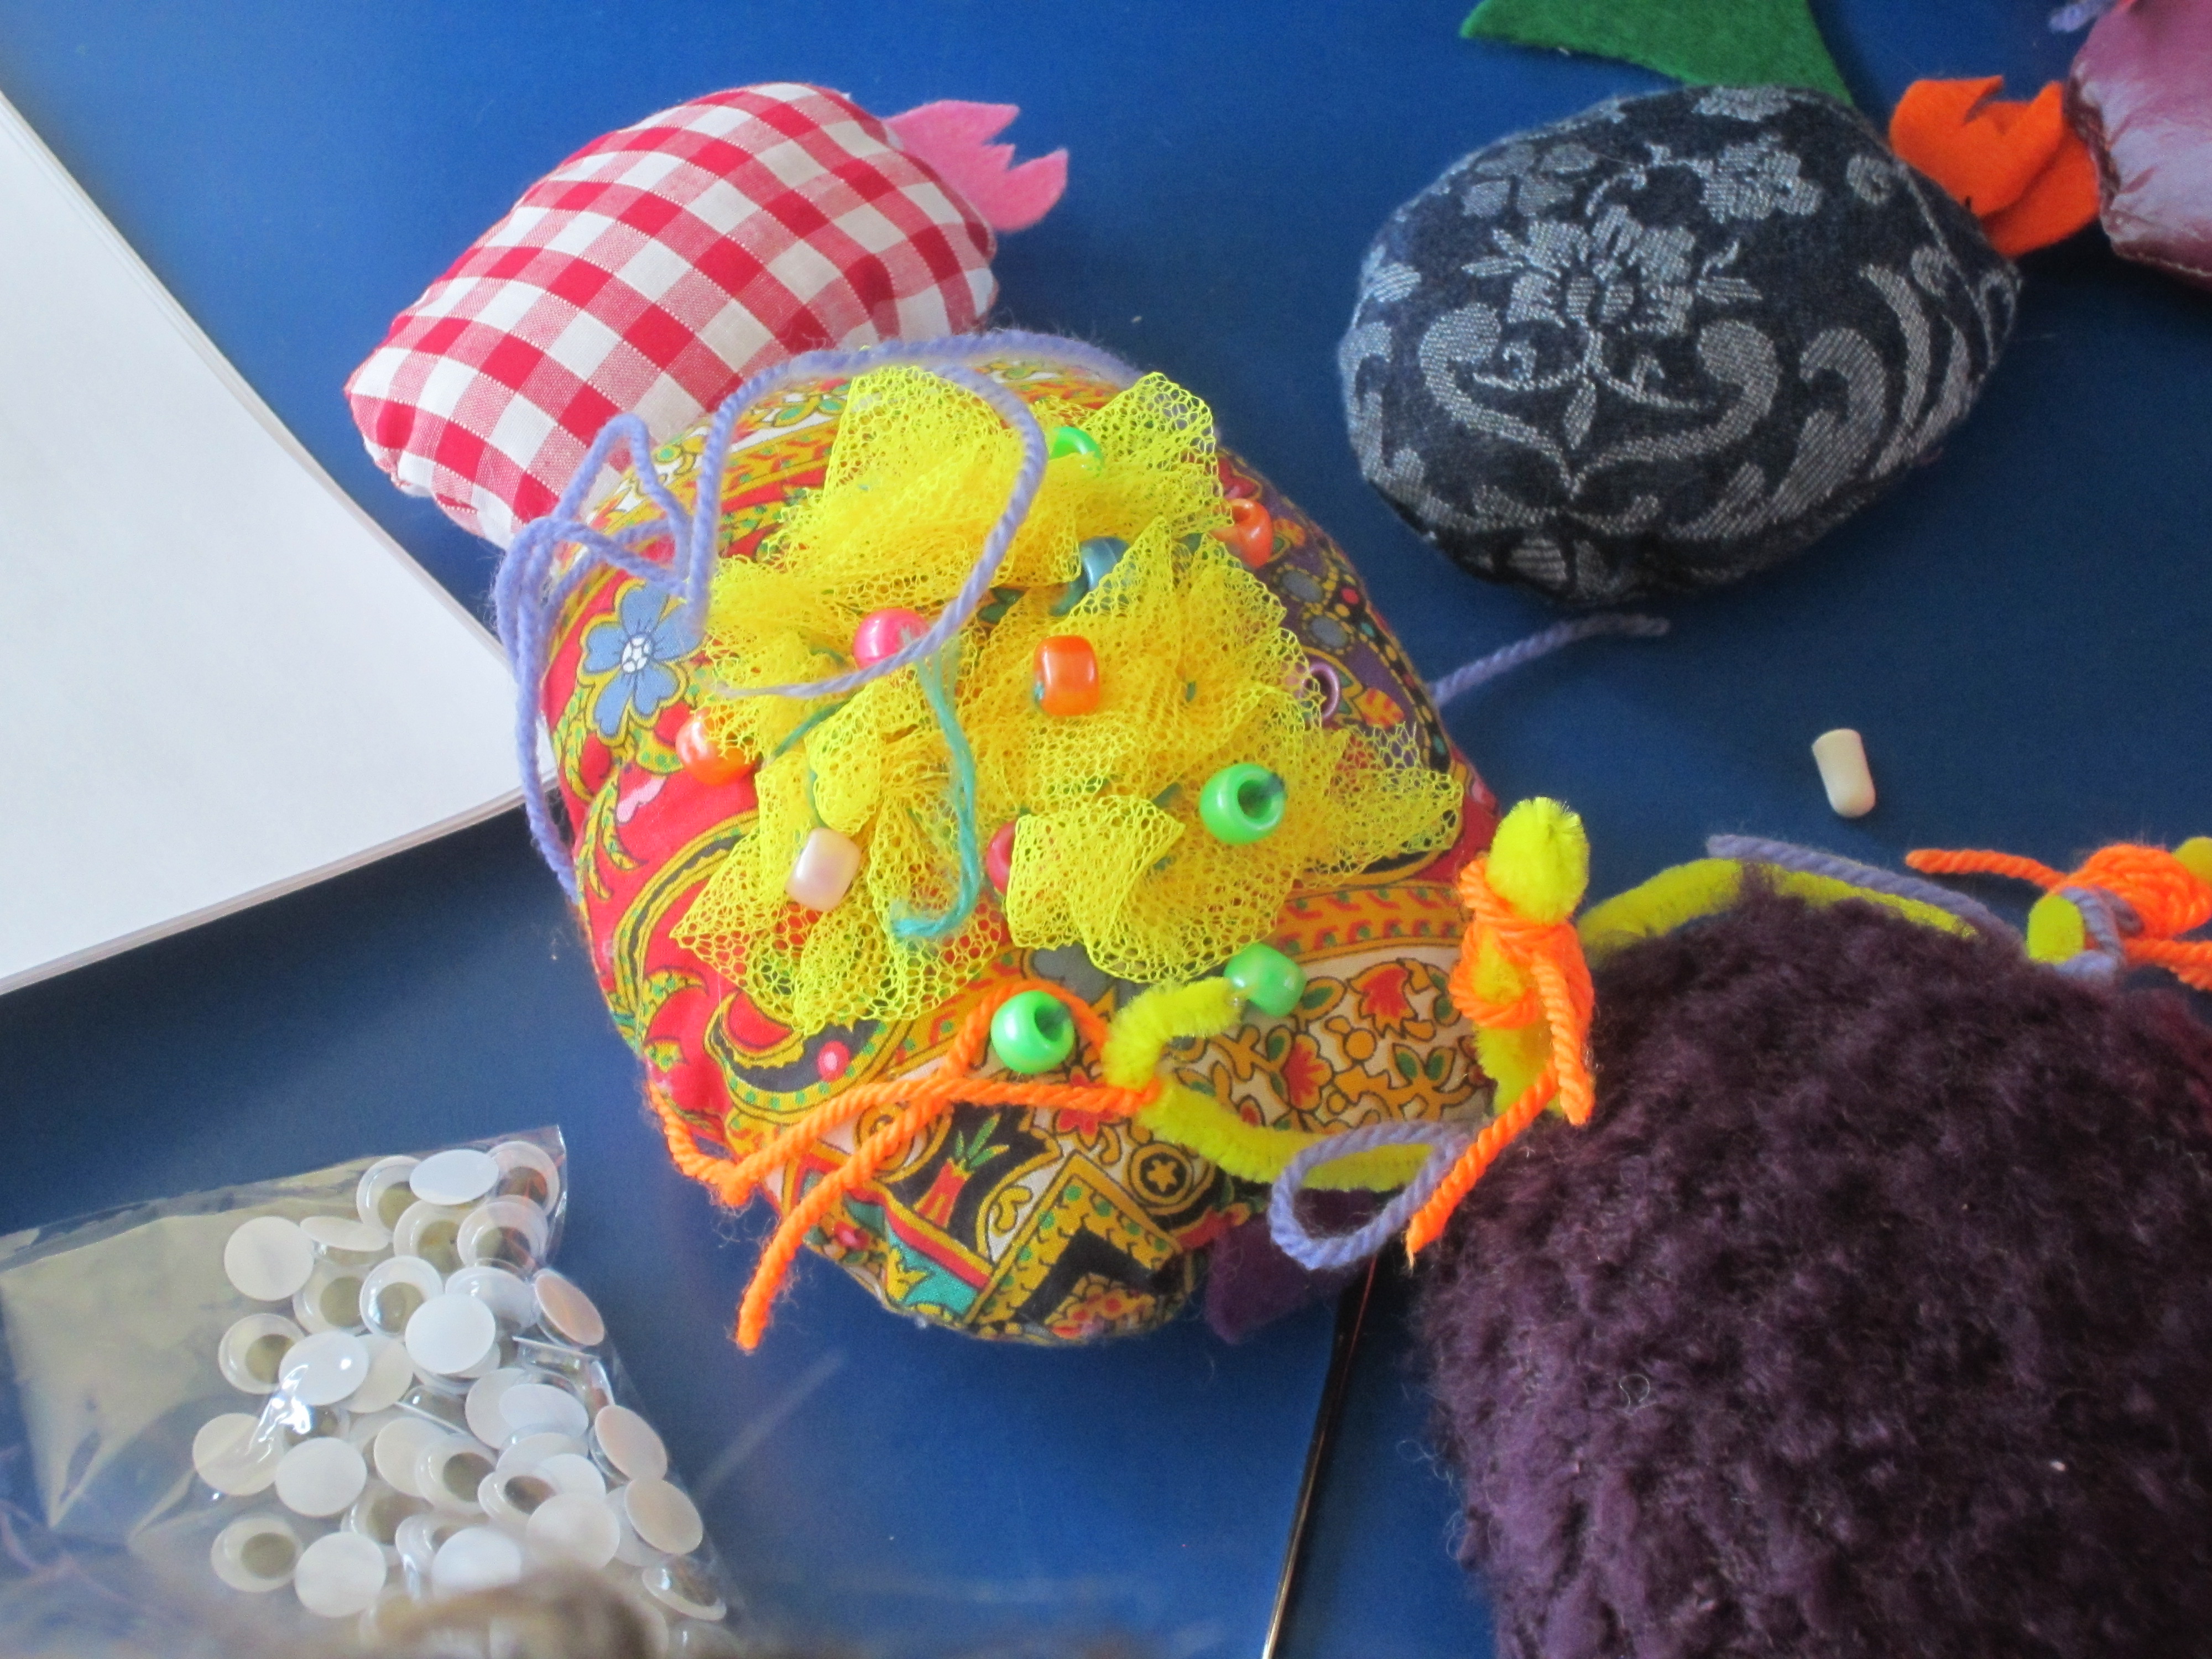
One of the completed mites
Wow – bright or what?
Mites on the modular games mat – decorated with glitter glues
More glitter decorated mites
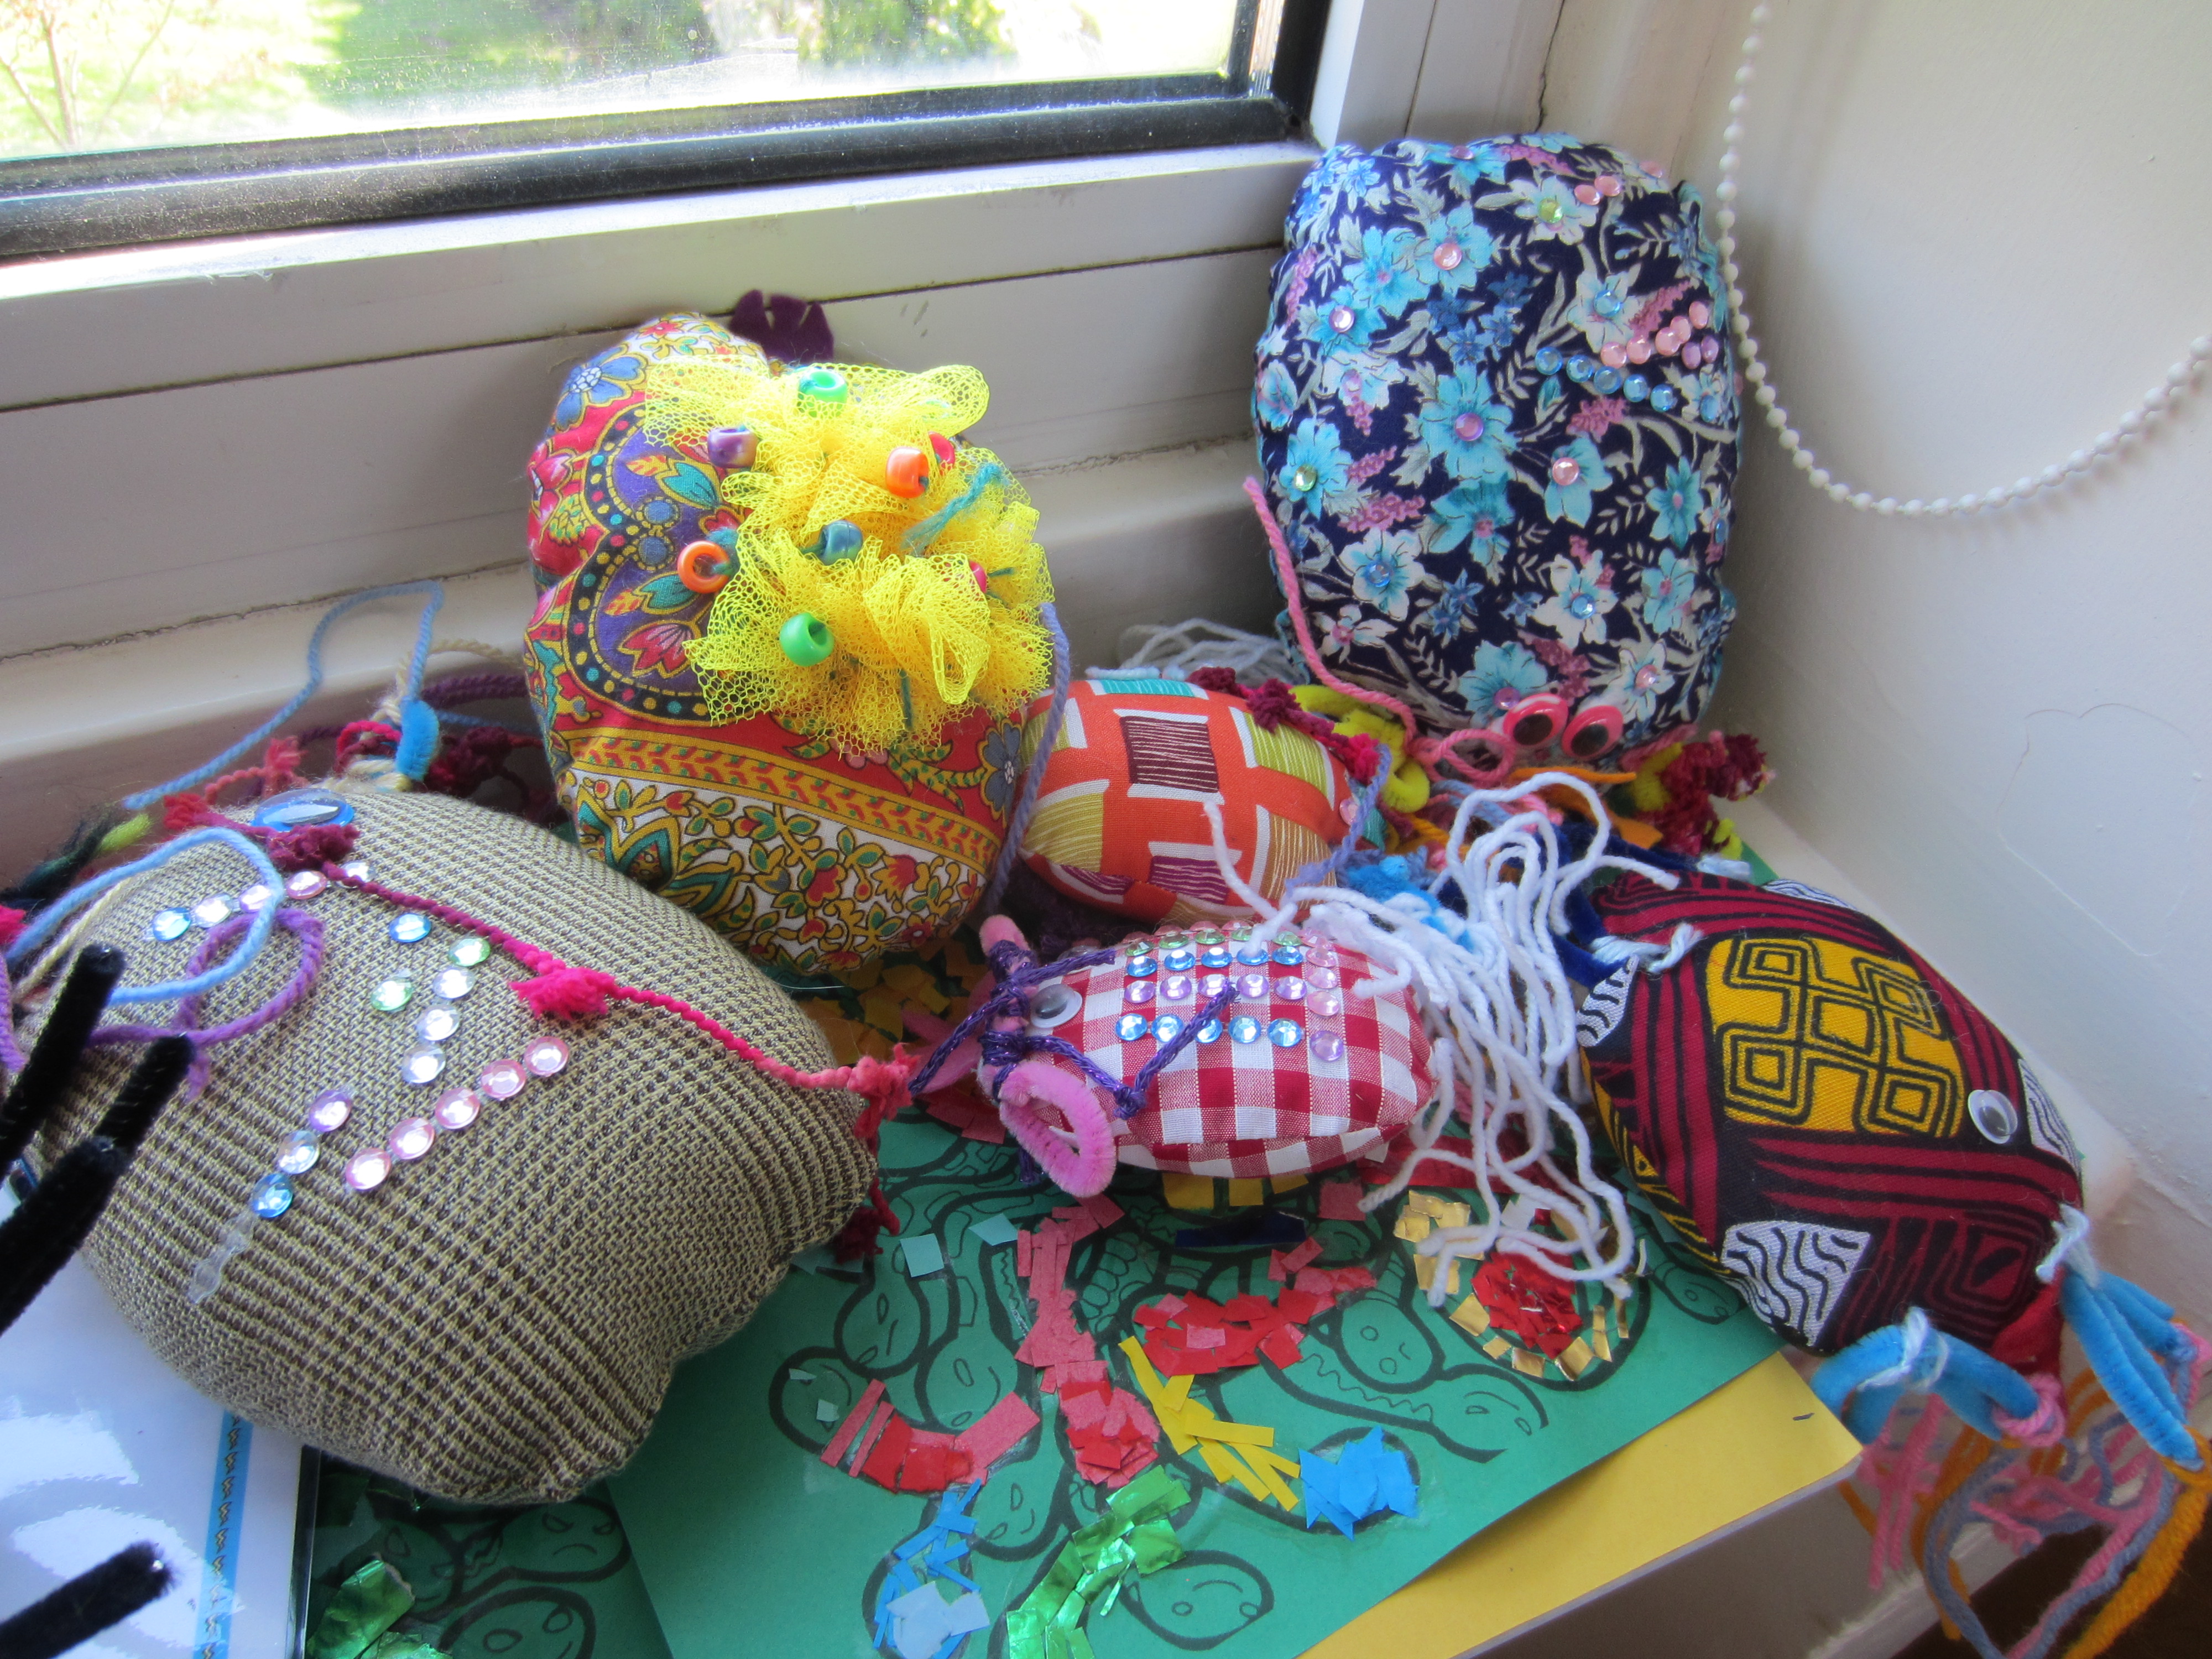
A selection of mites

A few more of the mites
There will be an opportunity to finish off decorating the mites during the next session, but so far they are stunning – colourful and beautifully decorated.
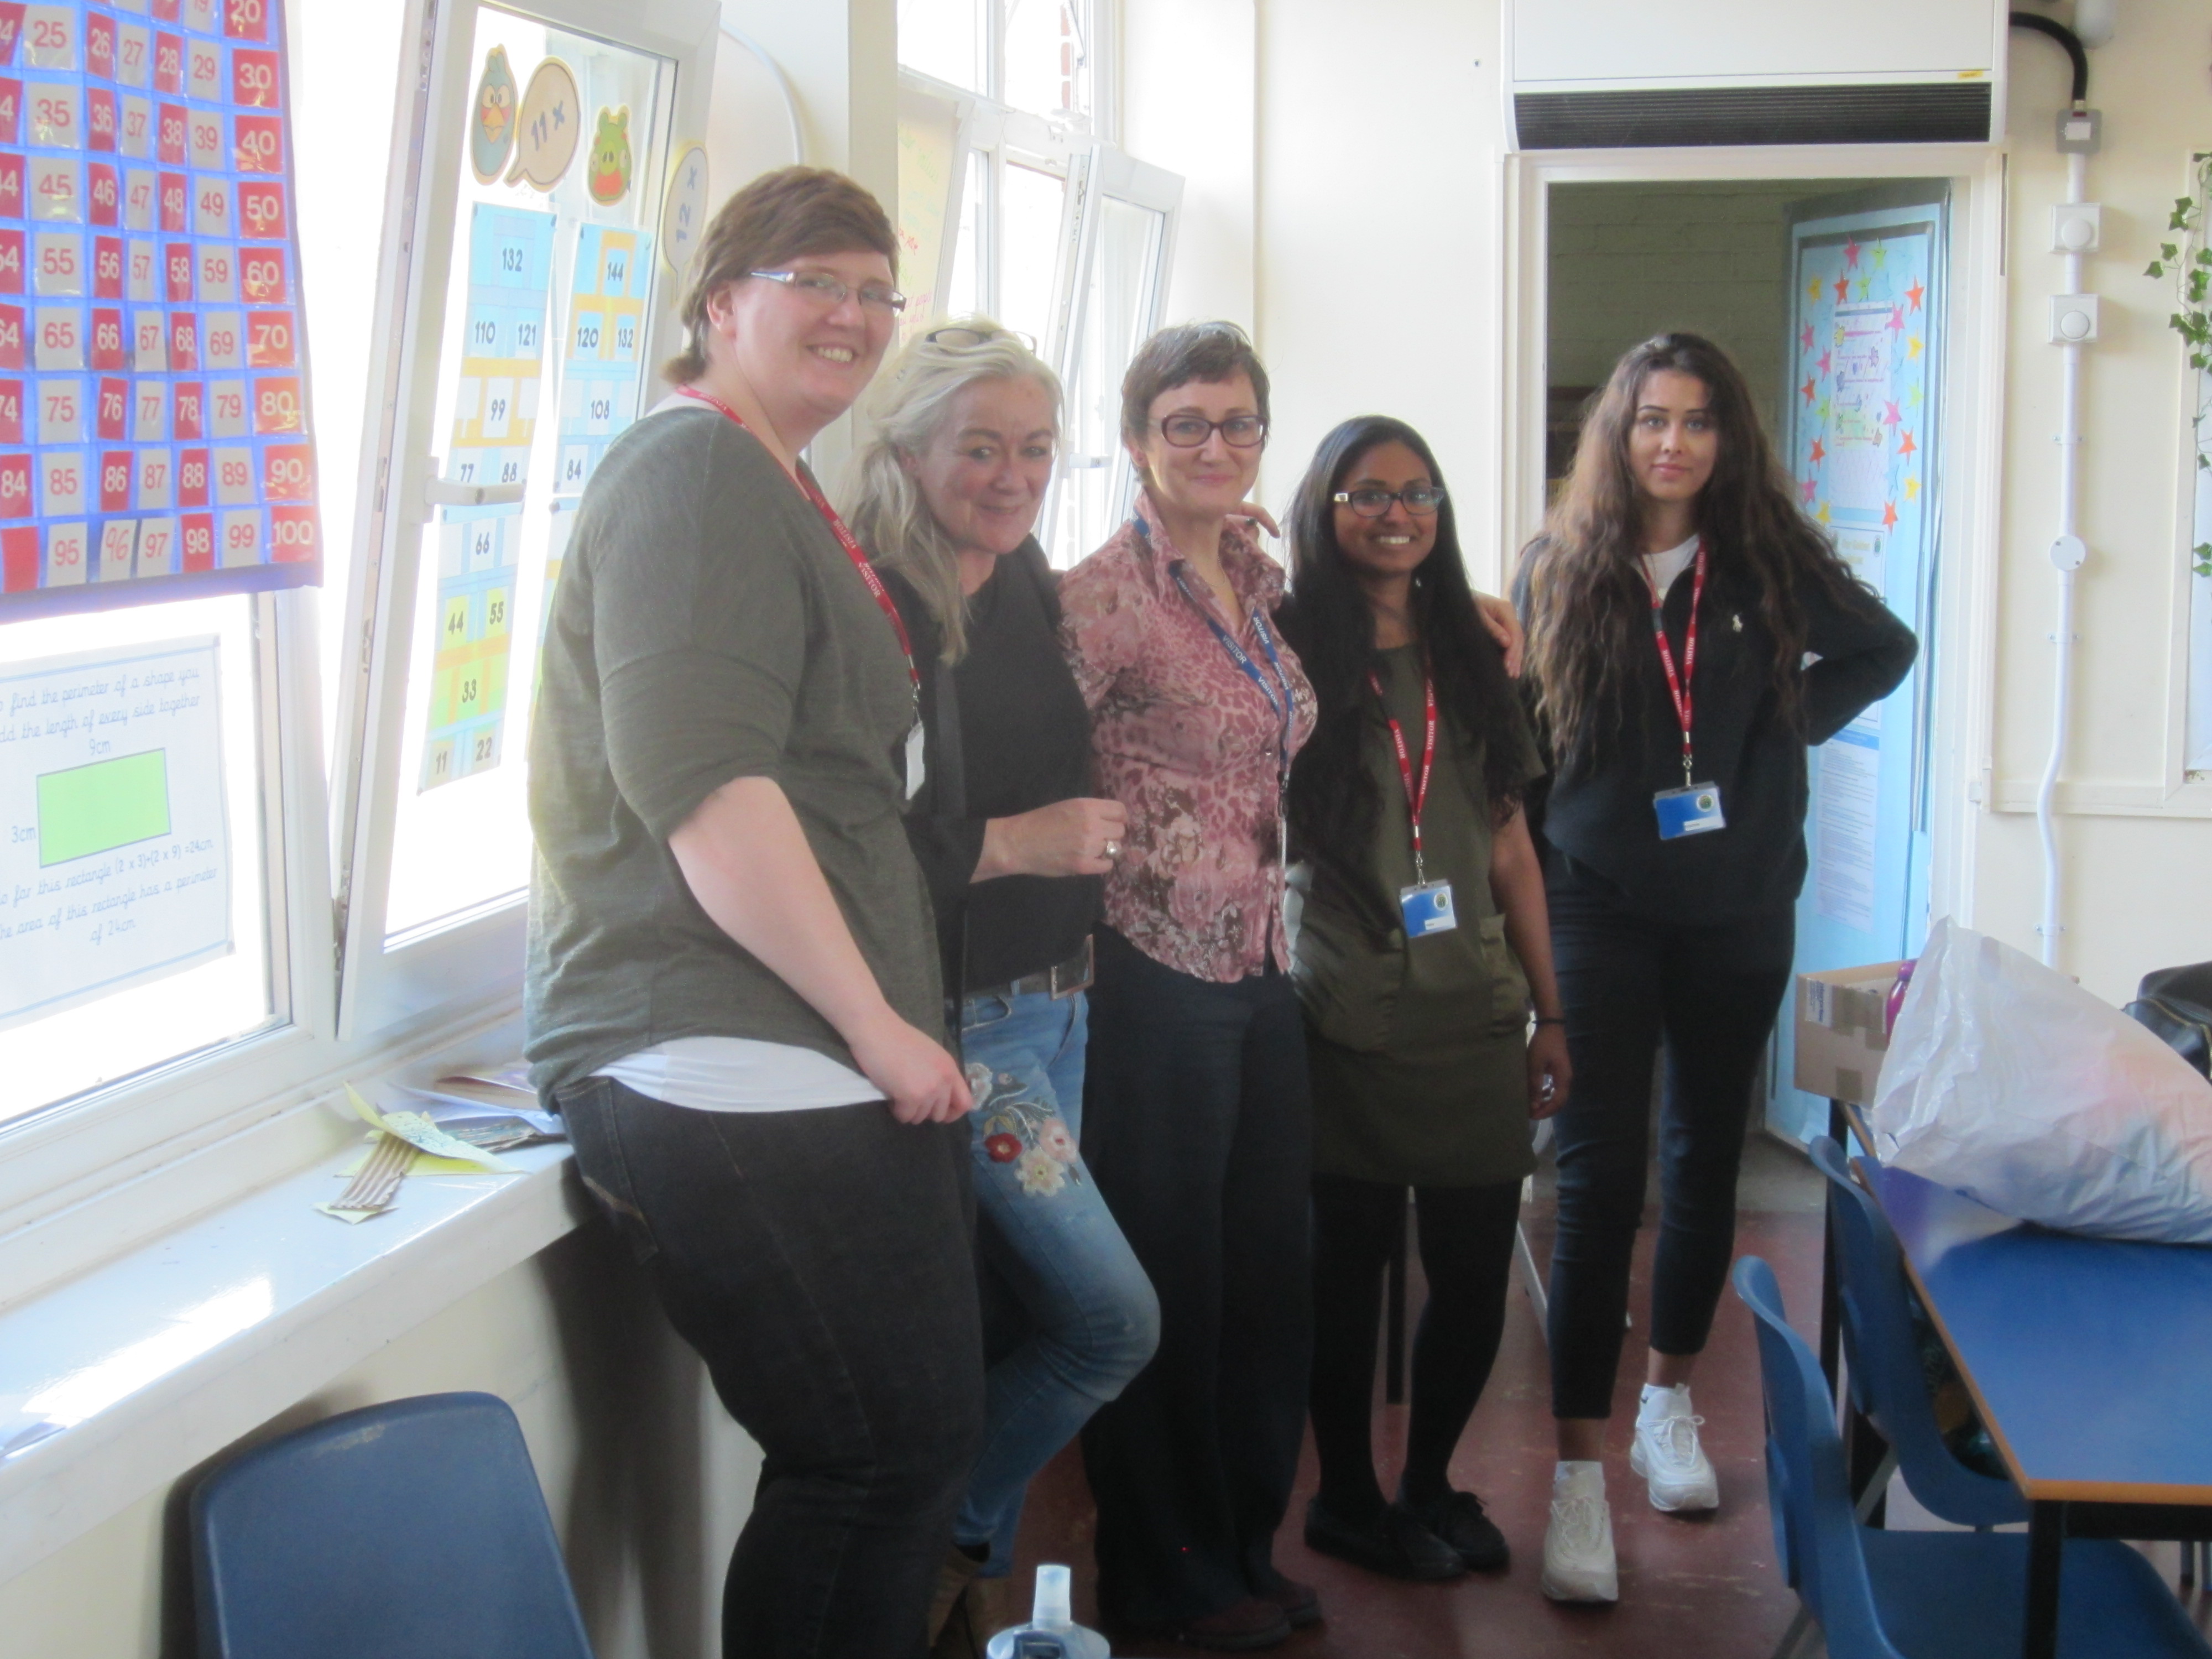
The team
This was me preparing for the workshop on the 19th April, I had everything laid out on the floor, but someone liked orange…

‘Do I really have to move?’
… and has adopted my workspace as sleep-space.

A tired cocker spaniel likes a dash of orange as a background
So I gave up for a while, cut yarn into bundles, watched ‘Keeping Faith and enjoyed a cup of tea and a smidgen of chocolate.
The order has gone off to PrintmePretty; they were so helpful with this. Because the project is through the University, purchases have to be done through the finance system, which is a bit involved. The company found solutions so that I could use the online upload method, but the invoice would be paid separately, as opposed to paying on order. All a bit complicated, but I am so looking forward to seeing the results!
When we were speaking on the phone I commented that the children were very excited by the thought of seeeing their drawings printed on fabric, and the reply was, ‘..adults are too’. To be honest, I am already thinking what designs I can have printed myself.
When you start looking at fabric glue, you realise how many types of glue there are and the number of brands available. Tacky and fast setting were my main priorities, but of course the glues must also be suitable for use by children; non toxic and not likely to stick their hands to their foreheads! My favourite Copydex type was also not really on the agenda as it can be a bit difficult to work with. I wanted one that came in small sized bottles with a fine applicator nozzle, not one that needs spreaders.
PVA seemed the best solution, but most ‘school’ types are quite runny. Hi-tac type, thicker PVA seemed the best solution, and I chose two types; one is a specific fabric glue (Trimits Fabric Glue) that is tacky and fast drying, and another (Hi Tack Fast Tack) which is labelled as more general purpose, but with the same properties. Both seem to do the job OK, they hold almost immediately, but do take up to 12 hours to dry completely. So we will just have to be gentle when packing up the workshop.
Then we have the cool melt glue guns as well. I’ve not used a cool melt gun before, and having burned my fingers on my hot melt gun I was dubious, but these cool melt ones aren’t bad. I chose ‘Stick It’ ones, as they were cheap and the sticks are readily available. They are not really ‘cool’, but not burning hot – more uncomfortable than painful if the glue gets on your fingers (and of course it does), but still not suitable for children to use alone. I hate to think of the mess that would ensue! This glue really does set fast, and the bond is strong, but the gun will only be used by an adult, and must situated near to an electric plug. Children can bring things that they are having trouble sticking down with the PVA to the adult with the gun to stick for them. We must make sure the mat-making is put close to plug as the vinyl one will rely on the glue gun.

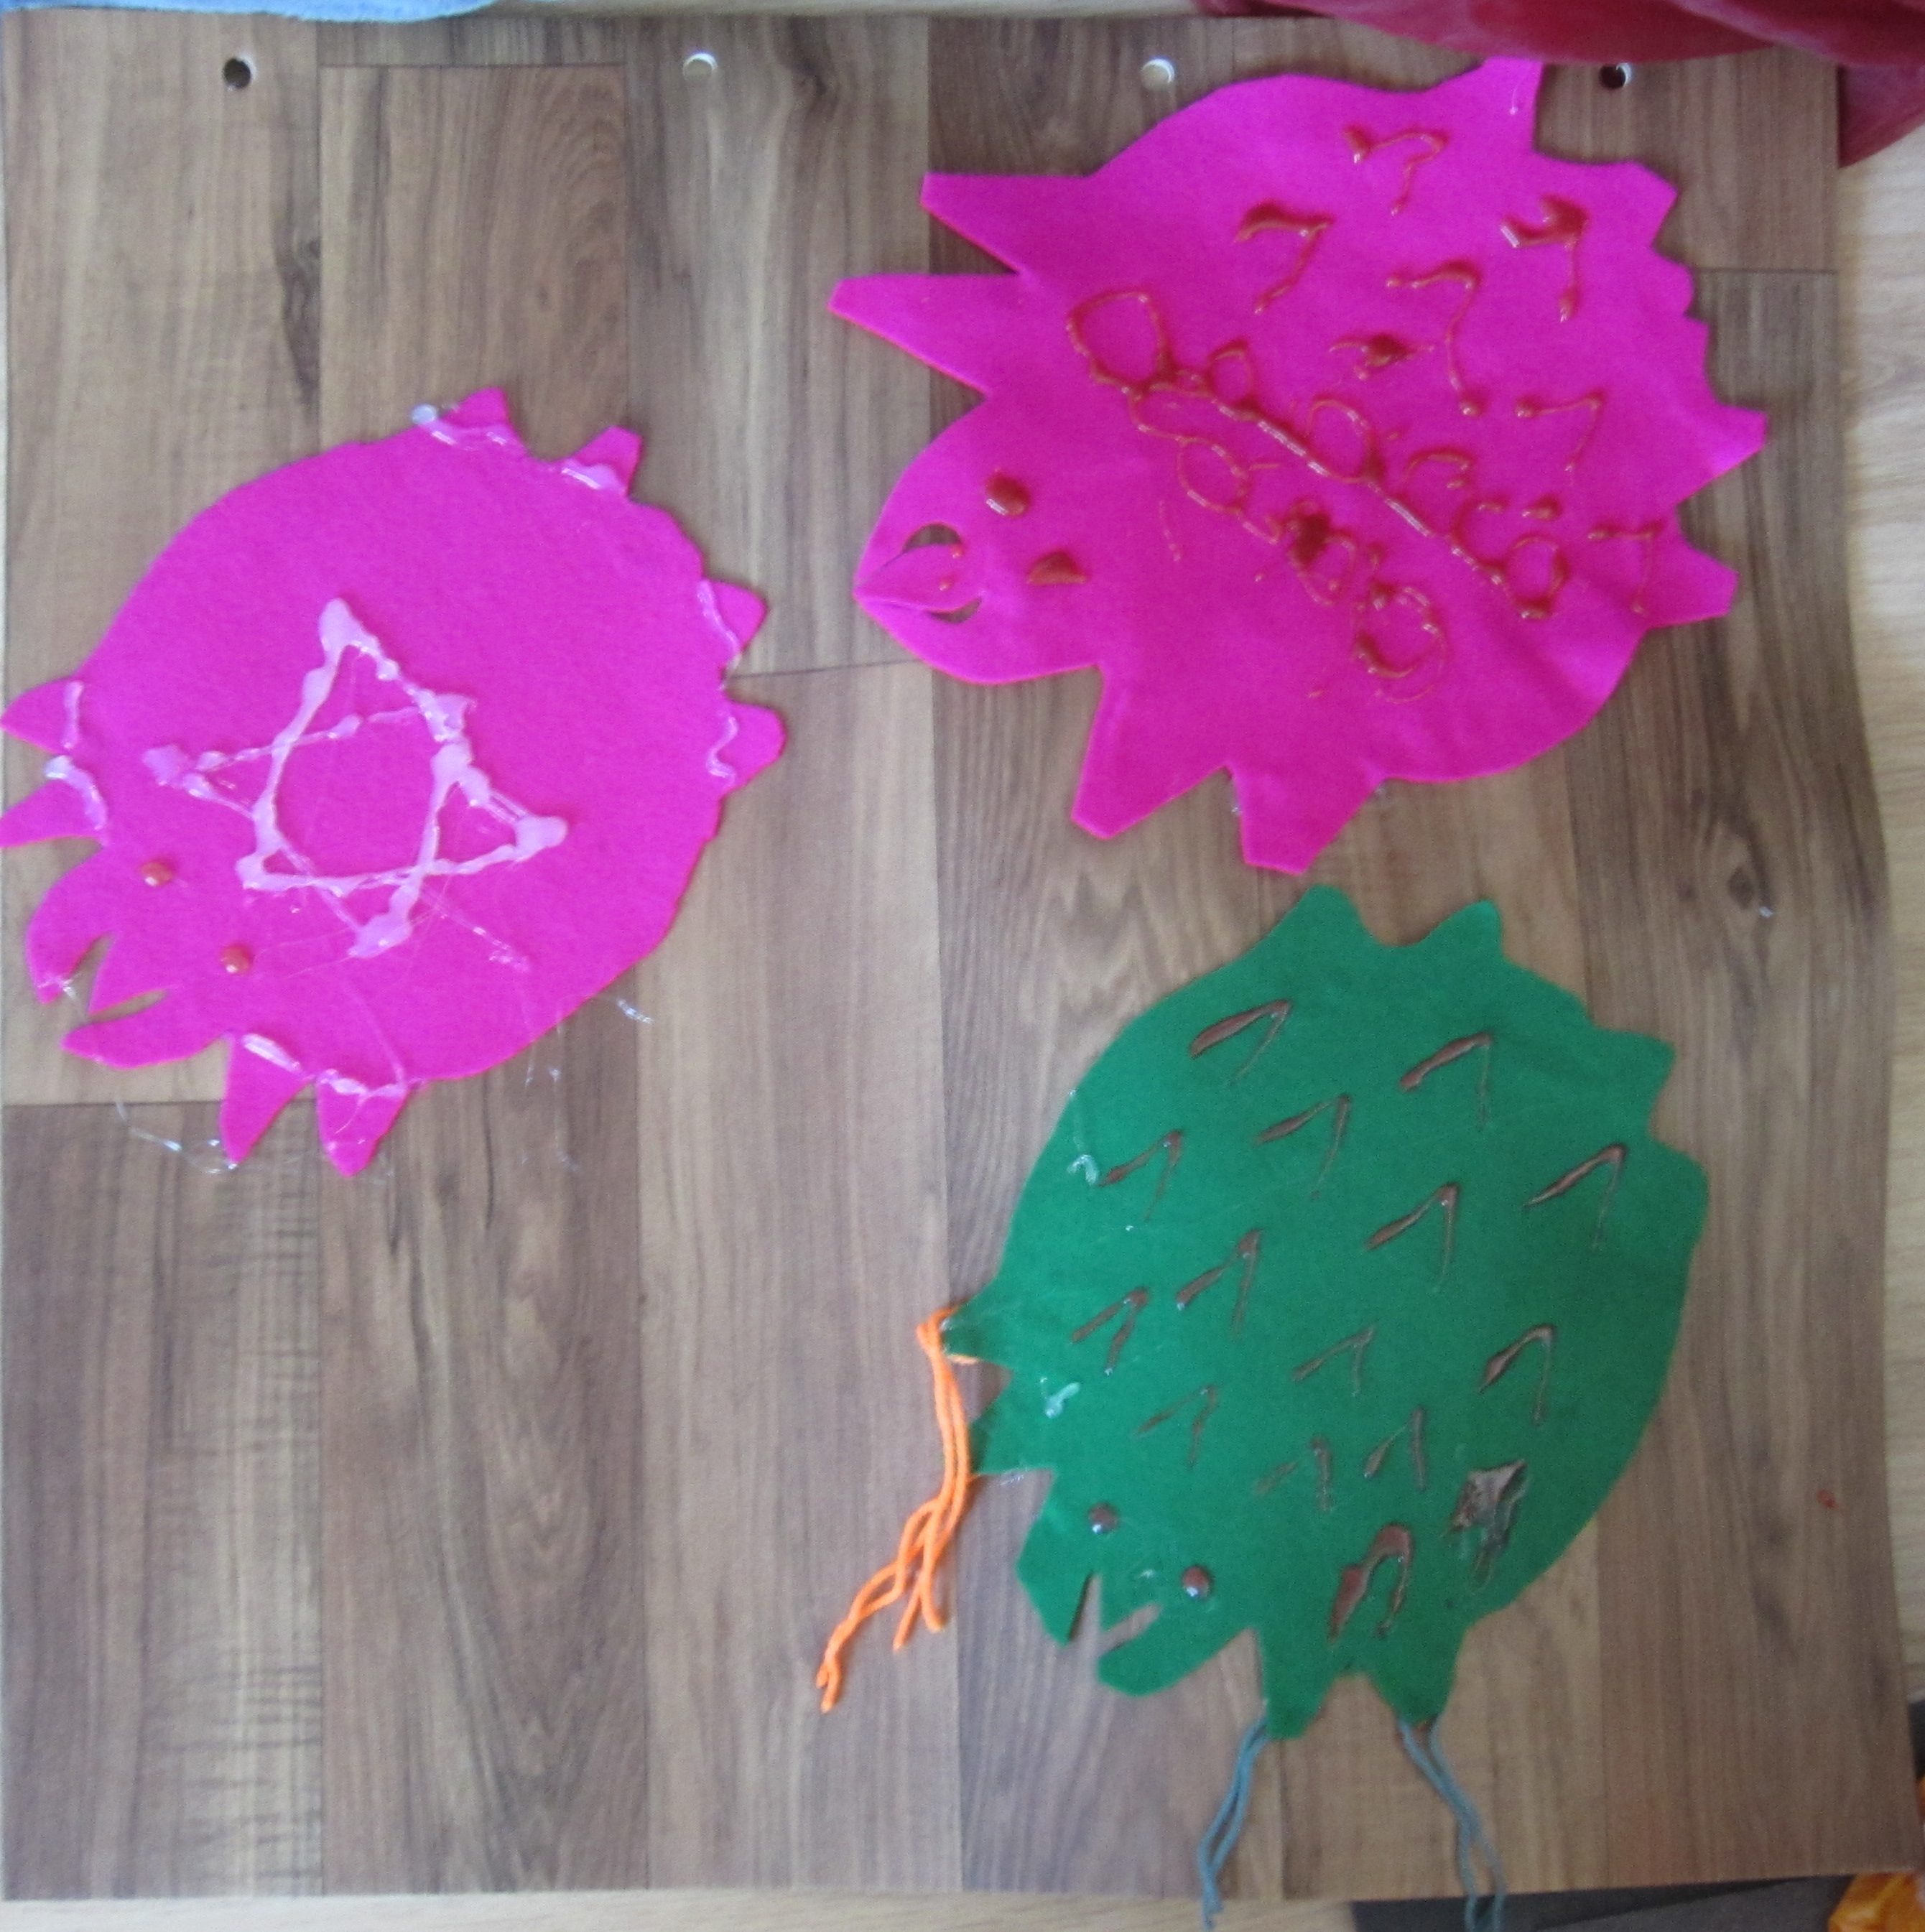
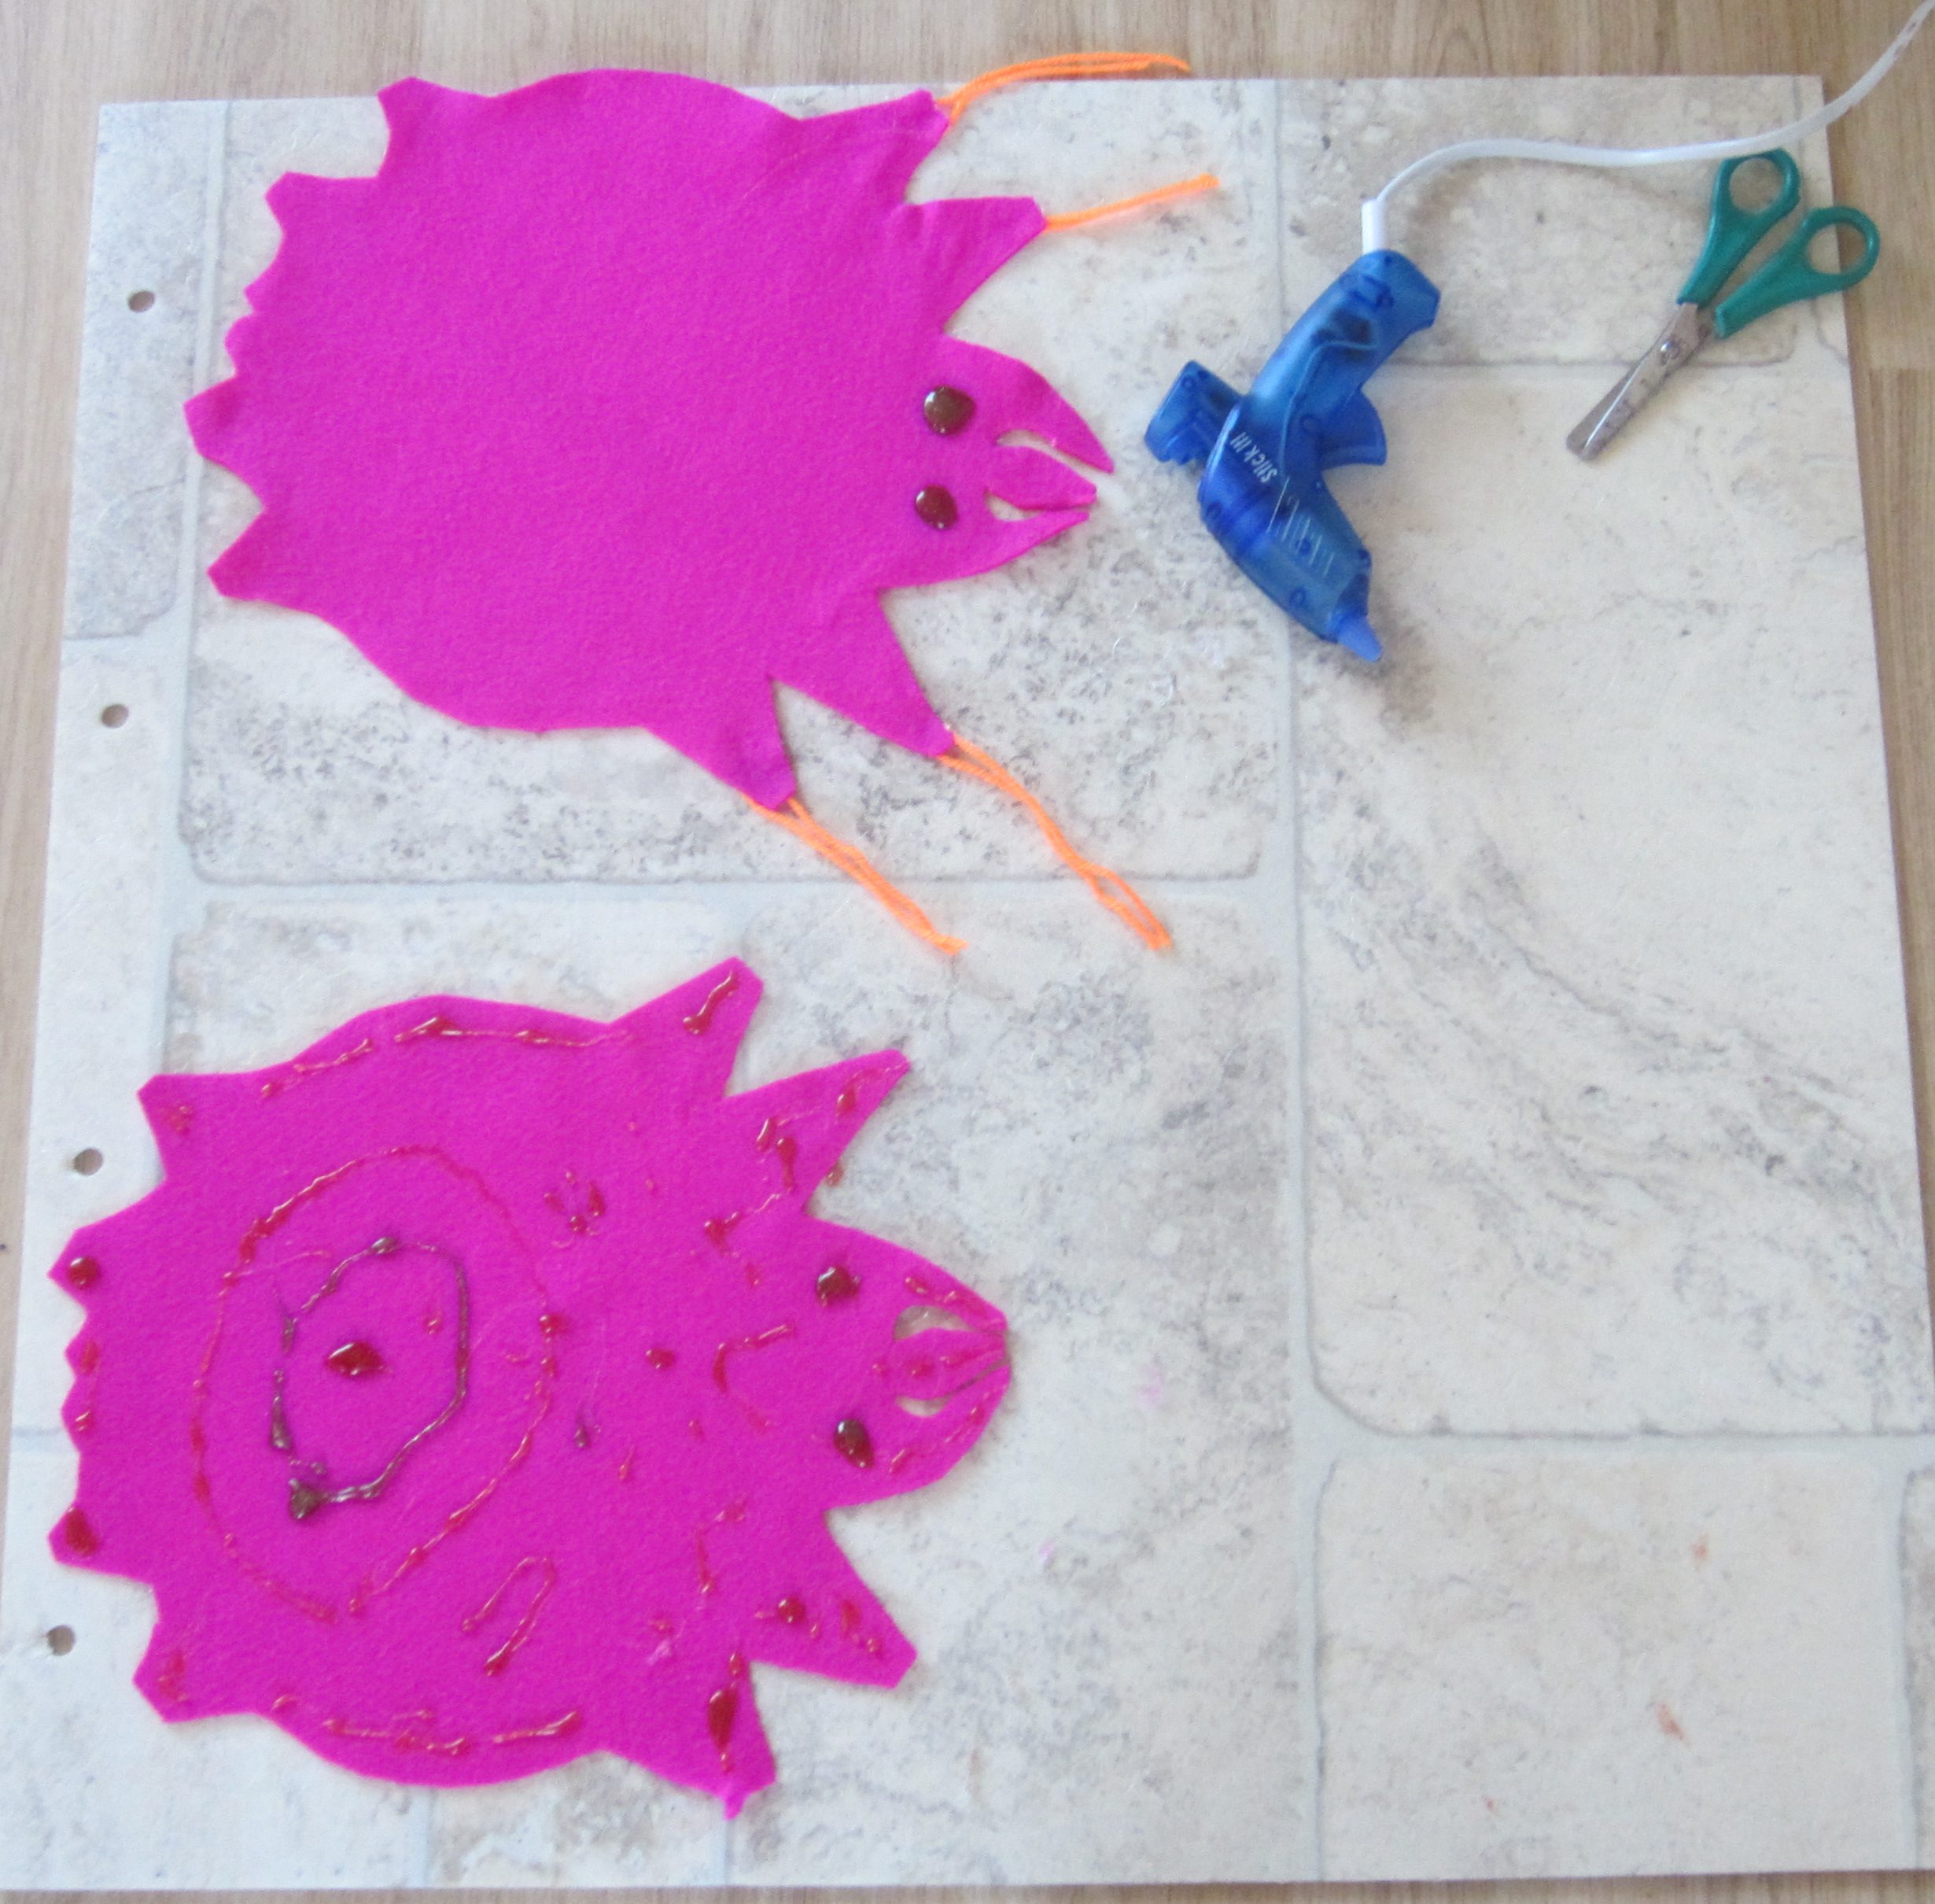
Lovely bright felt for cutting up into ‘mites’