Tip 1: Get familiar with your camera.
If you are using a DSLR camera these settings are a basic guideline for shooting in natural light/sunlight-
- ISO – 400 in cloudy conditions, 200 in bright sunlight
- Shutter speed above 1/60 unless you have a tripod
- White balance set to daylight if using natural daylight- use AWB if unsure or using mixed lighting (i.e. indoor lights and sunlight).
No DSLR? – don’t worry you can use a little point and shoot camera or your camera phone and still get good results- but the images will be of a lower quality and you will have less control over what the camera does. Whatever camera you use keep practicing and experimenting until it becomes familiar.
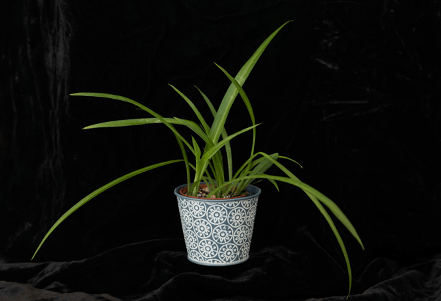
Tip 2: Build your own still life studio
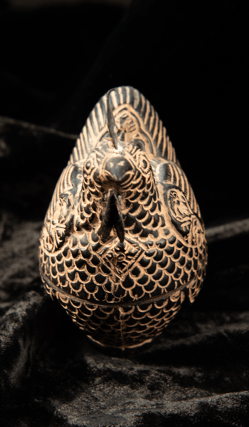
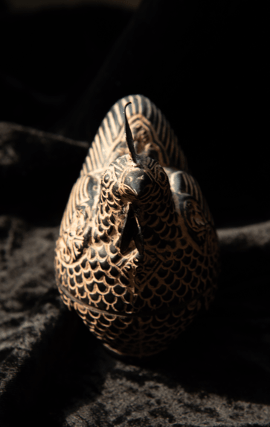
- Find some thick black material (velvet is the best material as it absorbs light but any dark and heavy-ish fabric will work).
- Use the material to line the inside of a cardboard box or drape over a chair/table.
- Place your object on the material inside the box/on the chair.
- Use your light meter in the camera to expose for the object (meaning the background will look dark and your object will be well exposed)- Take your photos! See my sample photos below:

A locket photographed inside a shoe-box lined with black material

An old photograph placed on black material and re-photographed
Black material draped over a chair to create a backdrop for larger items
Tip 3: Make use of any natural light you have.
You don’t always need flash photography or a studio- you can get great results using the natural light you have available.

Just remember whatever your light source the shadows will always be cast in the same direction as your light – so if you can’t move the light source move your subject!
TOP TIP! : Direction of light= direction of shadow

Classic photographic studio set-up with one light and a reflector.

No studio lights? Don’t worry – the sun can act as your key light instead
Tip 4: Use a Reflector
A reflector takes light that would usually spill out to the sides and redirects it back towards the subject. Without the use of a reflector a large quantity of usable light is lost. The colour of the reflector will be seen in the light reflected onto the subject.
Gold – to produce warm tones
White – creates neutral colour effect 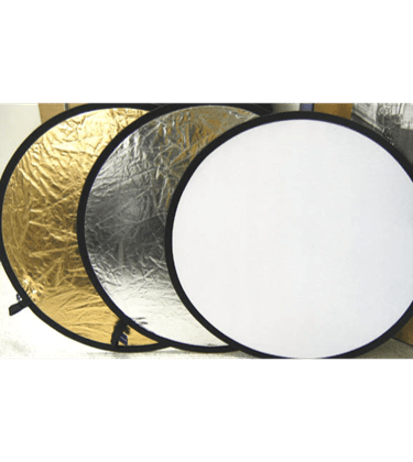
Silver – creates neutral tones but brighter than white
Don’t have a reflector? Then make one!
How to make a homemade reflector:

1.) Get an old shoe box or large piece of cardboard.

2.) Cover it in tin foil- that’s it! You now have a reflector 🙂
If you don’t have any tin foil you can also use some large bits of white card or layer up a few sheets of white paper (note the reflected light won’t be as bright as if you use tin foil so the effect will be much subtler).
With reflector
Without reflector
These images were taken in the same location in my house using only sunlight. The camera used is the same in each (Nikon D750) and the camera settings/exposure are also the same. The only difference is that on the first image I didn’t use my homemade reflector and on the second image I did!
You can really see the difference the reflector has made in lifting the shadows and making the lighting look even on the second image.
Tip 5: Get to know your collections
Spending time with your family archives or personal collections allows you the time to get to know them better, as strange as that may sound, and sometimes new narratives can form. The more time I spend looking at the photographs and objects I have at home, the more I notice.
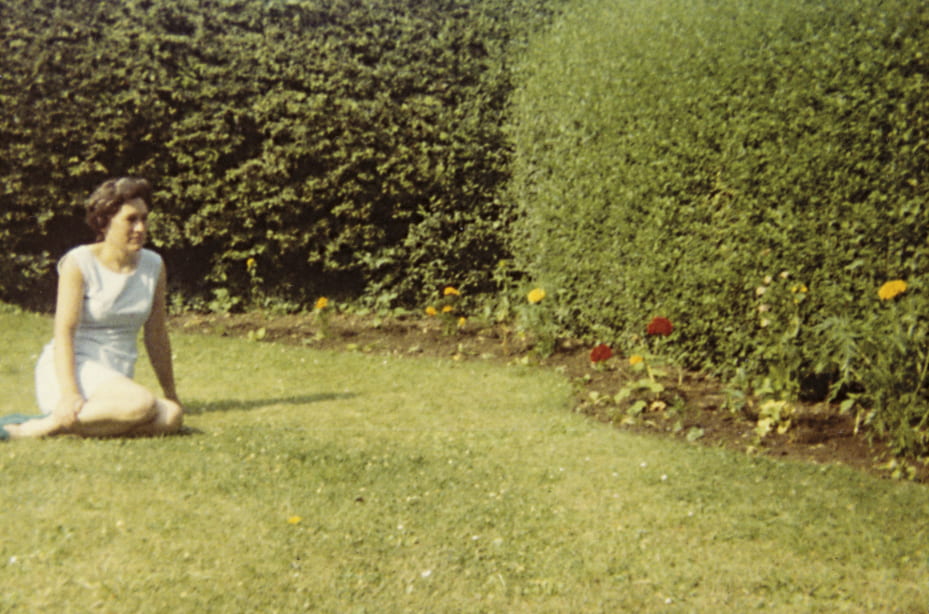
For example, in the photograph below of my Grandmother, it was only after zooming in on it after I had re-photographed it and had the image as a digital file, that I noticed the sign behind her read “Fresh Cream”. This really made me chuckle as I remembered how much she loved Cream Teas and how I once had fresh scones and clotted cream shipped to her from Cornwall to her home in Yorkshire for her birthday. It’s the little details I love so much in family photographs, the accidental or seemingly unimportant visual information that fill up the frame. Whatever it is within your own family collections, you’ll find it.

My Grandmother, (who loved cream teas)!
If you have any questions about the technical stuff please feel free to get in touch. Have fun going through your own collections. Keep well everyone. Rachel 🙂

In what ways can individuals apply the tips and techniques shared in the article to enhance their own process of photographing family collections at home? regard, Tel U