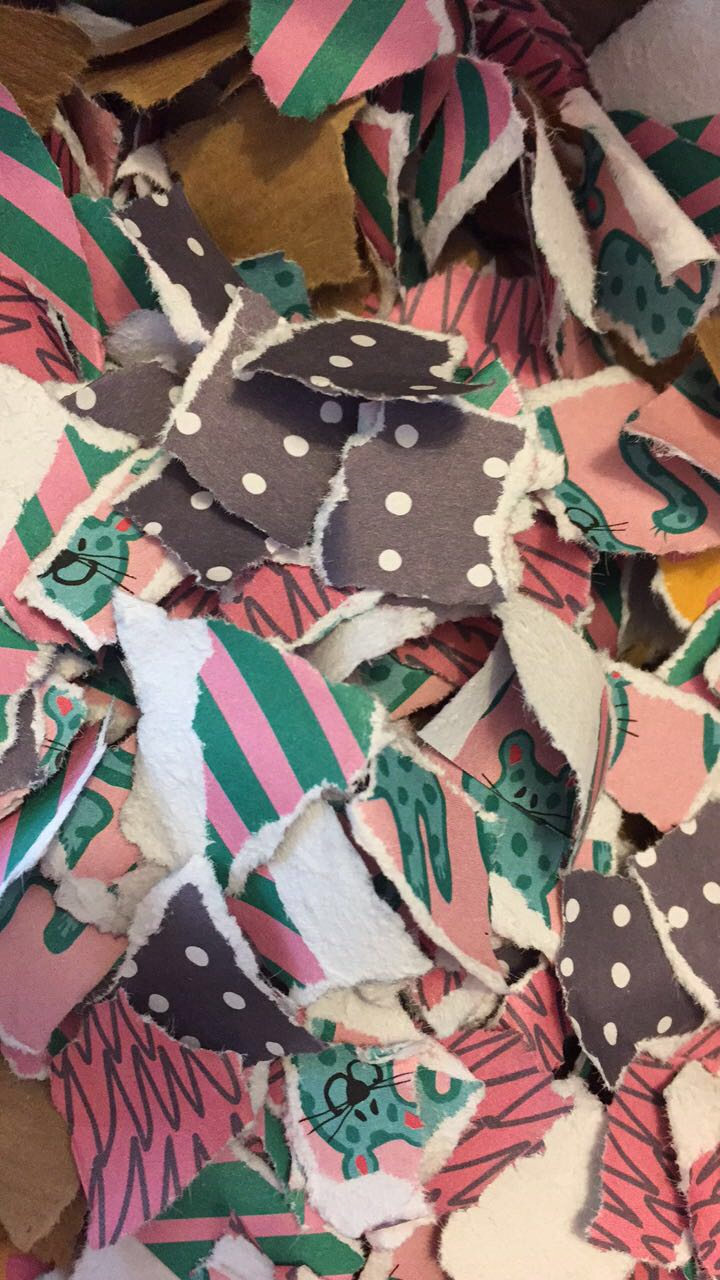


Here is a variety of images that I took as part of my development. The images are taken from several different paper making processes hence the colour and texture differences in each image. In this session, I made 4 different papers.
To make the paper, I followed the following process:
- shred a variety of paper (coloured card, brown paper, newspaper.)
- In a food processor, blitz the paper with water. * 1/3 paper and 2/3 water until a smooth pulp is formed.
- Remove excess water by squeezing the pulp in your hand.
- Then, Place a tea towel onto a flat surface followed by a piece of grease proof paper then finally the paper pulp.
- Place another piece of grease proof paper over the top and then roll out the paper until its a thin even layer.
- Remove the top layer of grease proof and then press a cloth onto the paper to remove excess water.
- Add any extra elements, for example I added paper flowers to the paper before leaving it to dry (shown in last image.)
- Place the paper aside and leave to dry for a week
- Once dry, gently peel away the paper from the grease proof. *optional: try adding fur, glitter, petals, flowers, tissue paper, paint to the pulp)