Category: Process Rotations

lithography – 10-02-17 / 17-02-17

Over the past two fridays I have completed the lithography workshop. Week one we created our plates. I was interested in the examples shown of photographs that had been printed so I decided to do a print of me, my brother and my grandma, because I thought it could link it to my memories project.

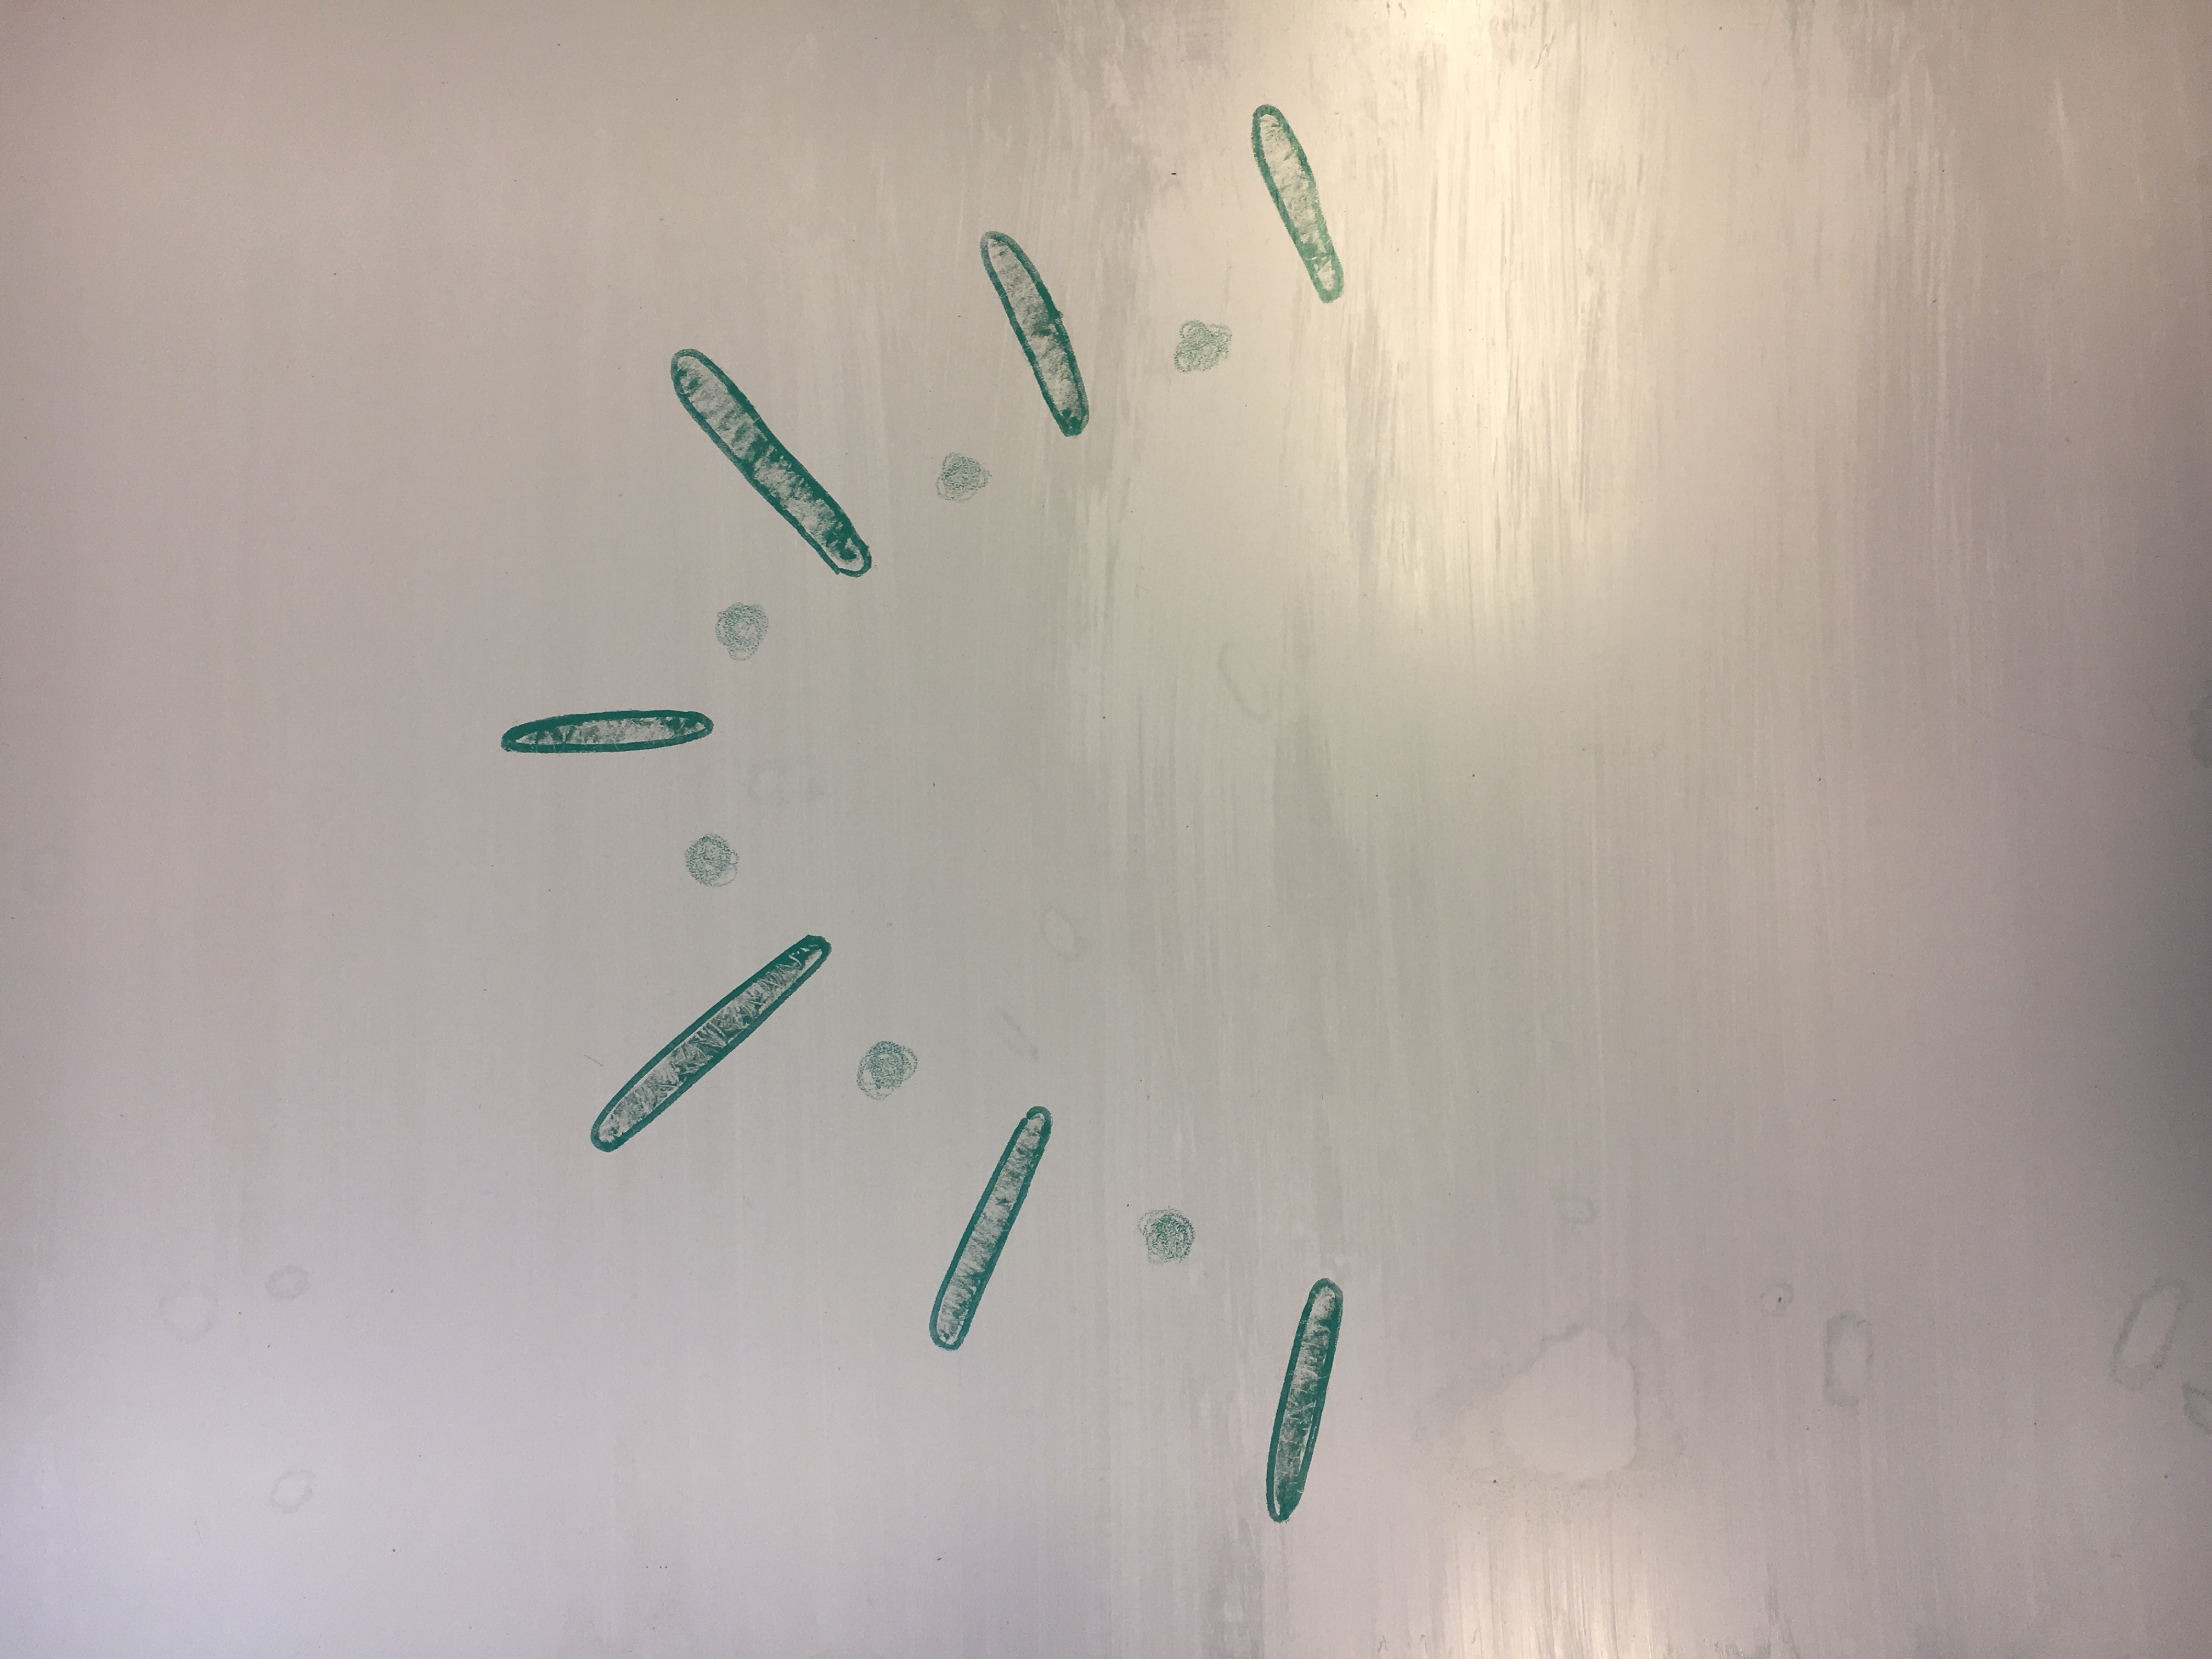
The speed of creating the plates was impressively fast, which is something that I can see attracting me to this technique in the future in circumstances where I wish to churn out a lot of prints in a smaller time frame. Also the range of textures that can be created using this technique is really impressive. Jane kindly made a mock up print go different textures we could create and what she had used to create them (i’ve inserted a picture at the bottom of the post).

I really enjoyed the process of lithography printing, the press was really satisfying to use and it was really fun to see the ink transfer from the plate to the roller to the paper. There are a lot of steps to remember for example keeping the plate damp whilst inking, but I love that if you make a mistake whilst inking its quite easily rectifiable.

Overall this printing process was really fun and I will definitely keep it in mind for future projects.

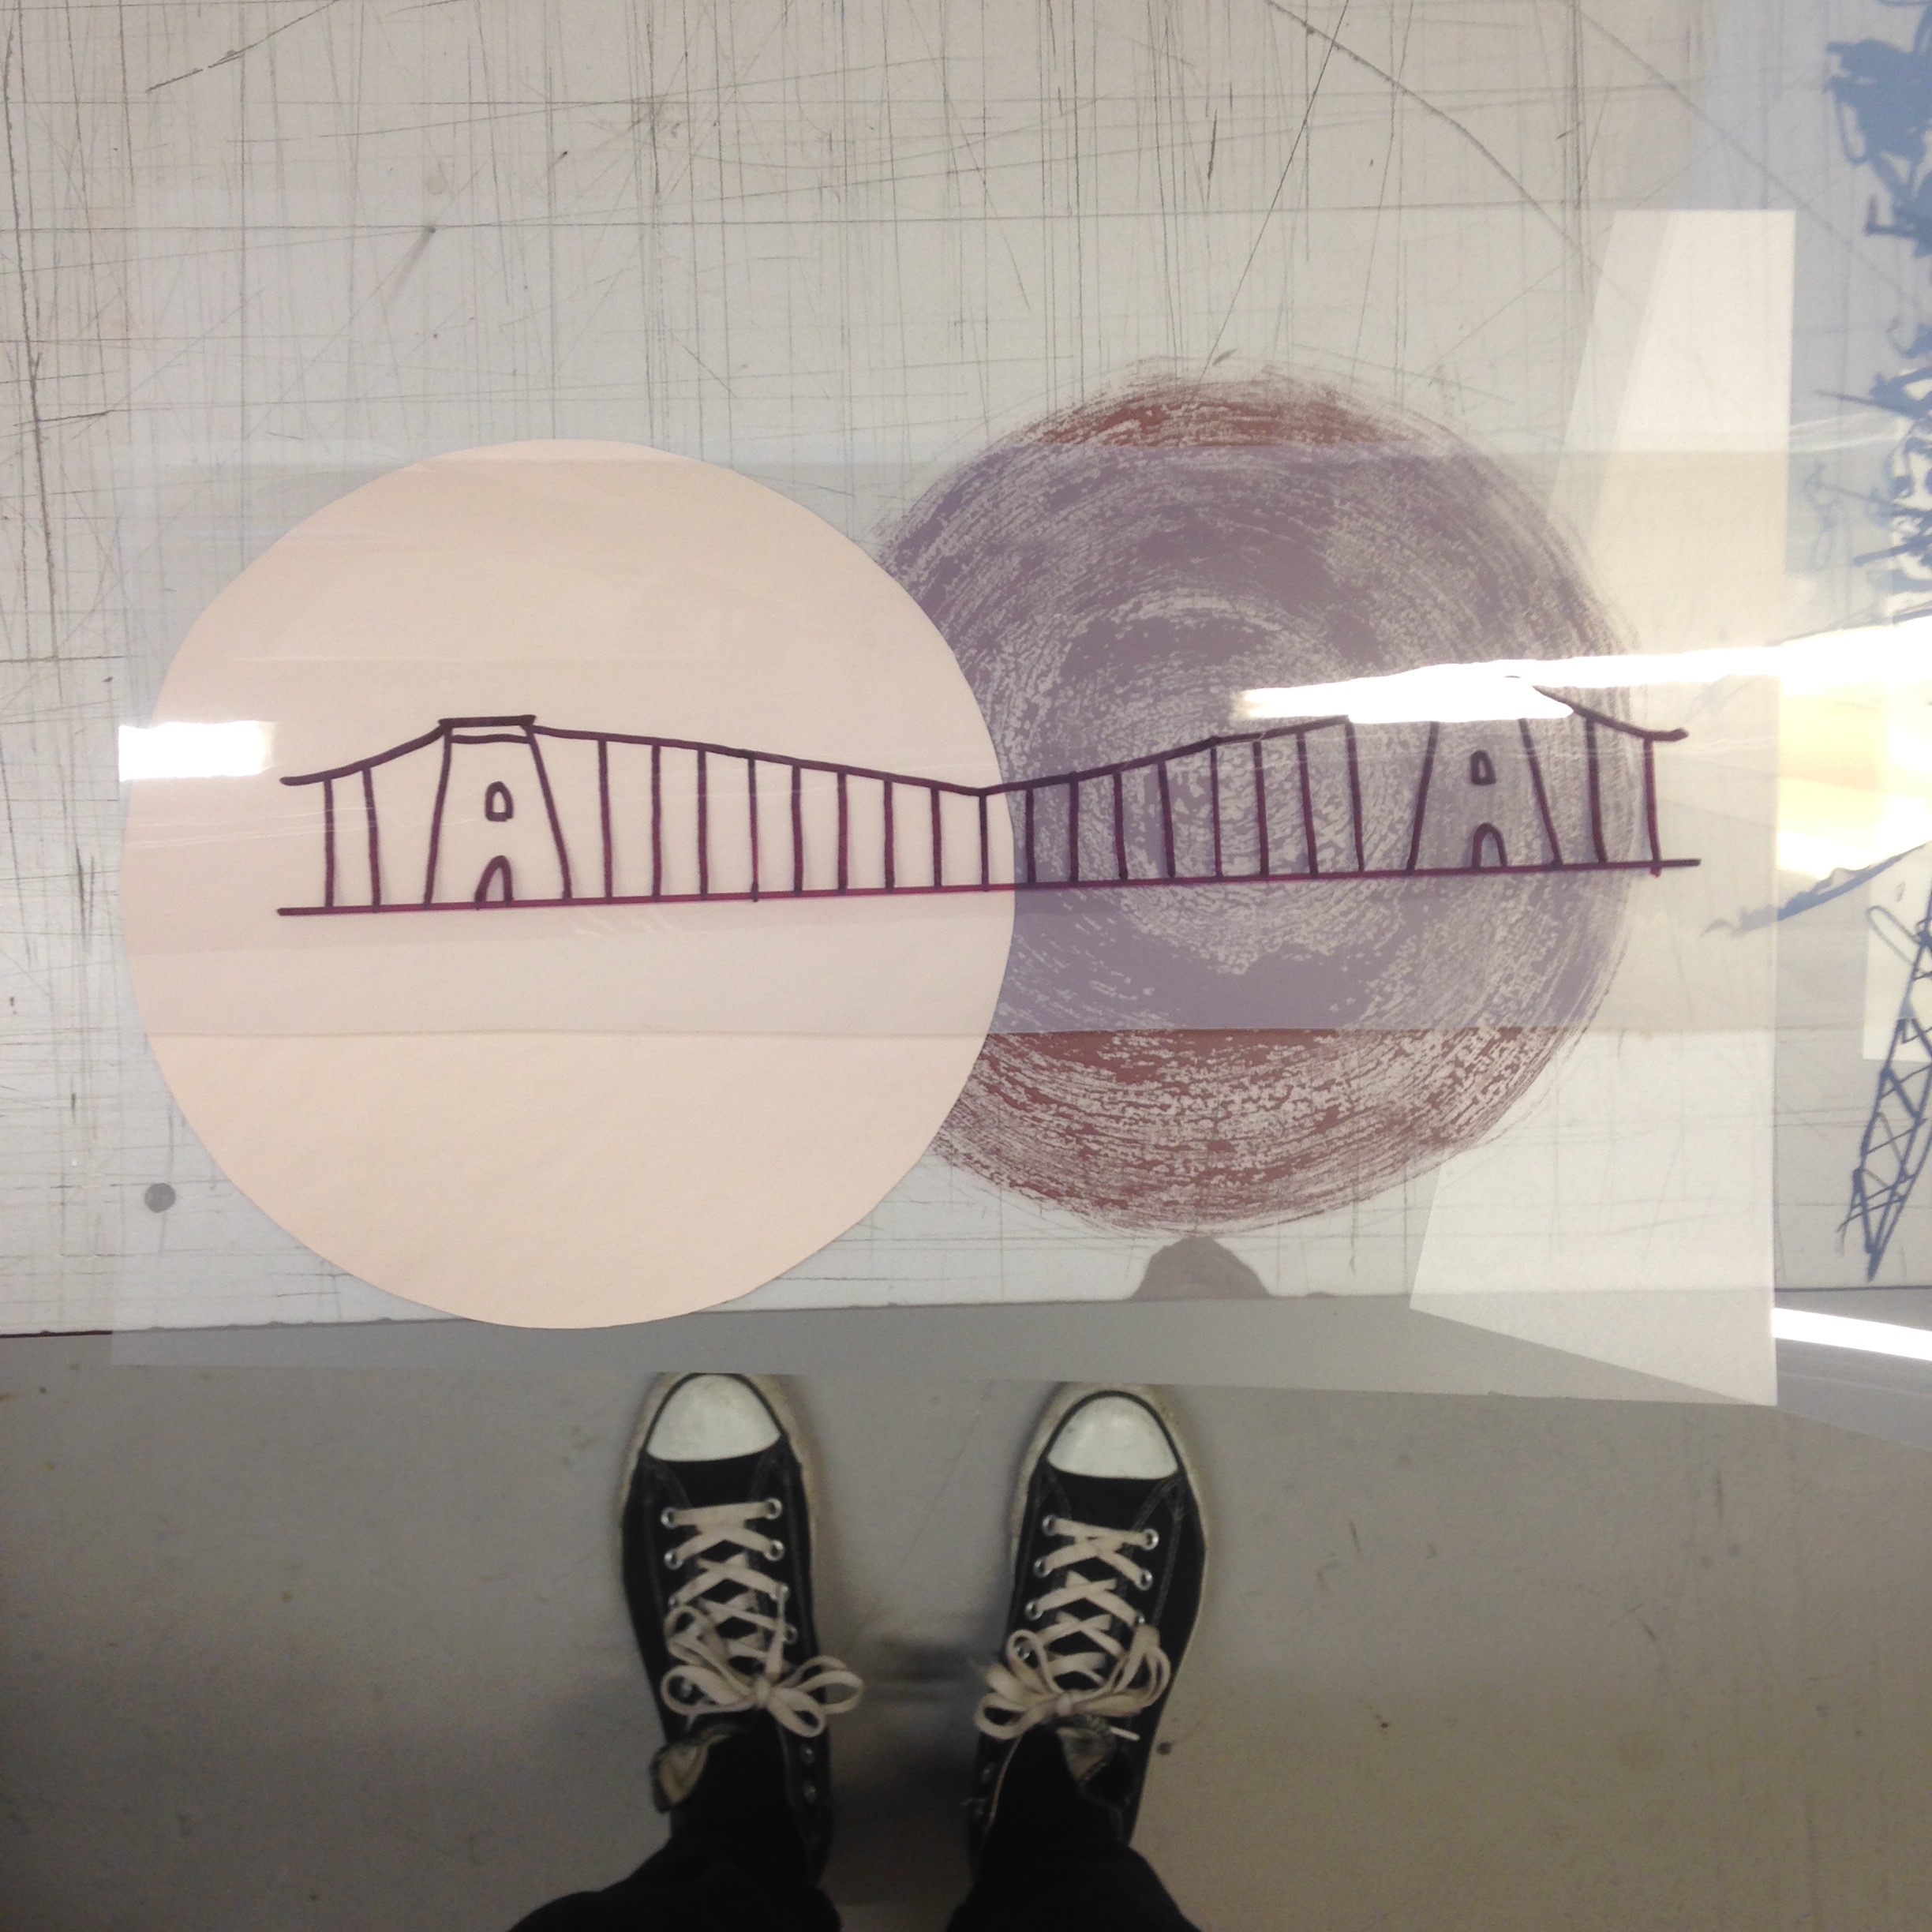
Here are some images of my process and final image.

film processing – 2-2-17

Today I carried out the film processing workshop. We didn’t have any film so we hired out a camera and took some really quick images in between our lecture, seminar and start of the workshop. Last time I used a film camera was about 4 years ago when I first started my Photography A-level, and I don’t really remember it that well. I definitely didn’t process my own film so this was a completely new experience for me.

The technician Kirsty is really lovely and made it really easy to follow the steps. We were given a sheet that talked us through the steps, and this will be good to read back when it comes to processing my own films in the future so I don’t forget any small but vital points.

The Process was quite lengthy but I love clear, step by step processes so this was enjoyable for me. I love knowing that the final developed images will be images I have taken, processed and then developed so Im keen to get back into the dark room and develop the images in the near future.

I think the photography based workshops have been the ones I have enjoyed the most, so its encouraging me to play around with film photography in the future. Another thing that is encouraging me to explore film photography is a youtube channel I found called “Negative Feedback” (didn’t understand the pun/meaning until now ha). Its a channel dedicated to film photography and has alot of really useful information about different films, cameras and shooting in various locations – basically anything you’d like to know about photography, especially regarding to film photography! Plus their channel has really cool graphics, which I like alot, so thats a bonus. Here is a link to the channel, I highly recommend it:

https://www.youtube.com/channel/UCTgaiv8YdmmNqI8STrpWc7w

I will be sure to post the final images on my blog when I have developed them!

mono printing – 2-12-16

Today I carried out my mono printing workshop. I haven’t done mono printing since the beginning of my art foundation so it was nice to get back into it, although the process we used today was completely different to anything I’ve ever used before. We created prints by using inking up acetate with CMYK colours and using white spirit to remove selected parts of the ink.  I liked this approach because we used semi transparent ink so I could place the inked up acetate on top of an image I picked and then trace/remove the ink  in a more controlled way, which improved my outcome. During the process of mono printing I quickly realised that it would have been beneficial for me to have planned each stage of my  print because whilst I’m in the moment I find it quite hard to visualise how the finished print/colours will come out. So in the future I will remember this and try and plan through each step, As a result of my slow visualisations some of the colouring and outcomes weren’t exactly how I would have wanted them but Im still happy with a couple of my prints, and the psychedelic type finish the CMYK colour palette left me with.

screen print pt 1 – 4-11-16

On the 4th of November I carried out part one of my screen printing induction. This consisted of seeing some examples of what we could create by screen printing, learning how to create a screen with emulsion and stencils and how to prep the screen fully ready for printing. I have only ever done screen printing using a ready prepped screen or paper stencils, so seeing the wide range of things I could create was quite overwhelming and took me a while to understand the processes that had gone into making some of the examples. We’d been shown the stencils that Chris had used to create some of his prints which helped in the process of understanding which type of stencil, and what material it was on, created what outcome.

I wanted to  make a list of how to make a screen and also how to set up for printing so that when I get to print next week, I haven’t completely forgotten!

Firstly we coated the screen evenly on both sides using emulsion and an emulsion scoop coater and placed it to dry on the higher shelves of the drying rack:

img_7307

We then placed our stencils onto the glass surface of the UV light box, making sure the pane of glass was completely clean of any dust or dirt which could effect the image burned onto the screen. We then carefully placed the dry screen face down onto the pane, making sure the stencils were still in the correct places:

img_7303img_7306

These were the stencils I created:

img_7317

We then closed the lid, turned on the vacuum to ensure that nothing moved during the burning process and turned on the self timed UV light which completes the burning of the image:

img_7309 img_7310

After releasing the screen from the vacuum, we took it to the washing station and hosed it down to reveal our images:

img_7312 img_7314

We then placed the wet screens in the bottom drawers of the drying rack, to prevent any wet drips on any prepped screens. This was everything we completed on the first part of the screen printing workshop.