
The cyanotype, or blueprint, processes dates back to 1841 when it was discovered by Sir John Herschel. Although cyanotypes were originally produced on paper, they work very well on a variety of surfaces such as wood, card, leather and natural fibre fabrics. Cyanotypes are contact prints, meaning that the imagine is the same size as the object or negative that was used to create it. The white images on a Prussian blue background can range from delicate and subtle to sharp and angular.
To make the light sensitive solution, you mix ferric ammonium citrate and potassium ferricyanide. Taken from the recipe of Barbara Hewitt’s book ‘Blueprints of Fabric’, we used 30g of ferric ammonium citrate and 15g of potassium ferricyanide which we stirred into 250ml of warm water.


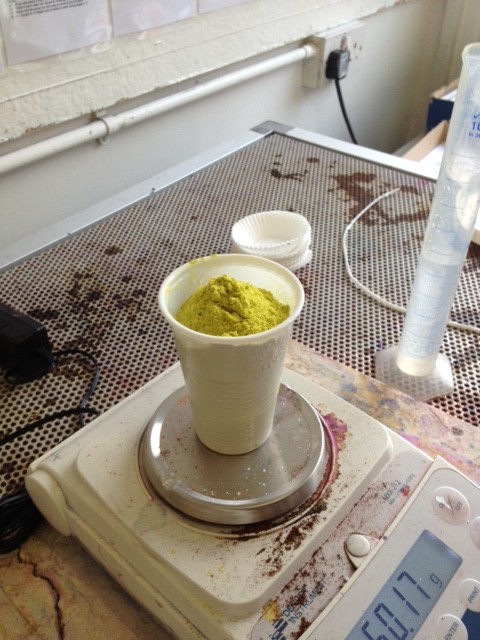
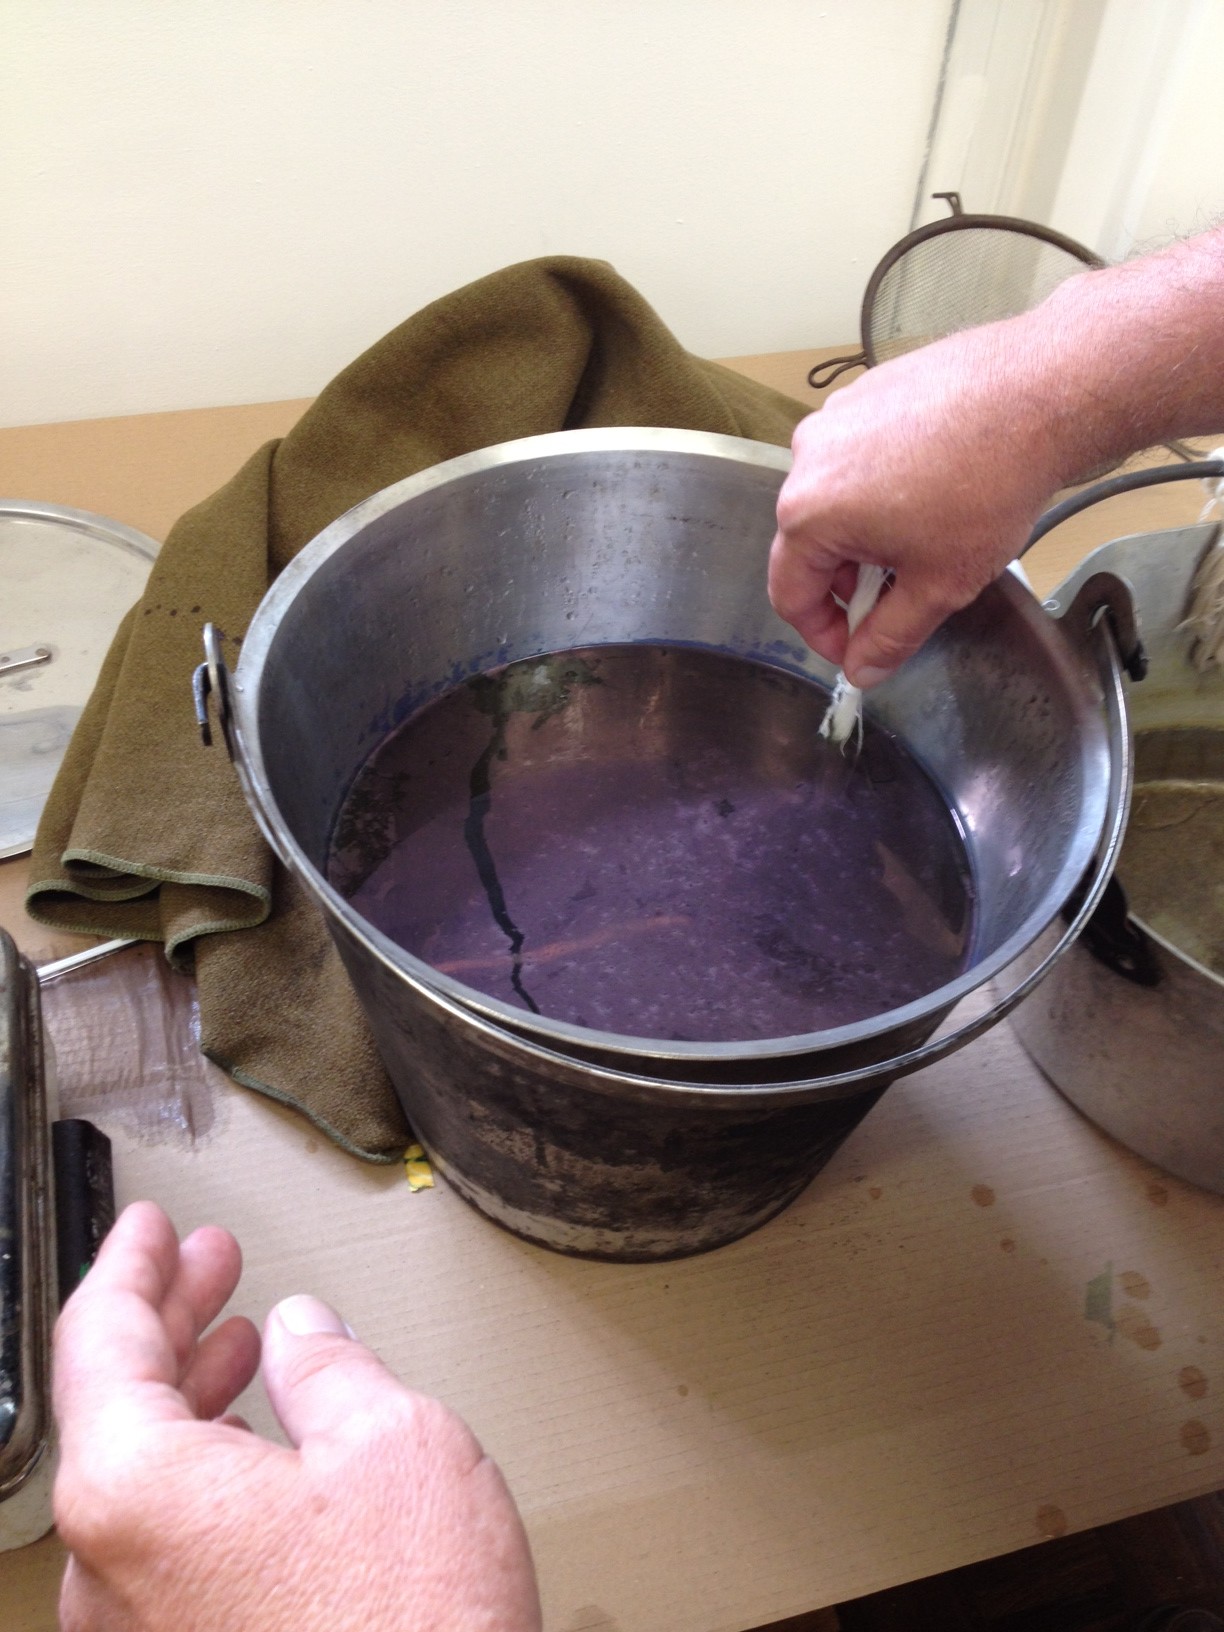
Mixing the potassium ferricyanide.
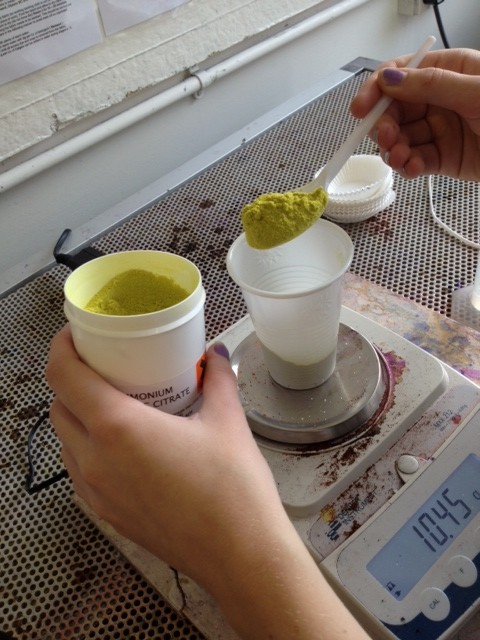

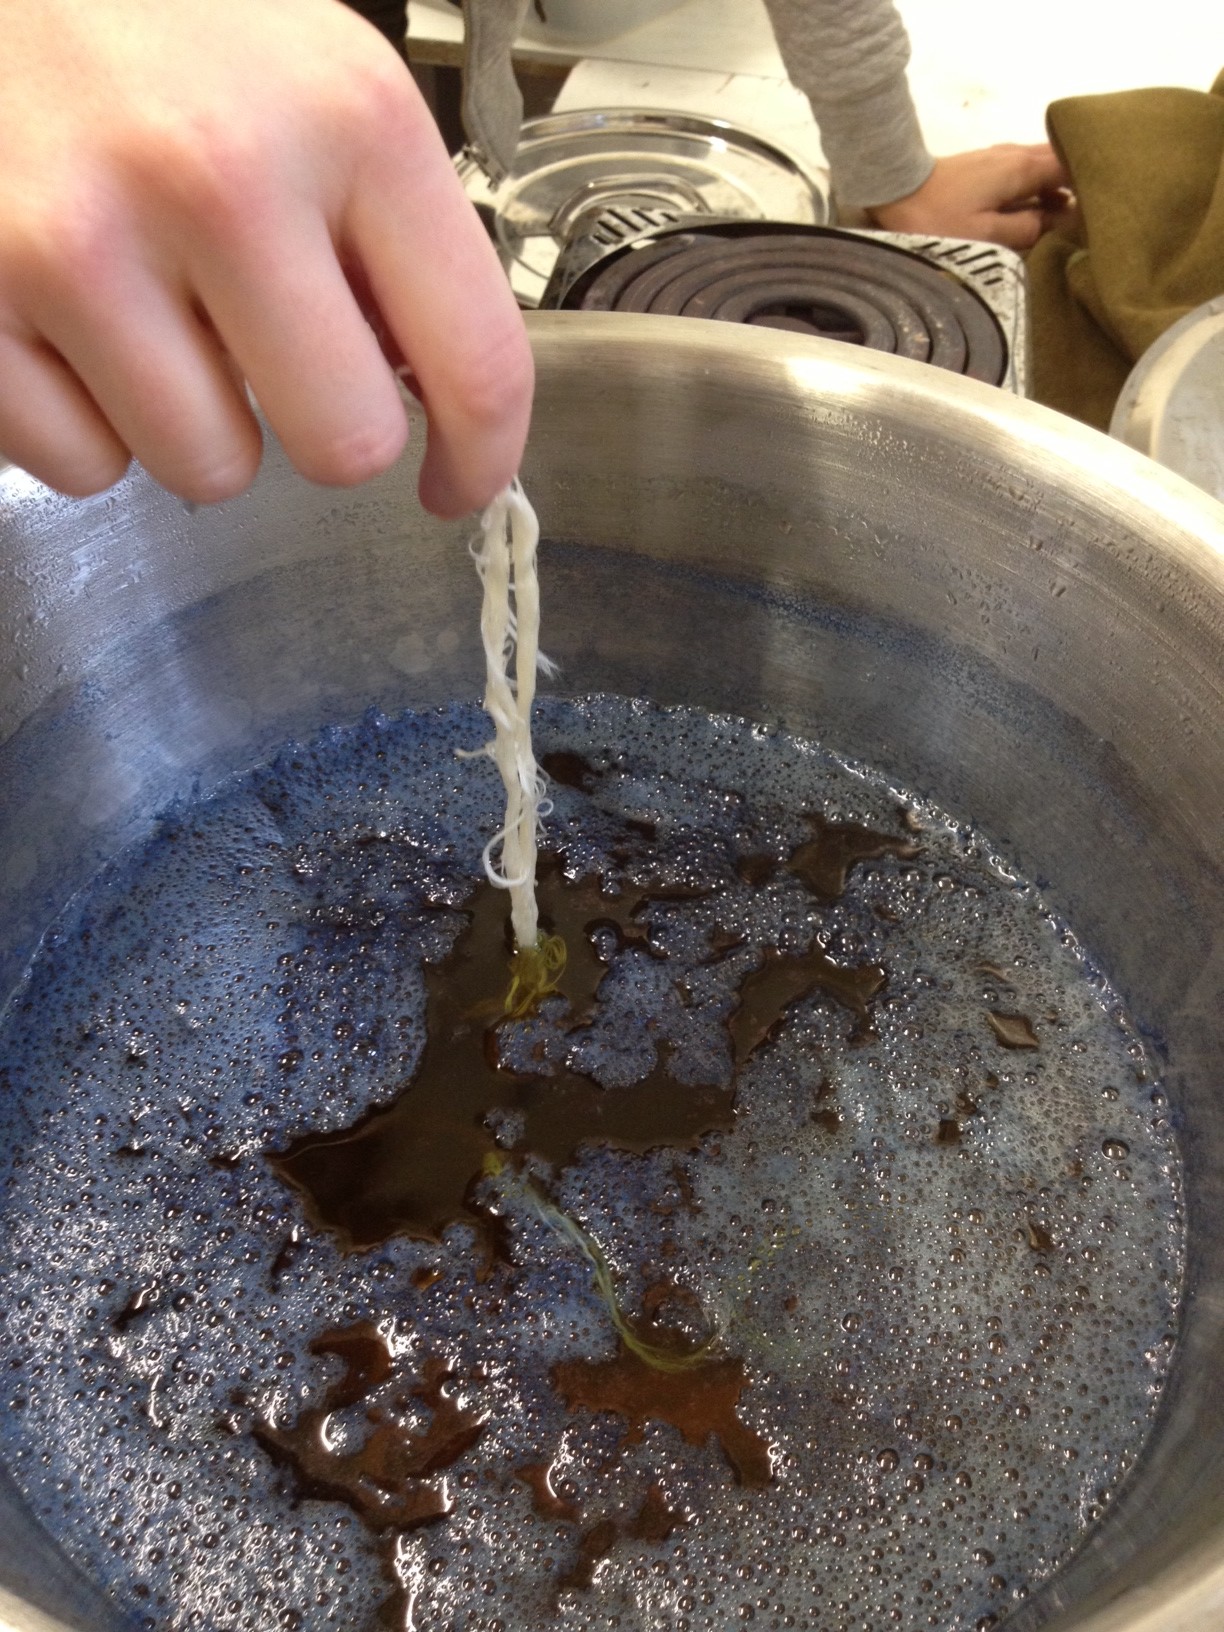
Mixing the ferric ammonium citrate.


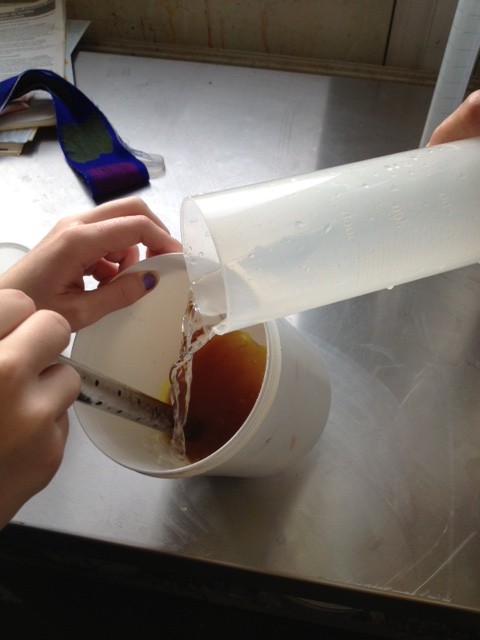
Mixing the two together to create the light sensitive solution.

Fabric stretched onto a frame with the solution painted on. It is important to avoid putting it in any area where there is a lot of sunlight around. As soon as it is exposed to the light, the solution will start to react and the colour will begin to change.
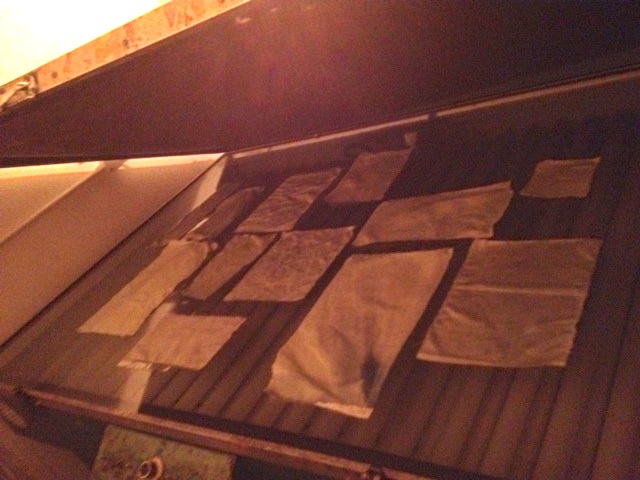
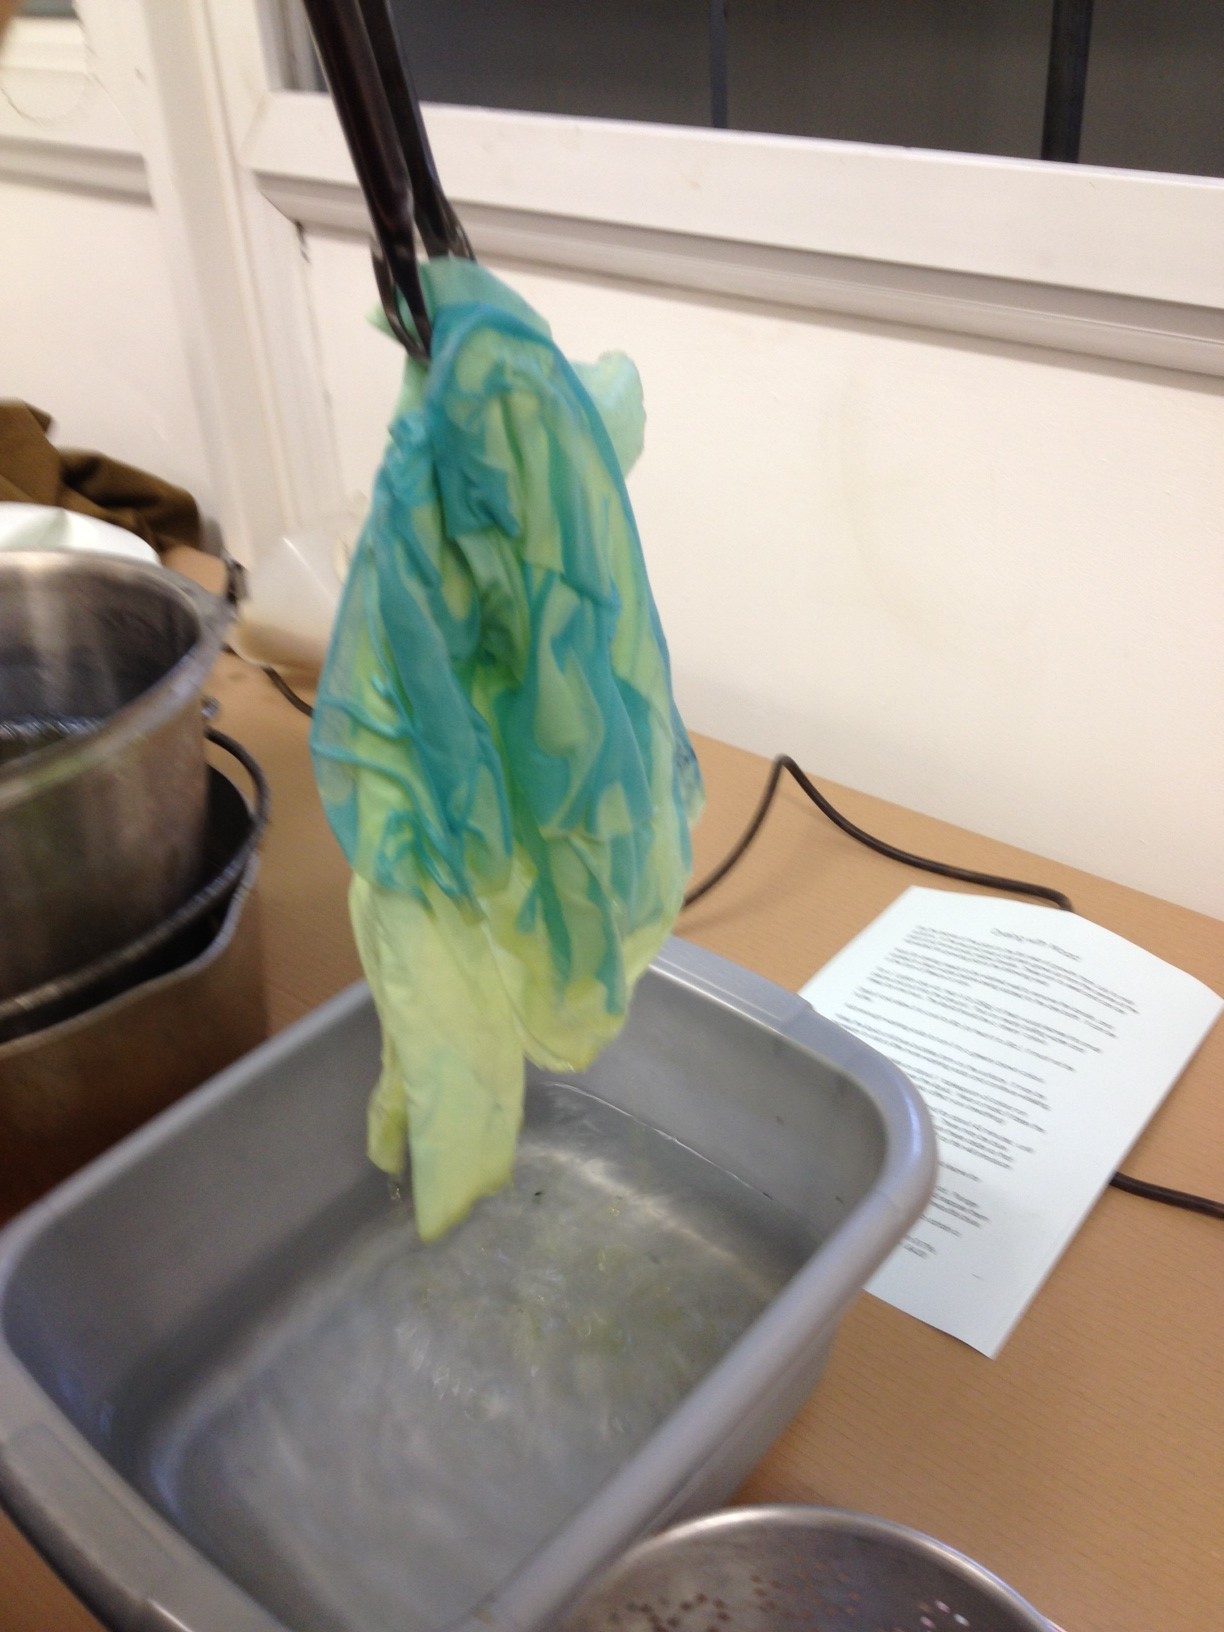
Once the fabric is dry, we used the exposure cabinet to expose the solution to light. We printed our images/designs/drawings onto acetate and placed them underneath the fabric. Once exposed, the fabric is washed to remove any excess solution and the designs are are left white.
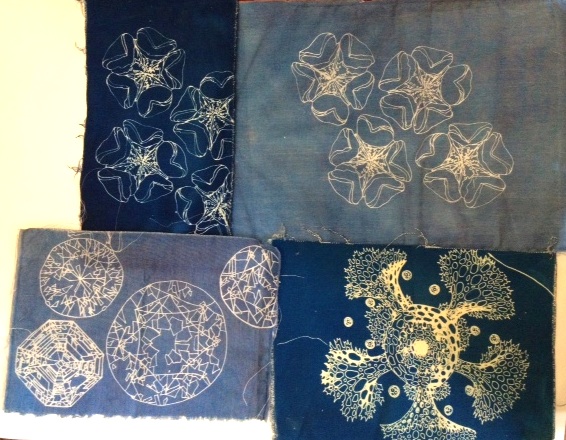
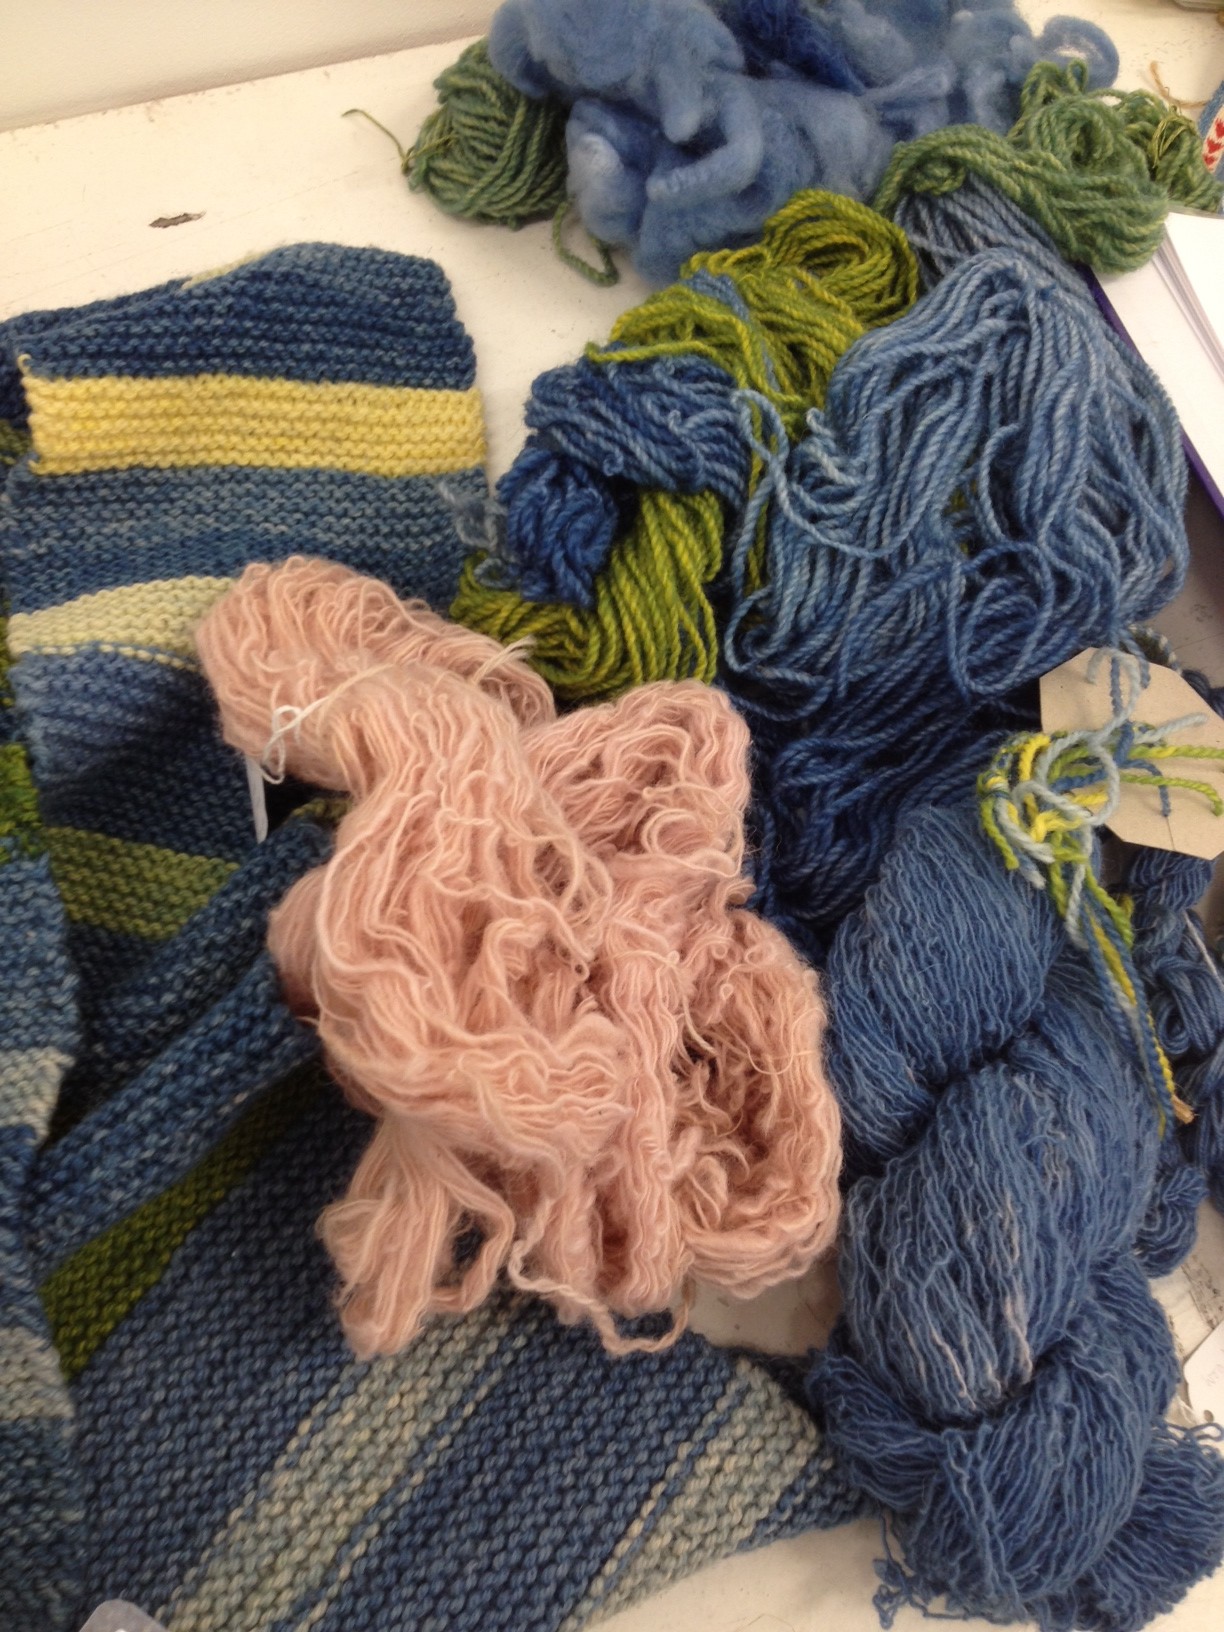
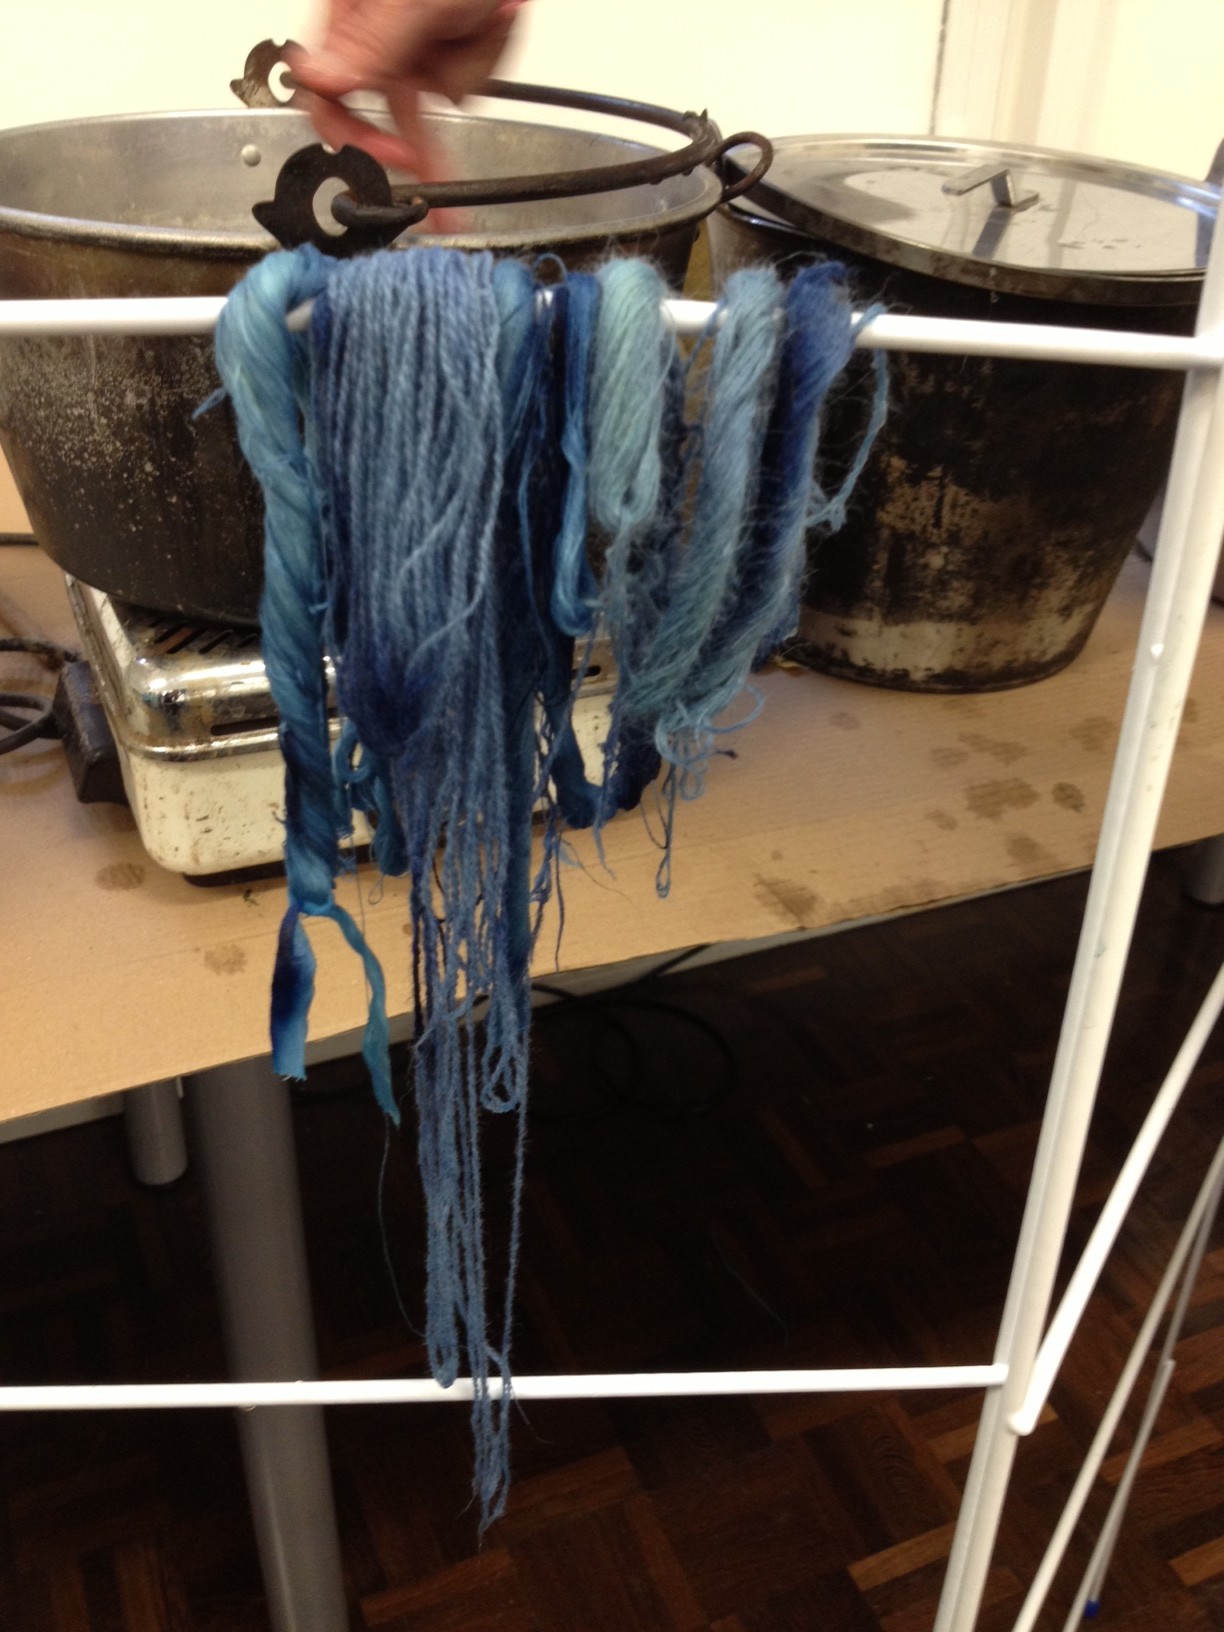
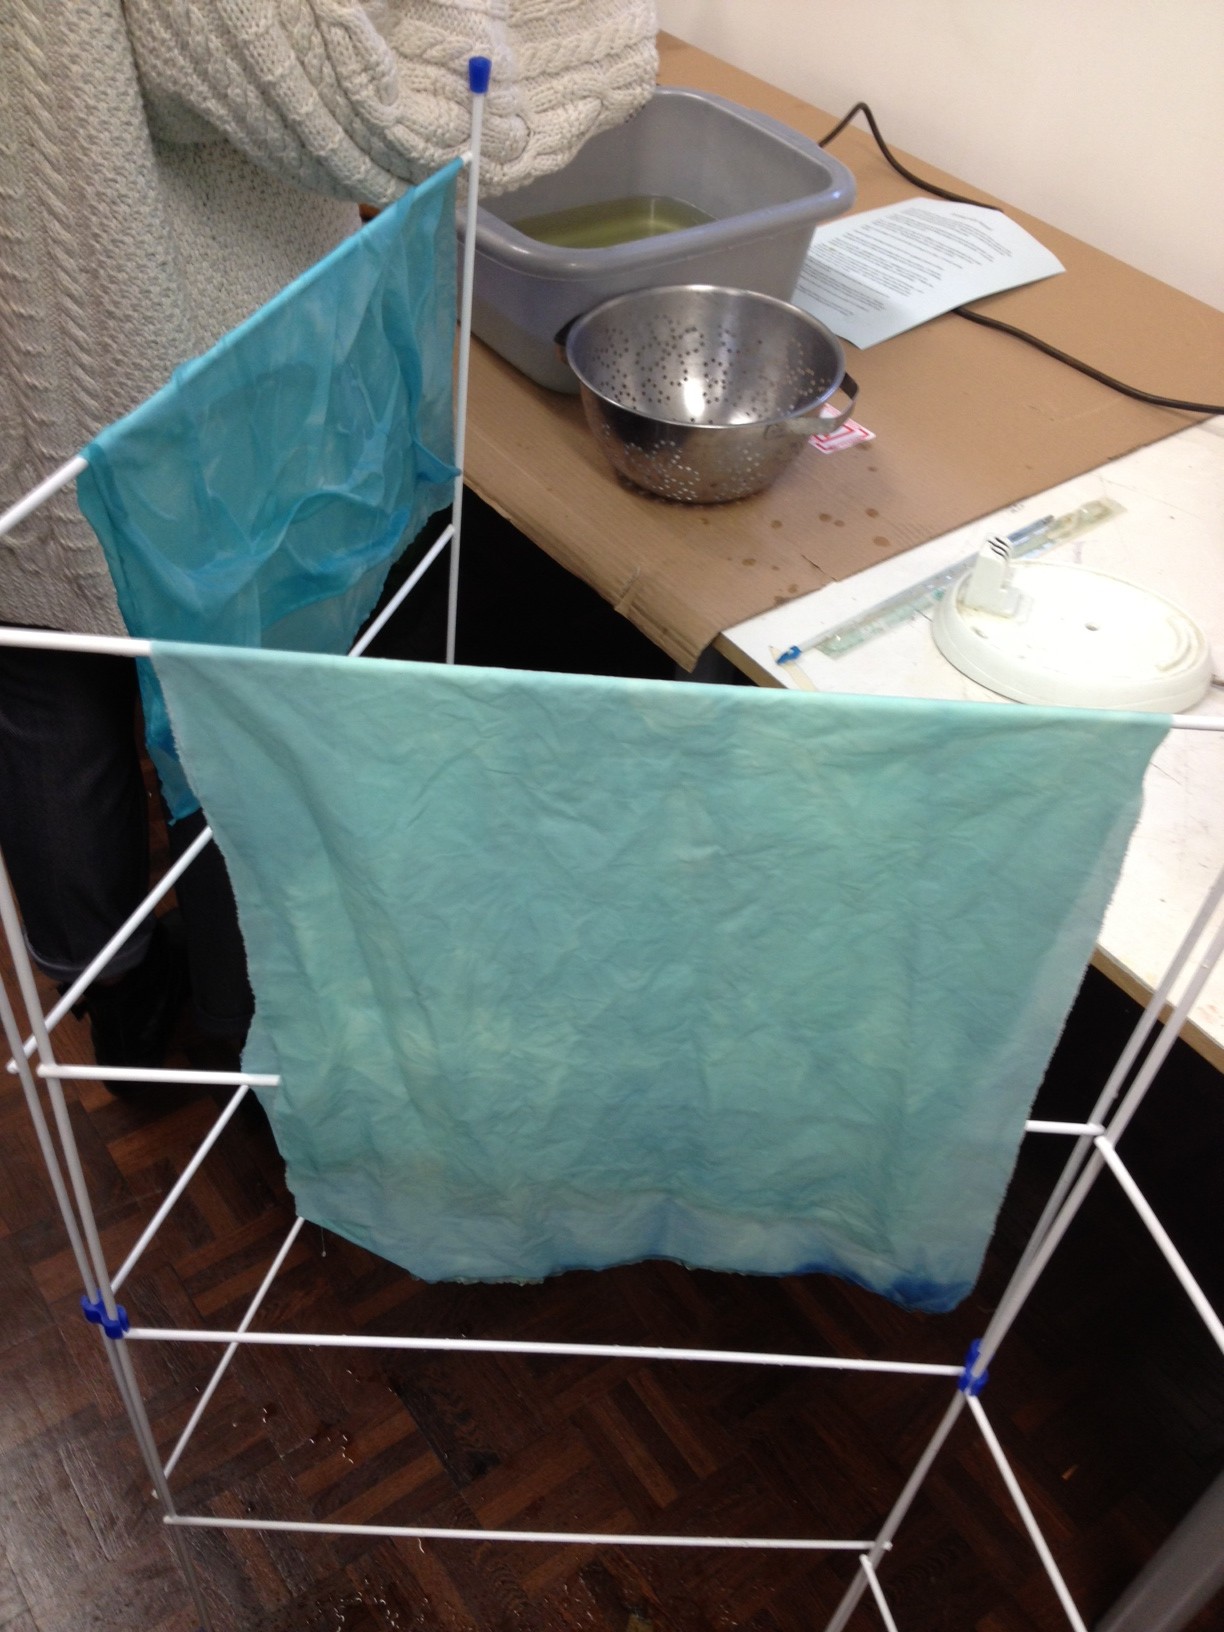
An example of the different shades of blue that can be created, depending on the fabric and the length of time the solution is exposed for.


Recent Comments